
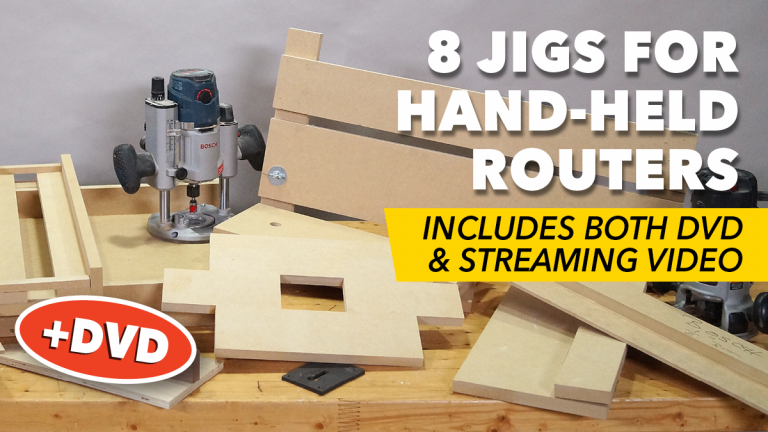
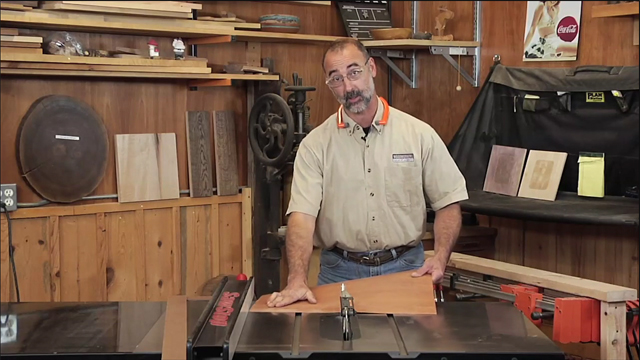
8 Jigs for Hand-Held Routers
George Vondriska
Class Preview
1:27:20
- In-depth Instruction; over 88 mins
- On-demand video access anytime
- Bonus downloadable PDF resources
- Access to class Q&A
- Available for purchase: $11.99
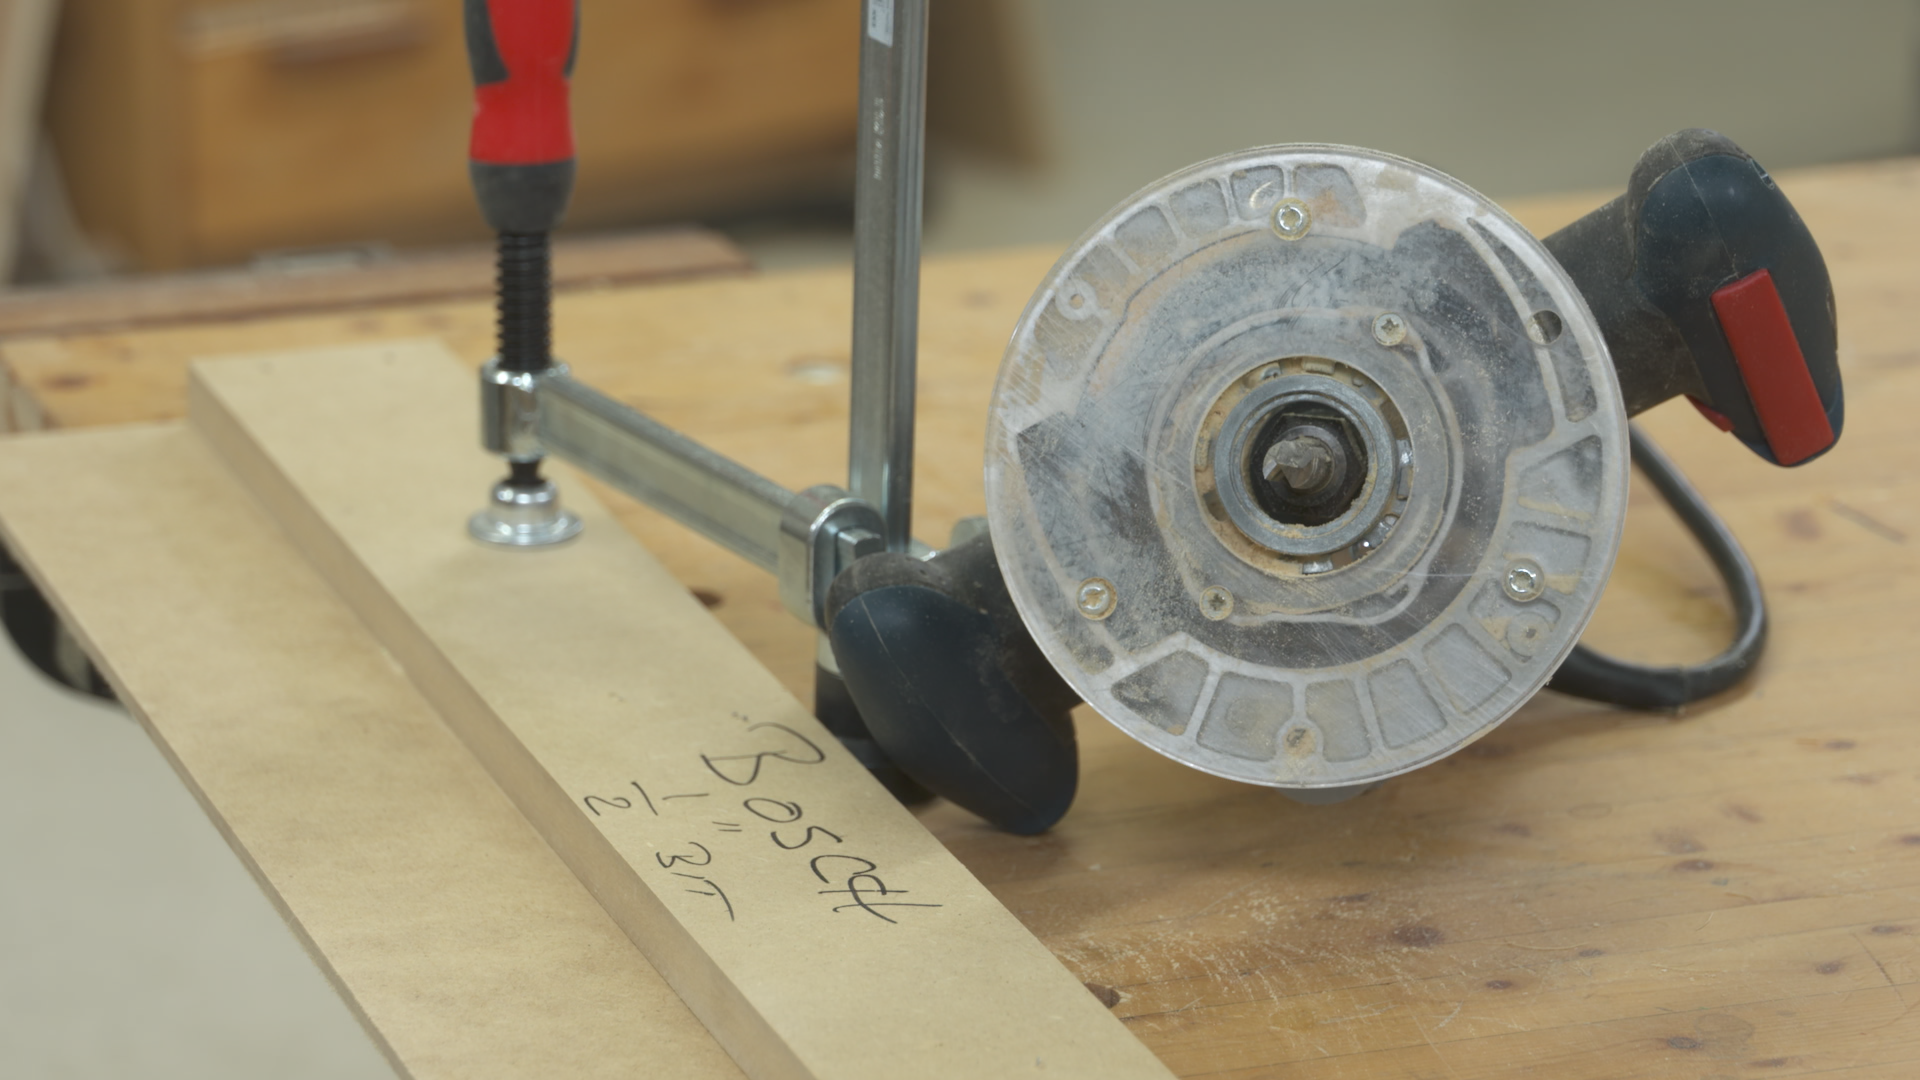
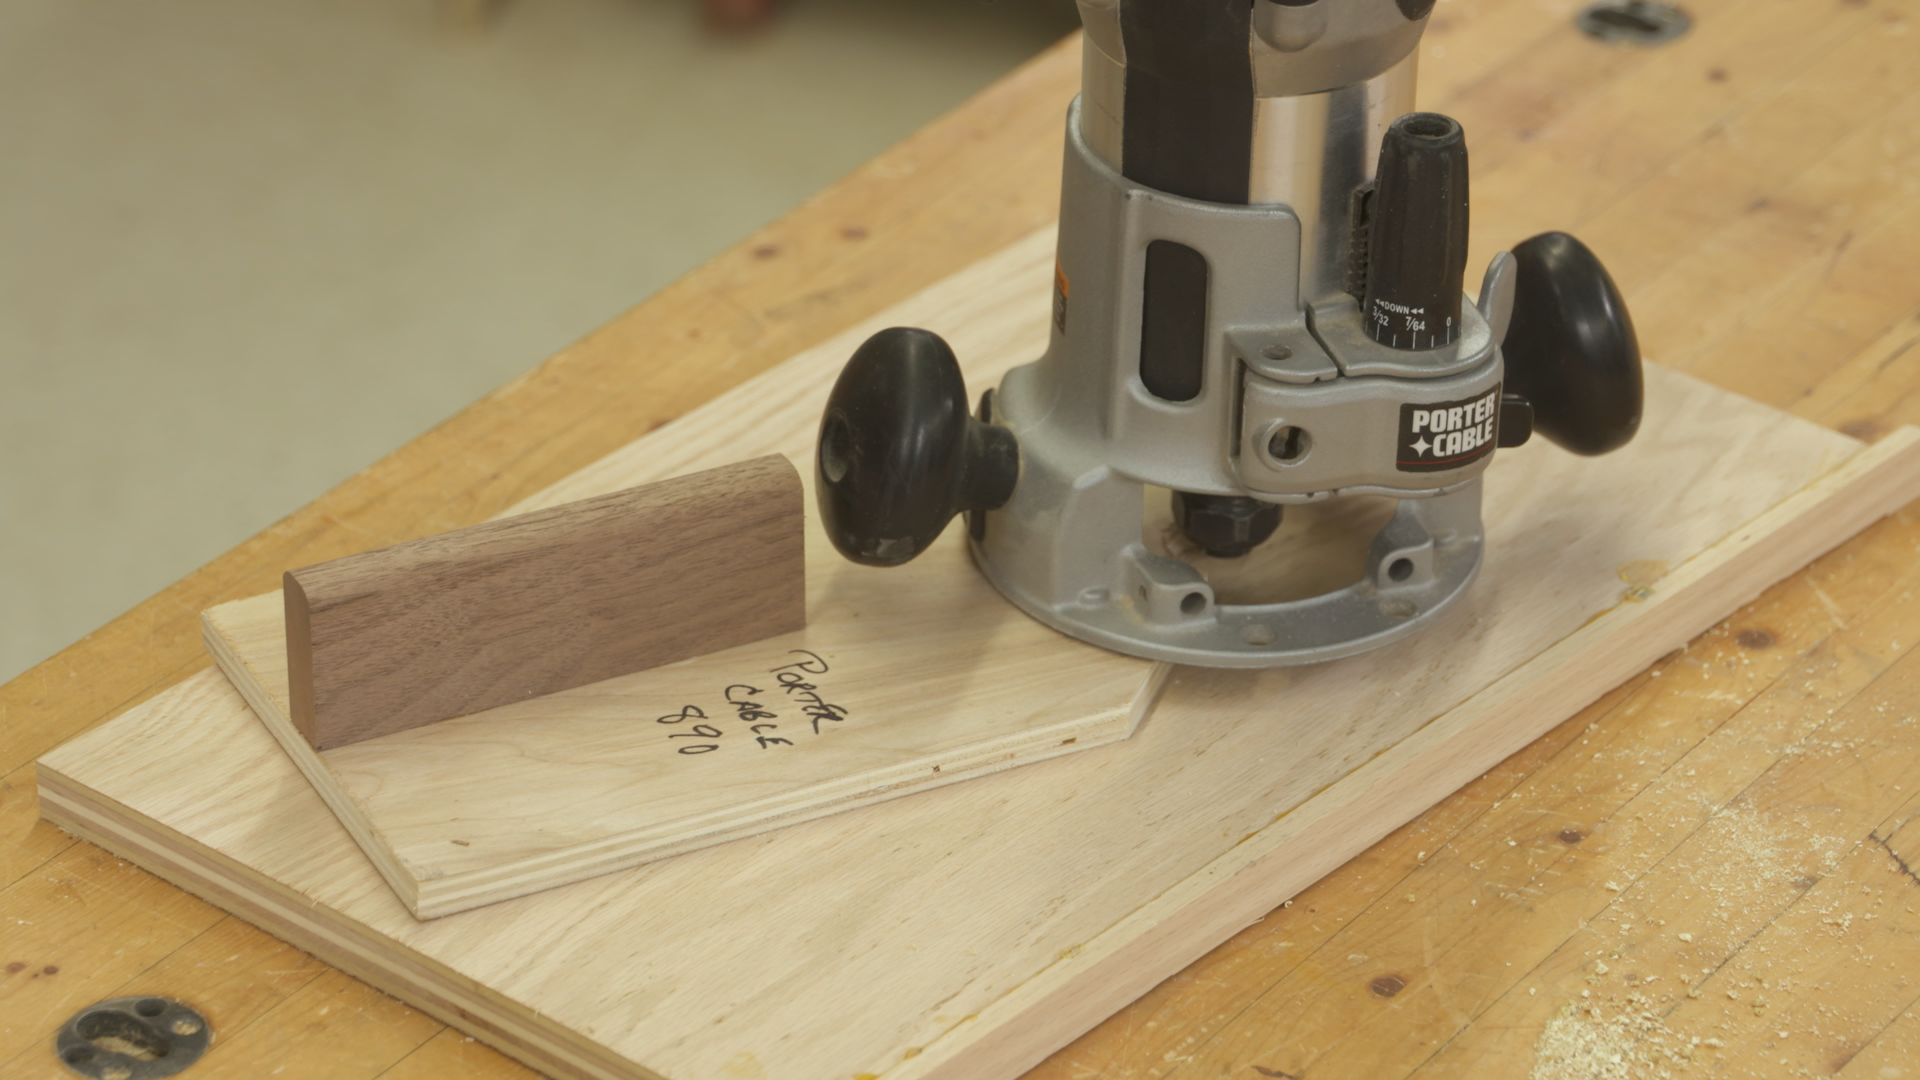
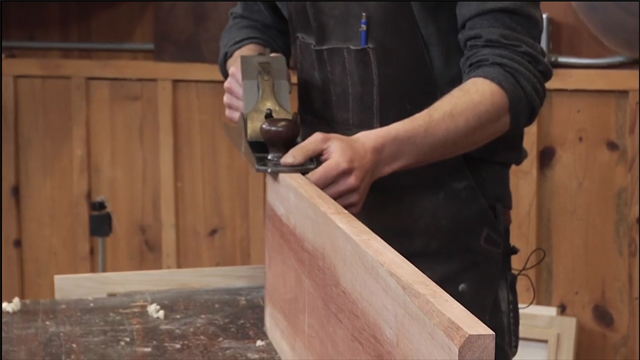
Session 1: Clean Up Edges
8:05
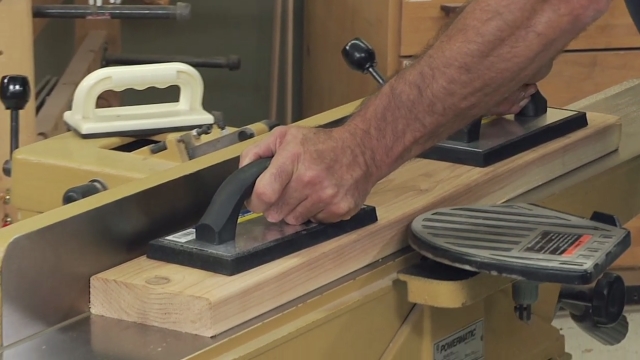
The simplest jig in the collection -- the more you use this jig the more uses you’ll find for it. It can be used to remove saw marks from a cut edge (handy if you don’t own a jointer), cut wide boards to finished length, or create a dado.
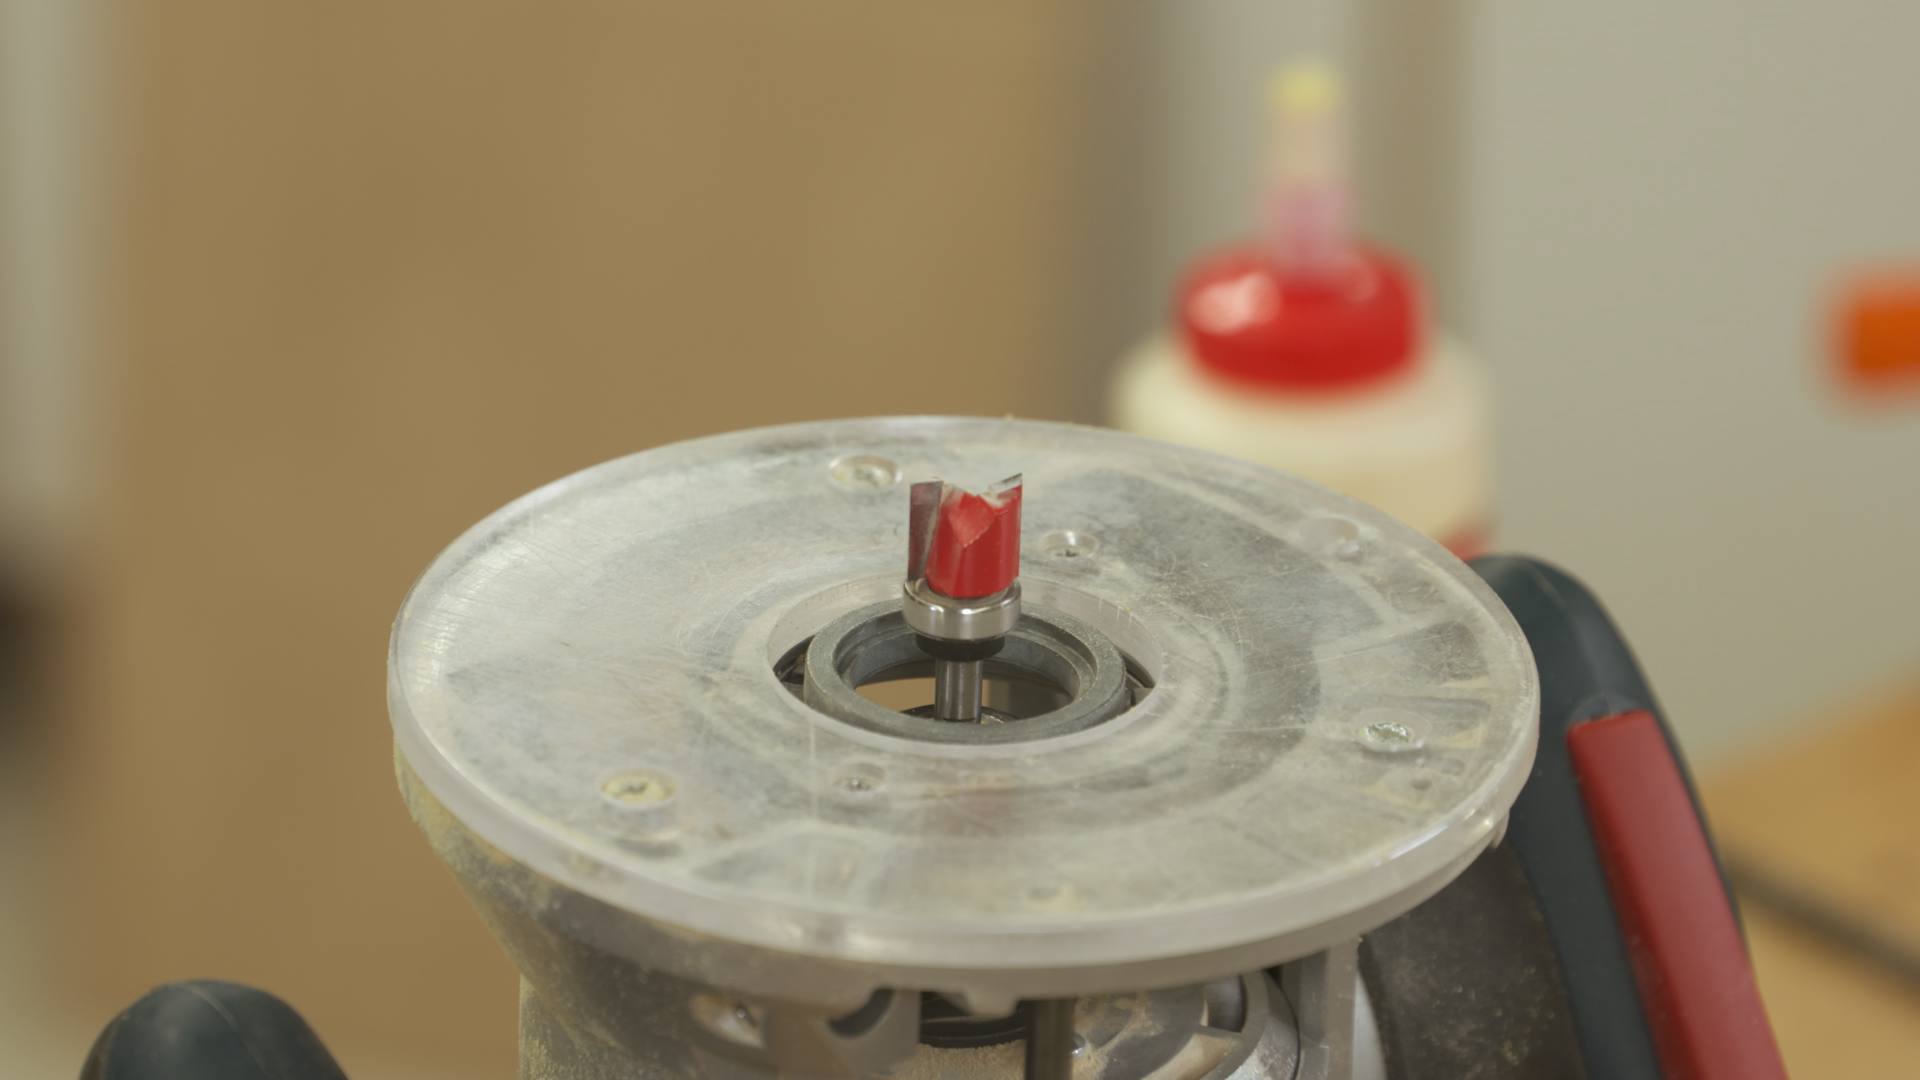
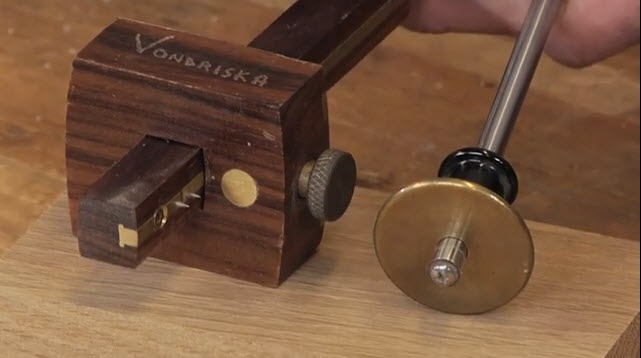
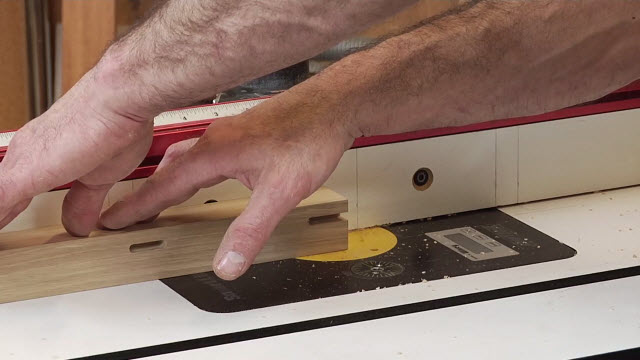
Session 2: Adjustable Dado Jig
13:54
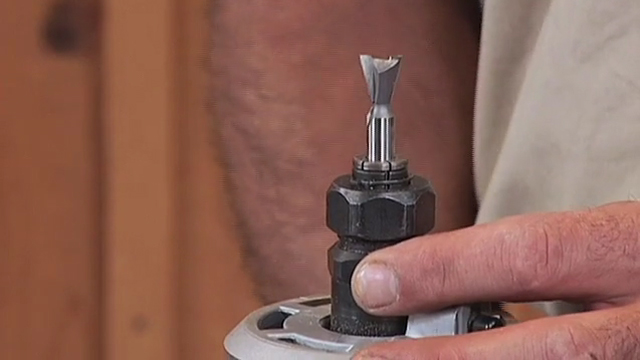
Using a router to cut dadoes provides great cut quality, but you need to be able to adjust the dado size for different thickness of material. This jig does a great job solving that problem for you. Used with a pattern style bit, you’ll get a perfect dado every time.
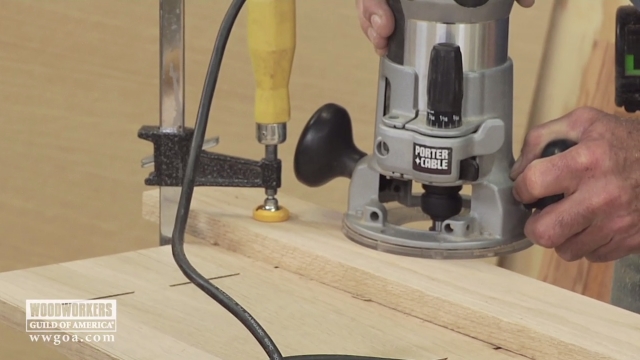
Session 3: Two-piece Dado Jig
6:25
When a router bit exits the edge of a piece, it often causes chipping or blowout. This simple set up solves that problem, making this jig a great choice for dadoes in solid wood. It’s so simple to make and use you’ll wonder how you’ve done without it up until now.
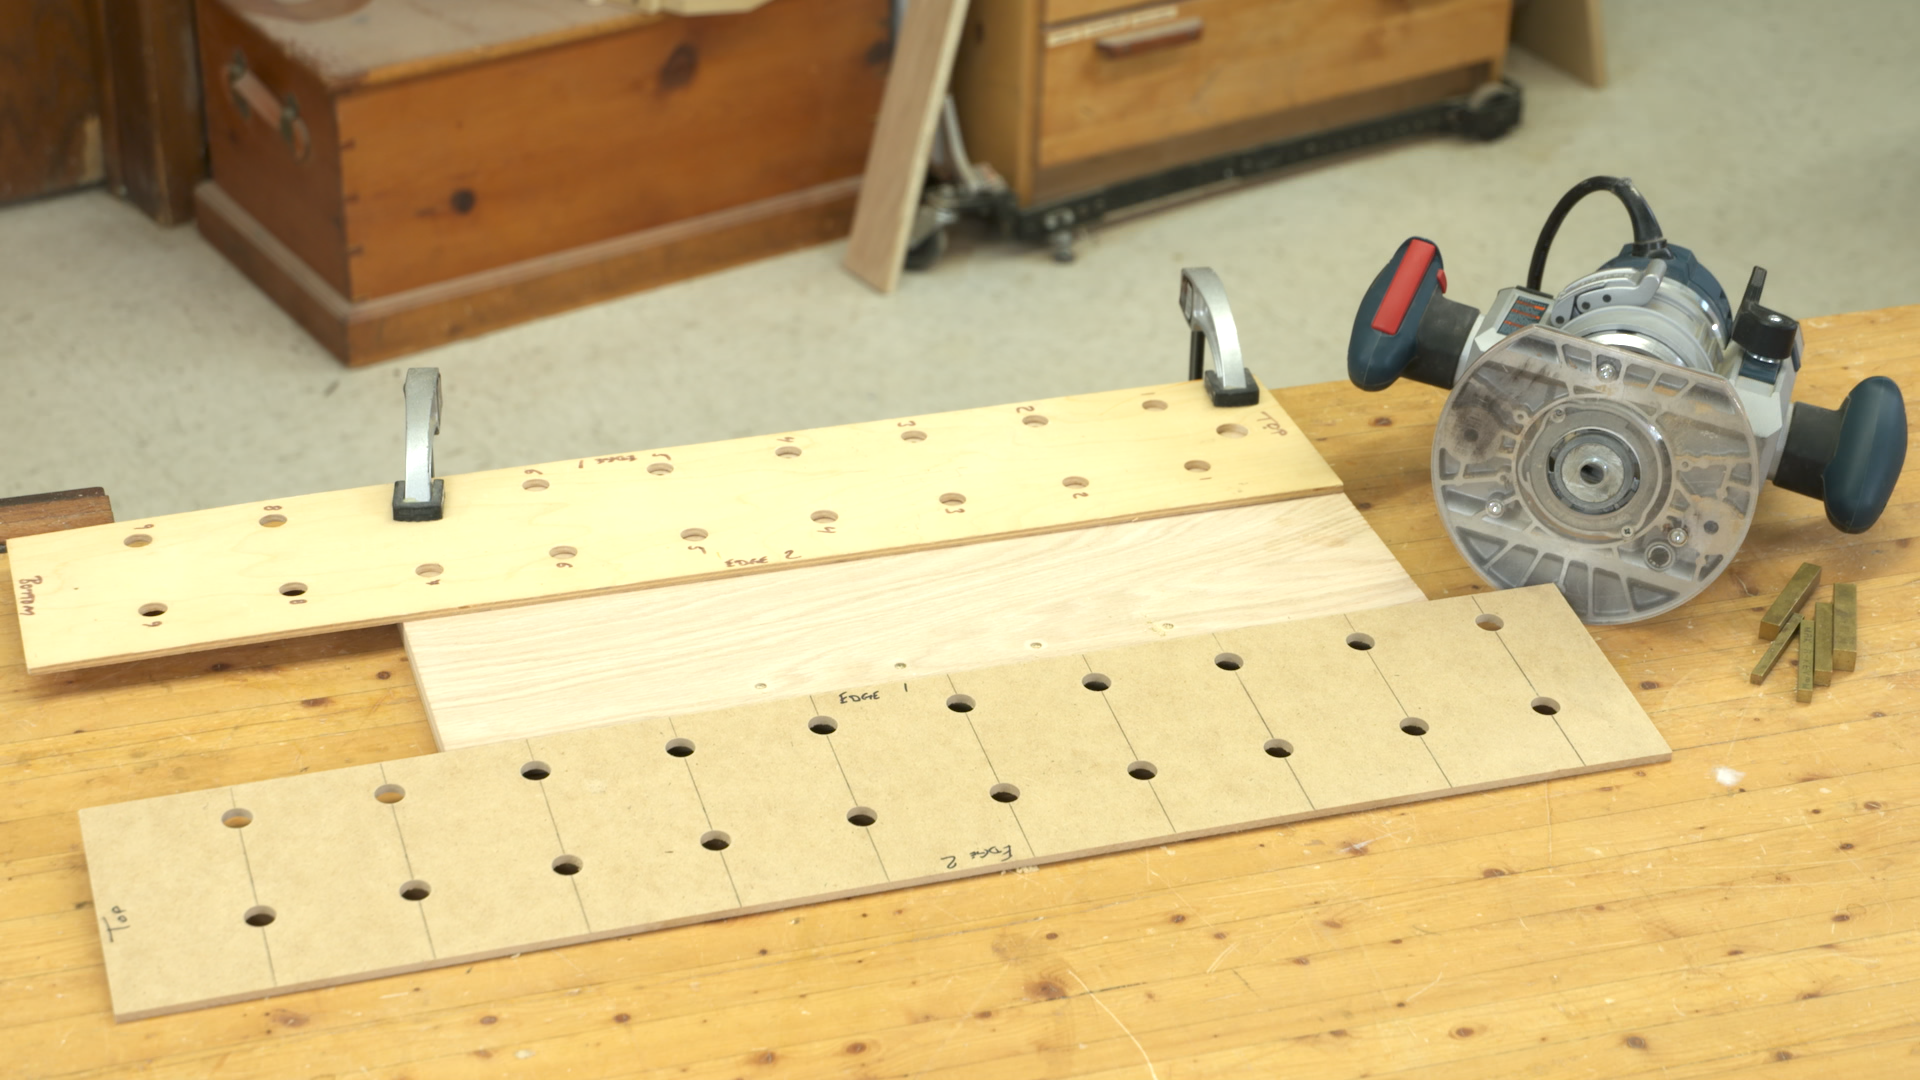
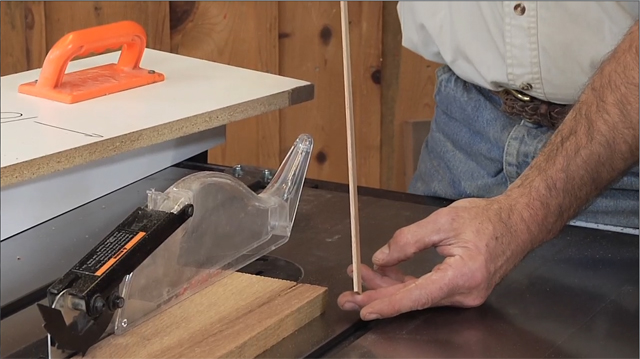
Session 4: Adjustable Shelf Holes
10:01
Combine the high rpm of a router with a sharp bit, and you’ll get great adjustable shelf holes. With a guide bushing in the router that registers with the jig, you can’t help but get every shelf hole in the right spot. No rocking on these shelves!
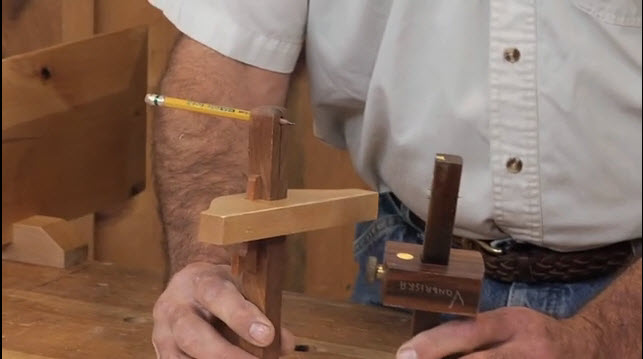
Session 5: Locating Dadoes on Center
5:24
Yeah, we talk about dadoes with the jig, but you can also use it for grooves, V-cuts, coves, and more. Once you’ve got it built for your router, locating it on your work is incredibly simple. No matter what the diameter of the bit is, you’ll have the jig in the right spot every time.
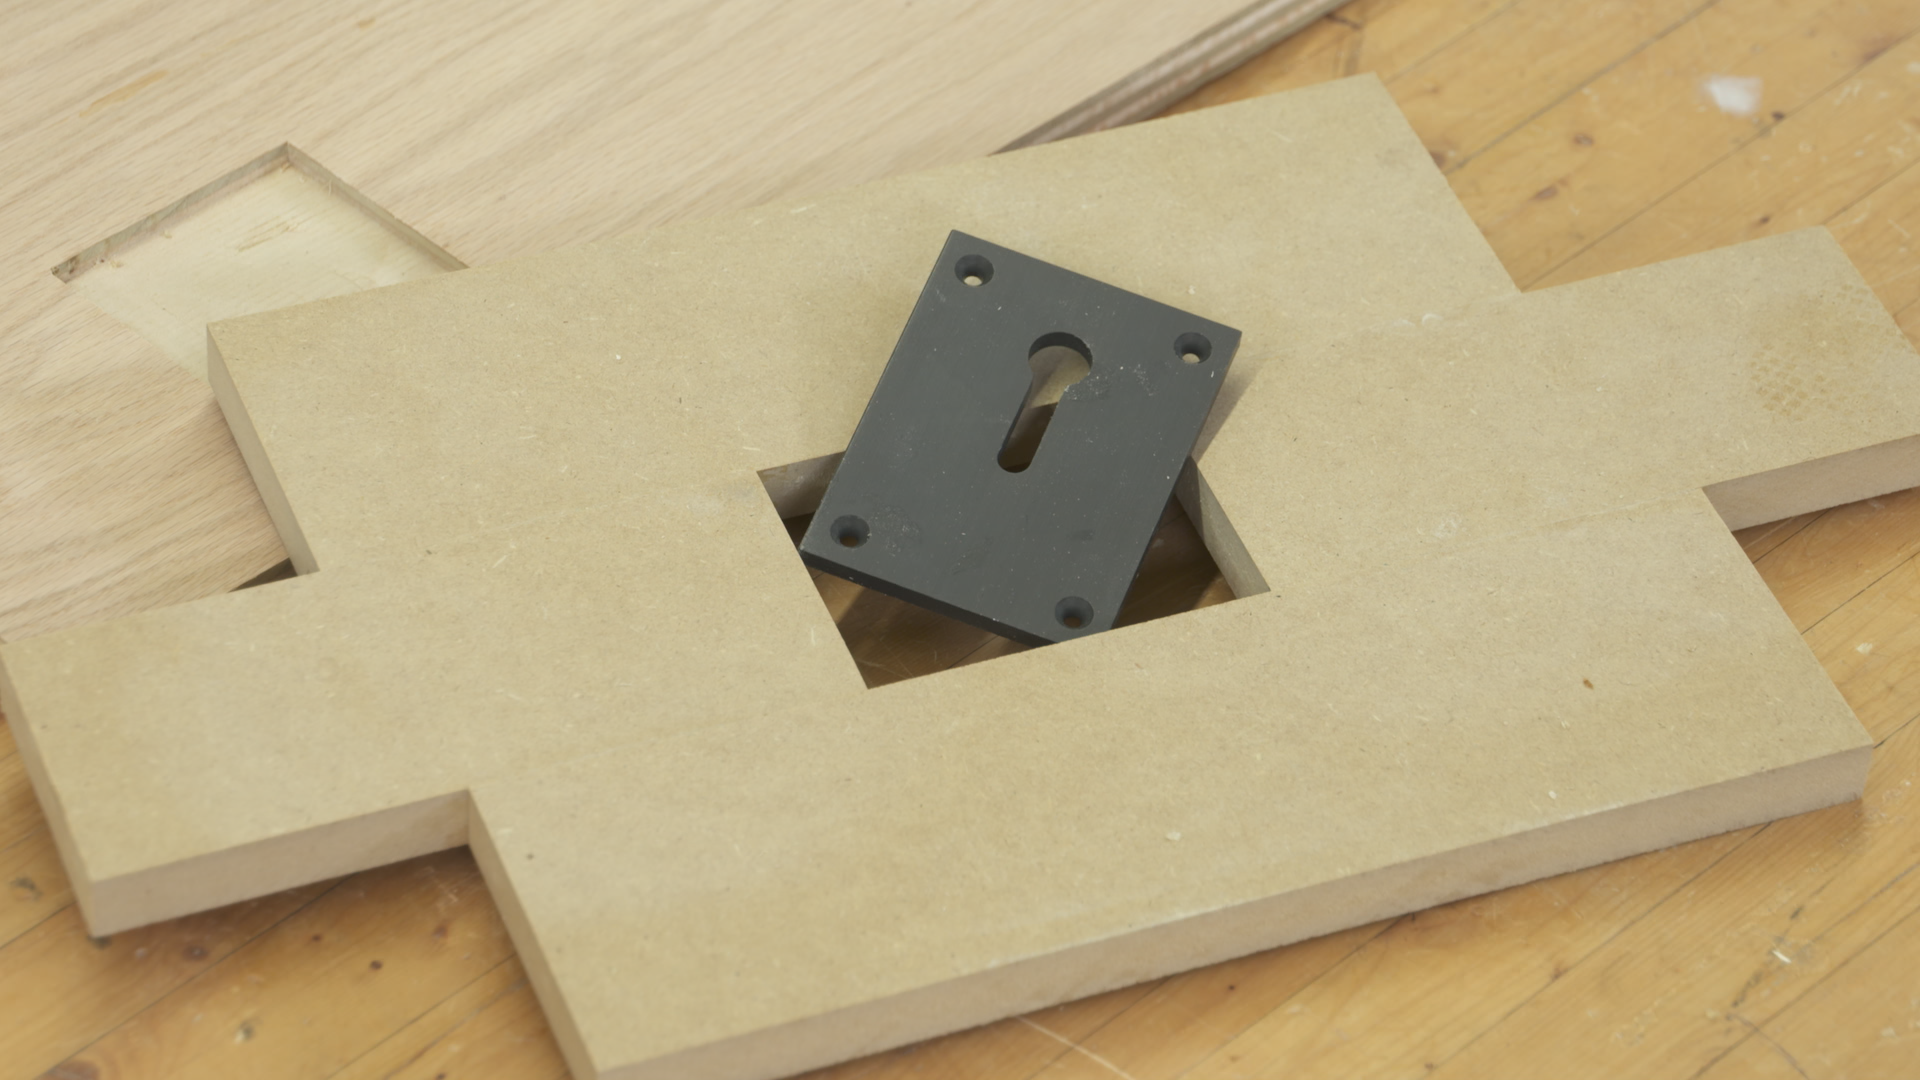
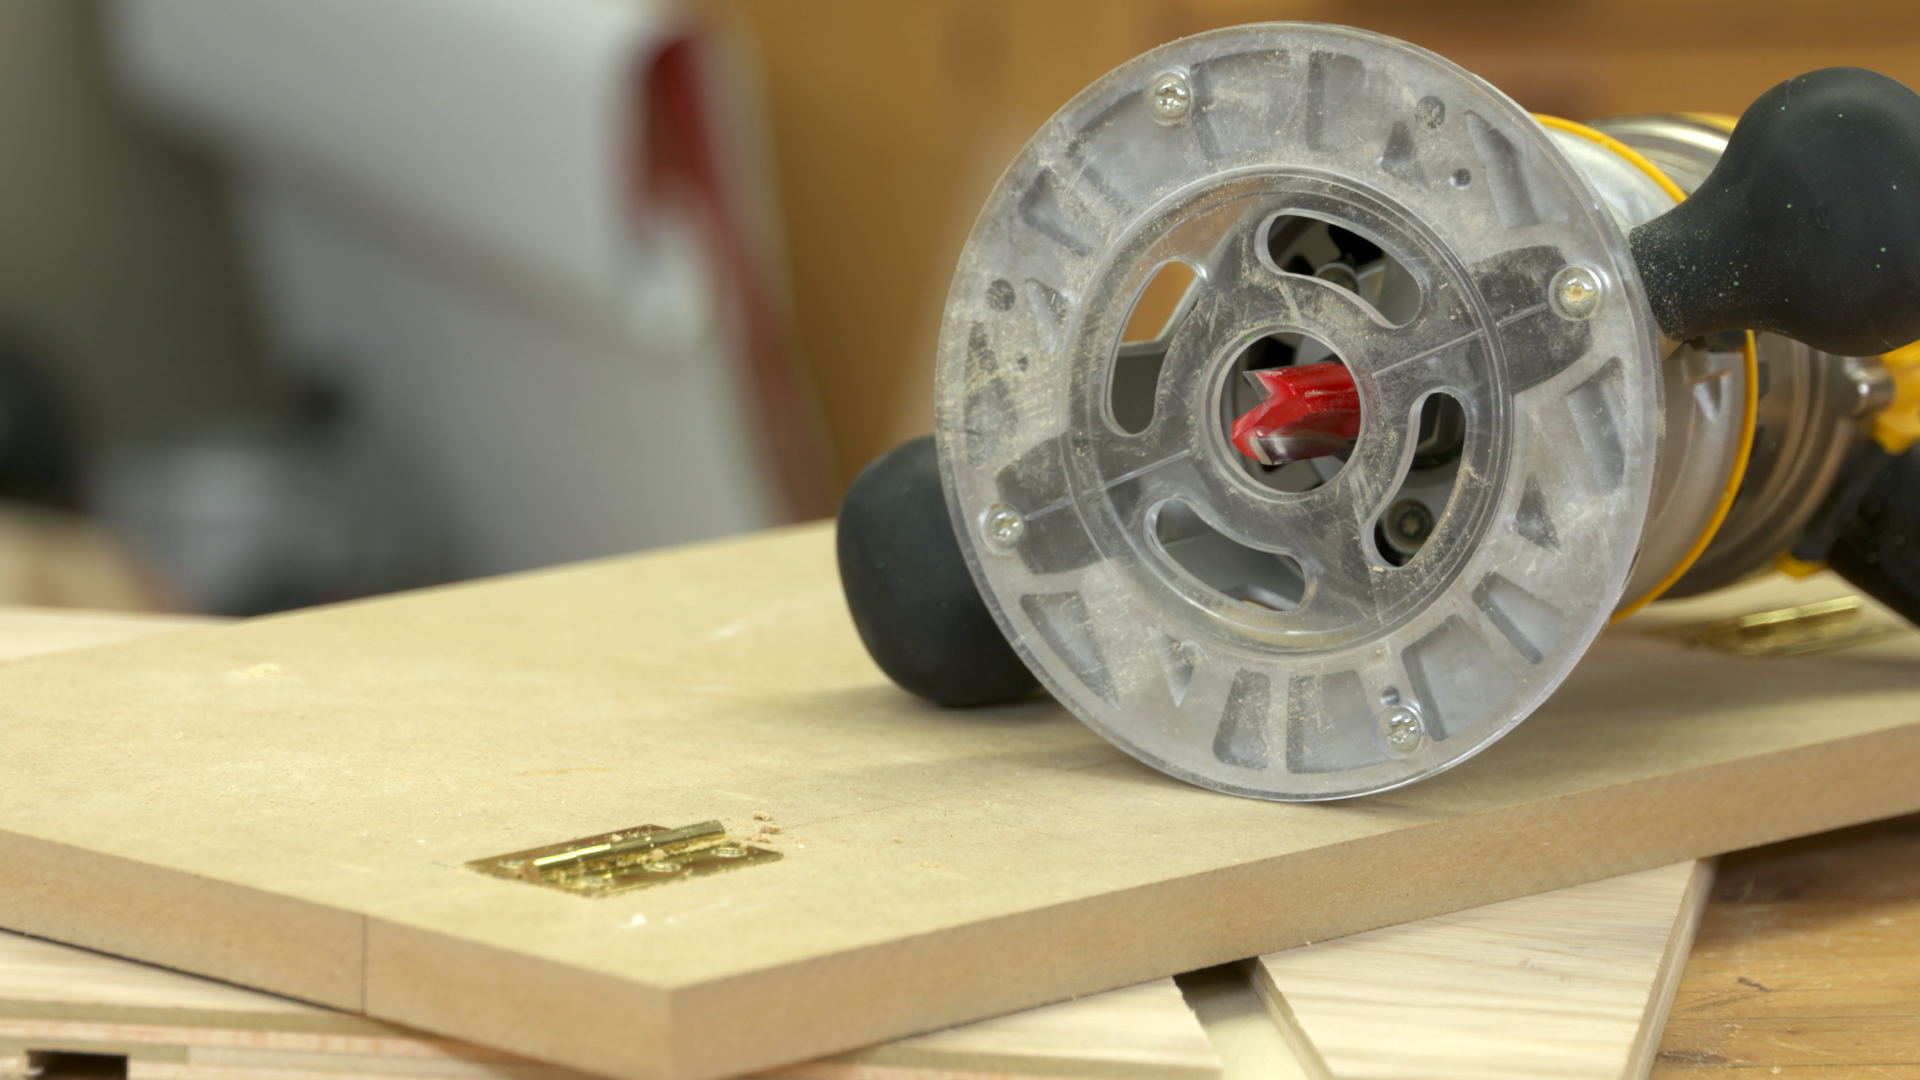
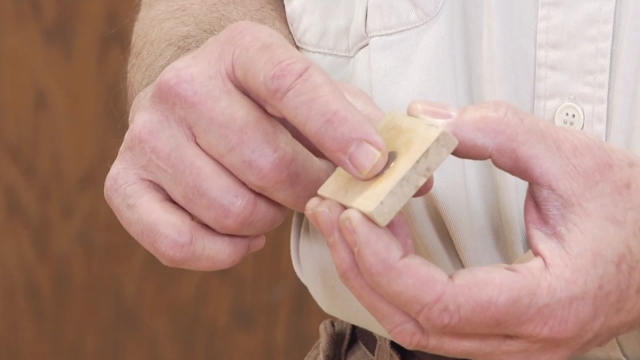
Session 6: Hold Down Pattern
10:10
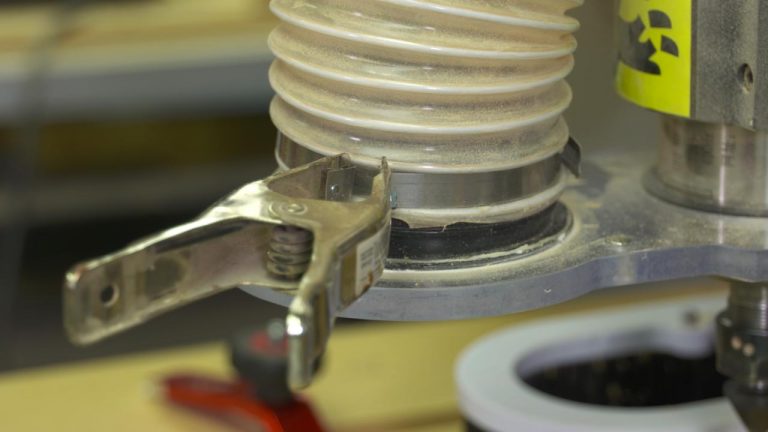
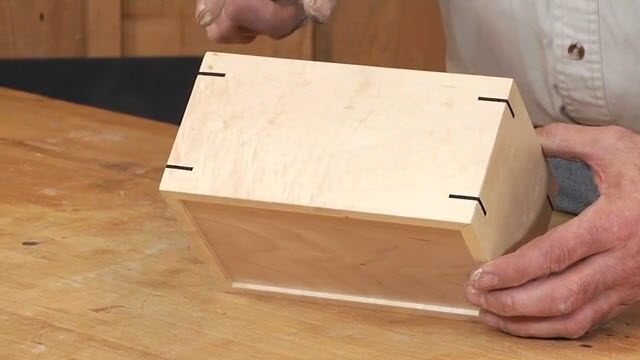
You’ll learn how to create a perfect pattern for setting a Kreg hold down plate into your workbench but, more importantly, you’ll learn tricks for building jigs and getting them exactly the right size for the part you’re inlaying. And you’ll see tricks for turning the rounded corners left behind by the router into square corners.
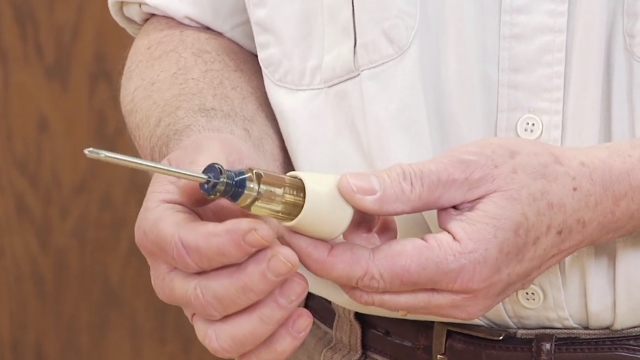
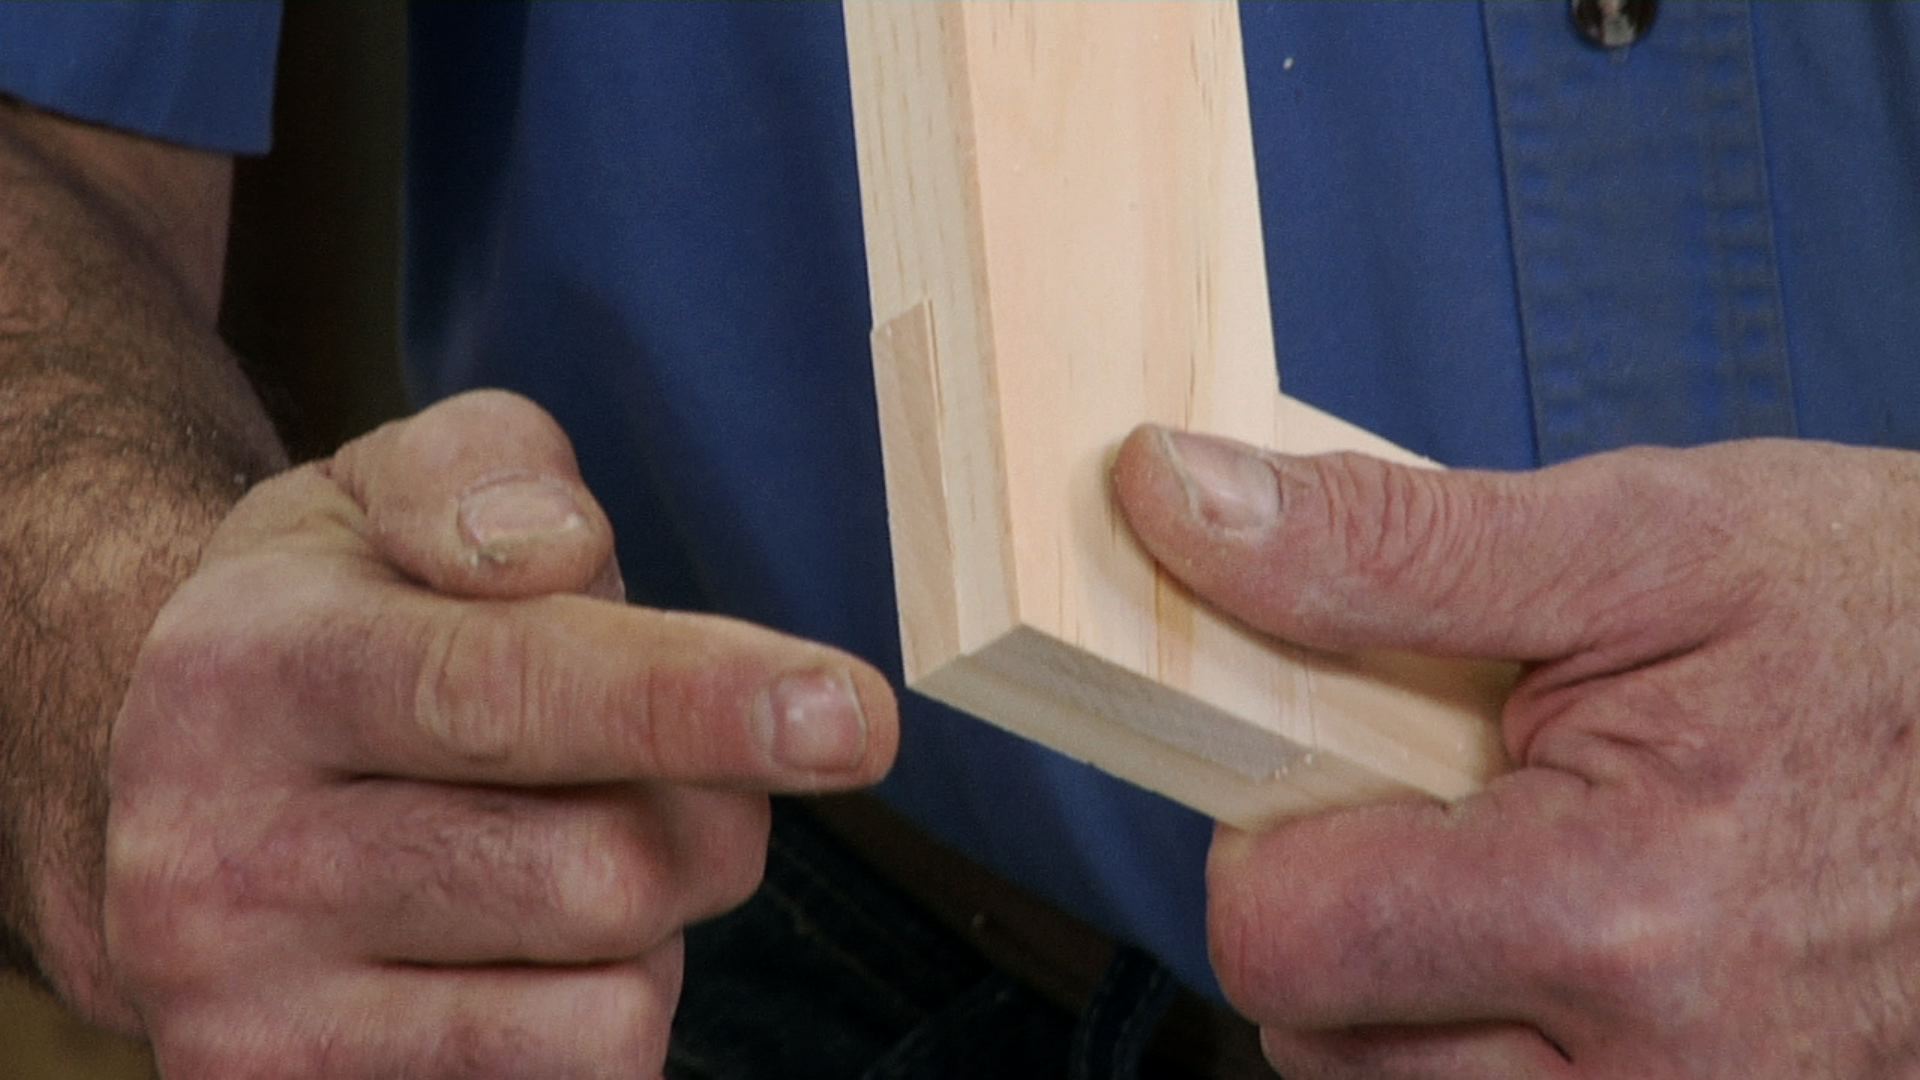
Session 7: Banding Trimmer
11:58
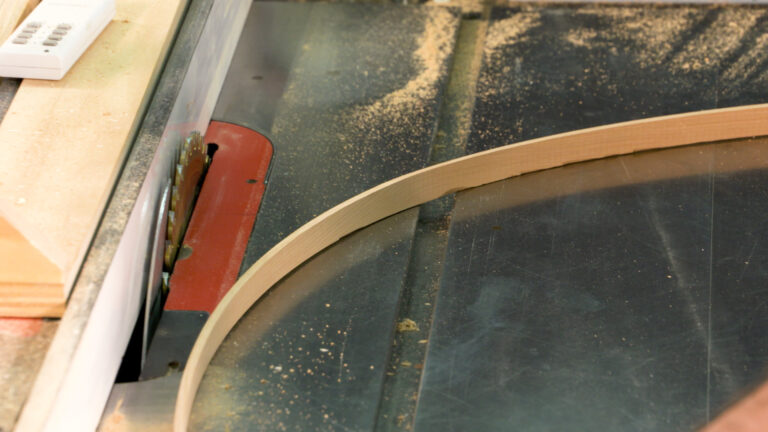
Veneer on plywood keeps getting thinner and thinner, making sanding edge banding flush to the veneer a dicey task. Once you build this jig and fine tune your router, you’ll be able to skin edge banding to within a few thousandths of an inch of the surface, making sanding easy, and much less risky.
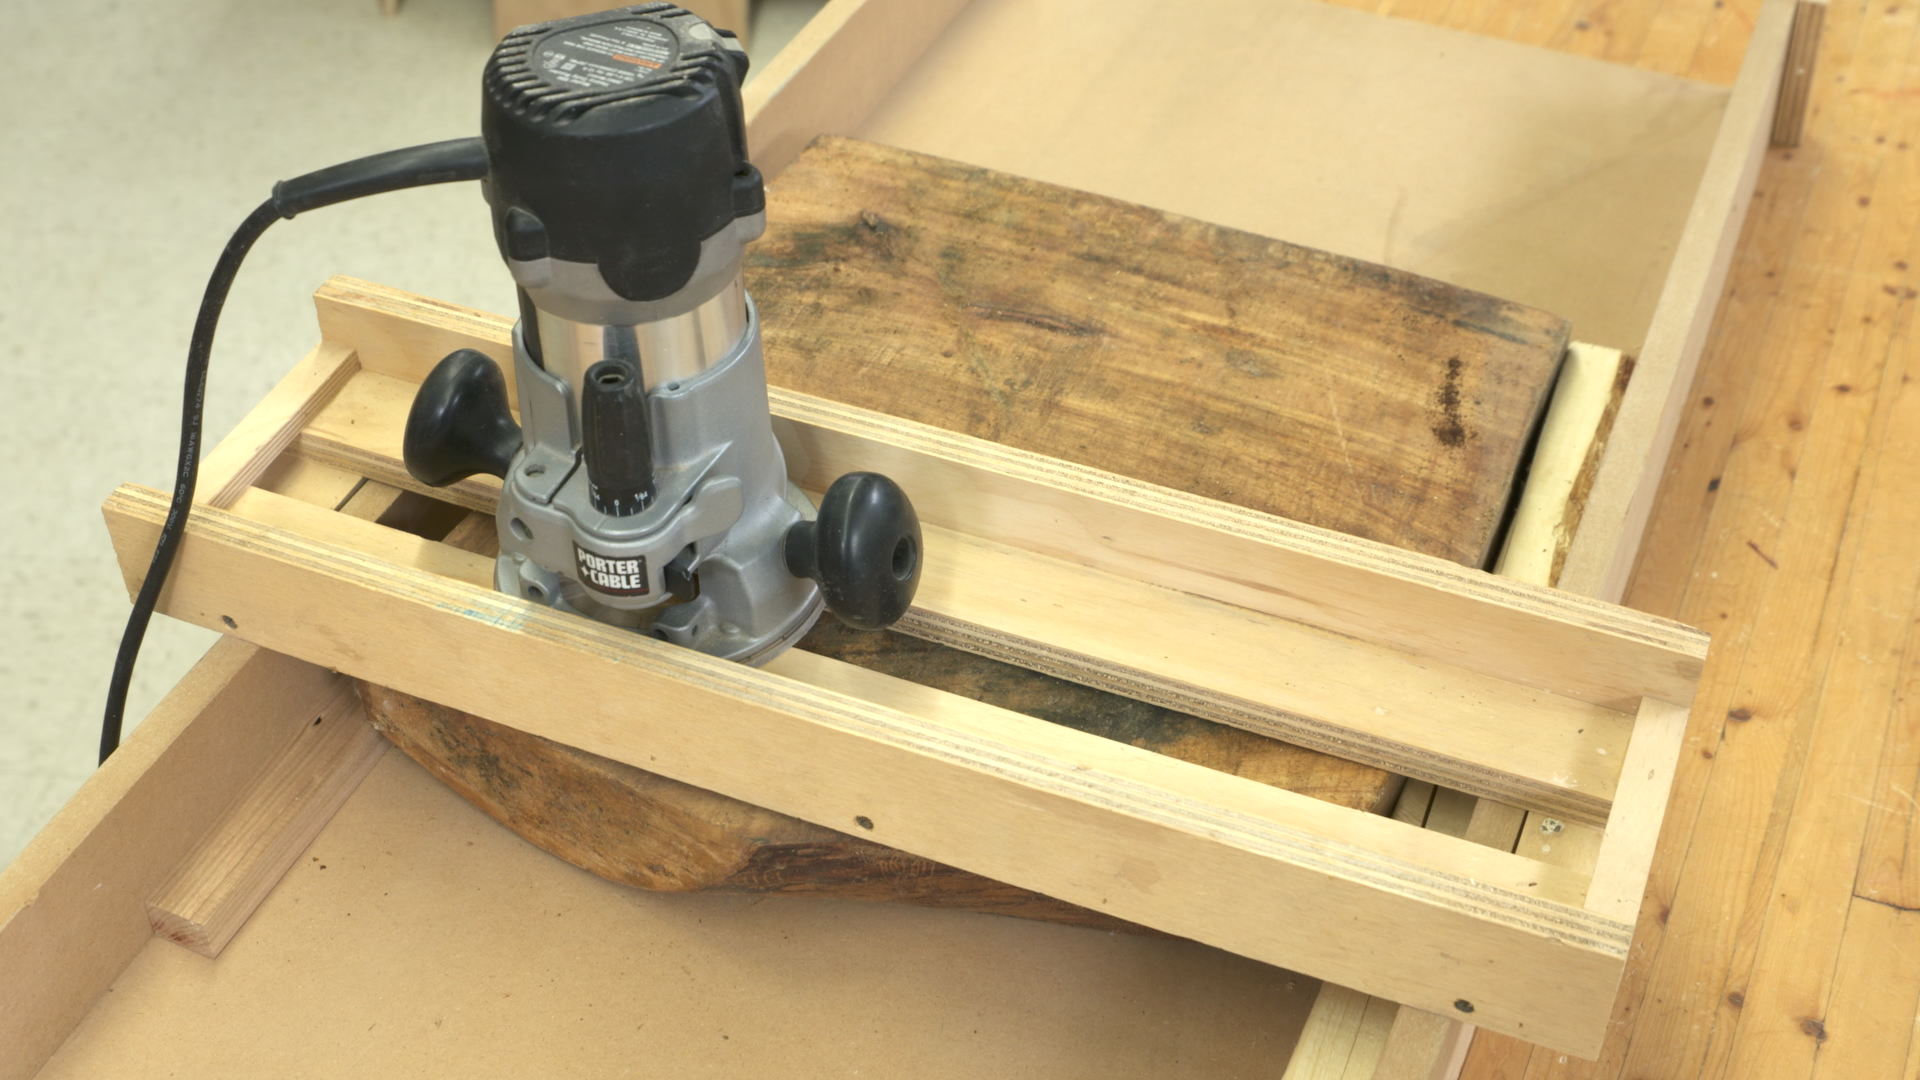
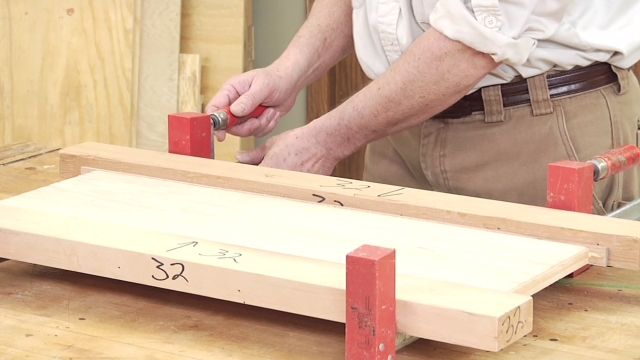
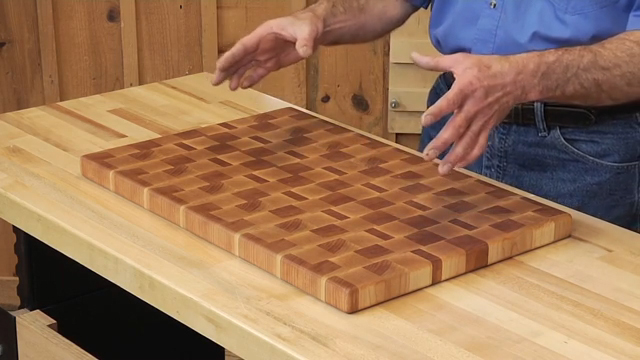
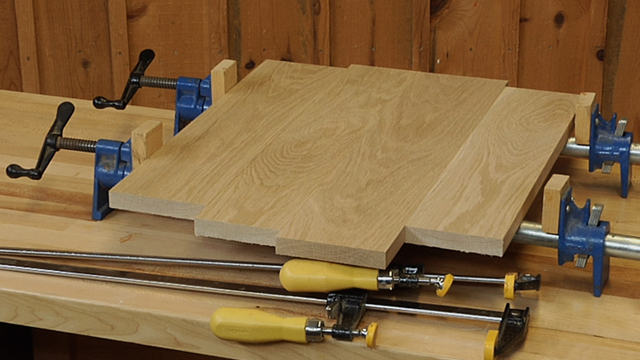
Session 8: Board Flattener
21:23
Have a slab that’s too big for your planer? An end grain cutting board that shouldn’t go through your planer? This jig works great for leveling slabs. Take advantage of the great cut quality routers provide to leave a surface on your live edge slabs or end grain cutting boards that requires very little sanding.
Are you getting the most out of your router? There’s so much that a router can do, we want to help you make sure you’re optimizing what these machines are capable of. The eight jigs we teach you to build in this class will help you take your router skills to a new level.
The format
For each jig, your instructor George Vondriska will lead you step-by-step through the process of using the jig. Setting it up, choosing the correct router bit, positioning the jig on your work, and more. Once you understand how the jig is set up and used, we’ll take you step-by-step through building the jig, including:
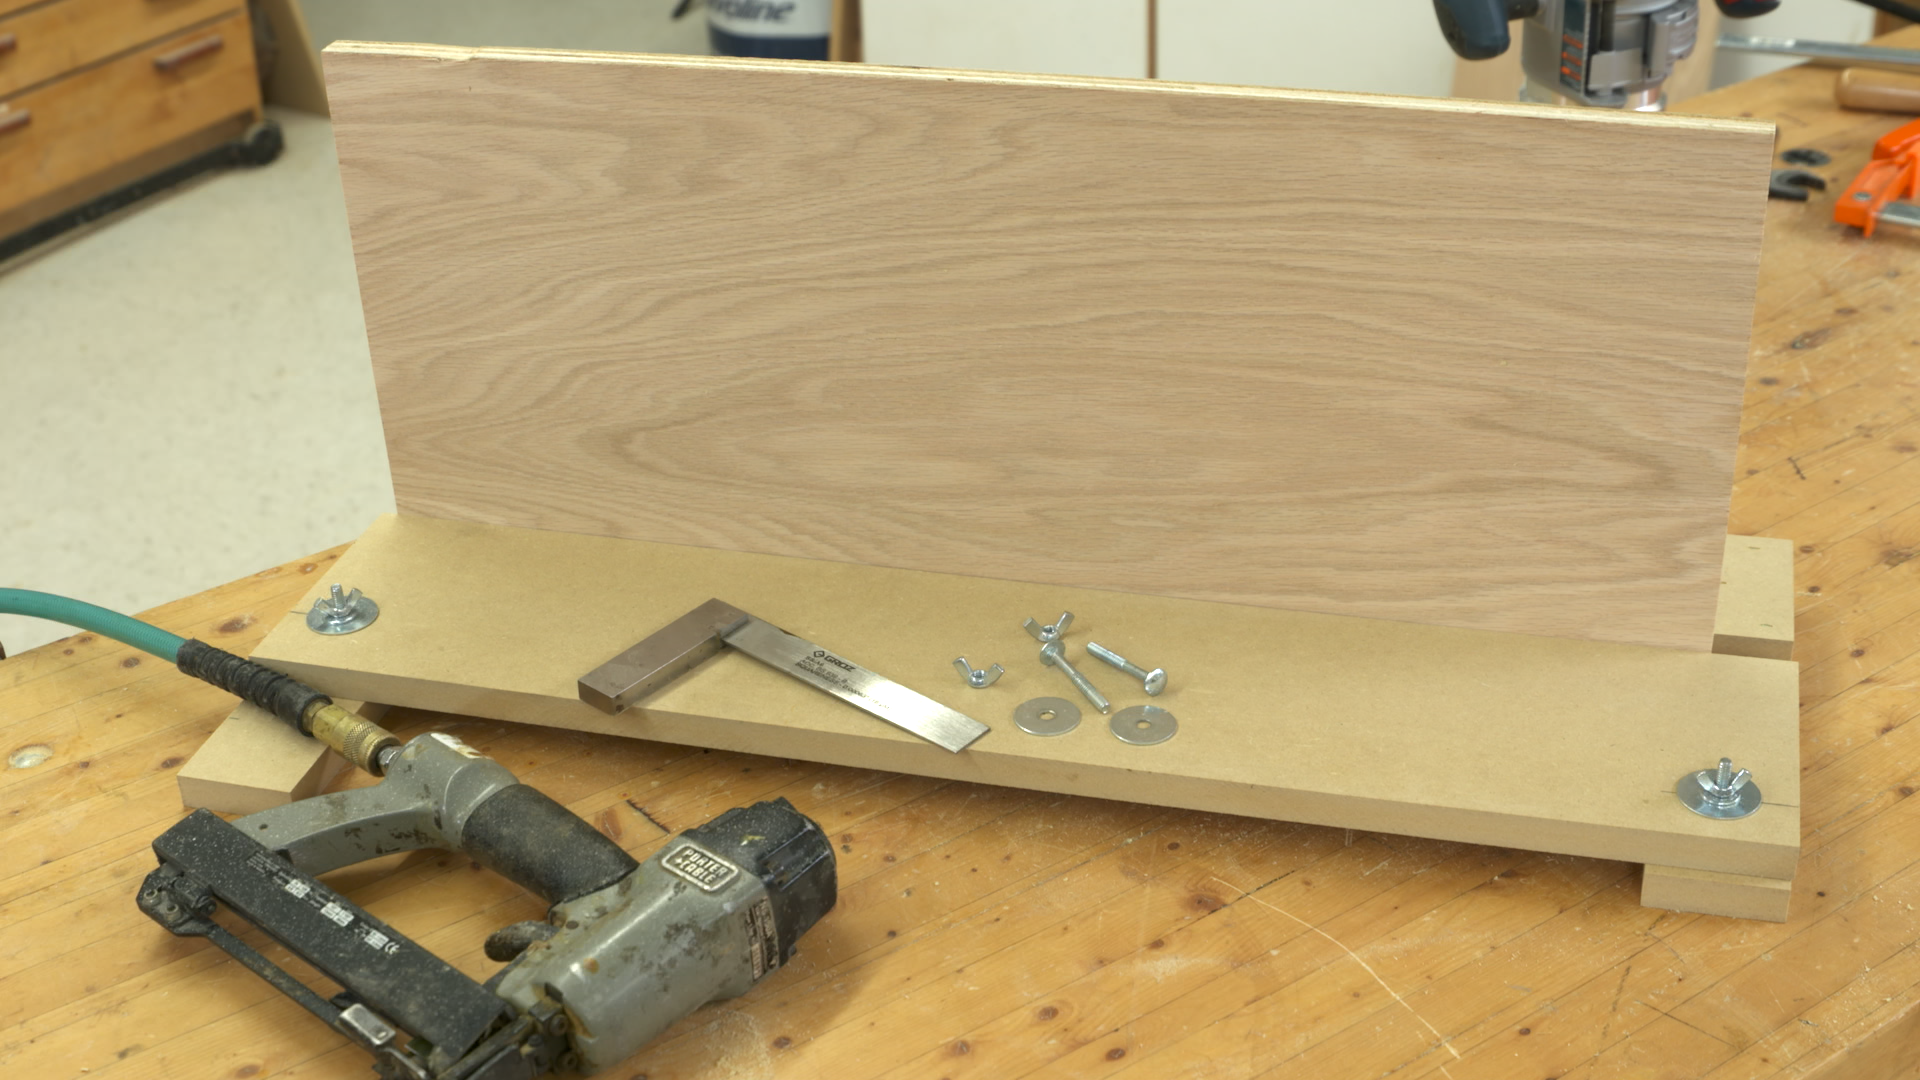
- A cut list of parts required
- A list of hardware required
- Adjustments required to make the jig work for your tools
- Type of router bit needed
- Tips and tricks that simplify jig building
What jigs are used?
Regardless of what kind of woodworking you like to do, there’s a jig in this class that will help you out. You’ll see jigs that will help you:
- Clean up edges on your pieces
- Create perfectly fitting dadoes
- Make adjustable shelf holes
- Locate dadoes, grooves or coves in the perfect spot every time
- Rout a perfect recess
- Trim banding flush with the surrounding surface
- Flatten large slabs or end grain cutting boards
No matter what kind of router you own, or woodworking you do, there really is something for everyone in this class. Invest in making these great jigs, and you’ll be using them for many years to come.
In addition to the detailed video help you’ll receive, this Class provides you with some downloadable resources and helpful information to print and keep, including: A detailed Class Guide you can follow and use as a reminder for the key points of the class instruction; and a resources document that will give you detailed cut lists and information to create the jigs you’ll see in the Class.
George Vondriska
George Vondriska is the Editor in Chief here at Woodworkers Guild of America and has been sharing his woodworking expertise since 1986. Apart from conducting classes at his renowned Vondriska Woodworks School, George's passion for teaching has taken him to woodworking shows nationwide and has led him to teach woodworking for prestigious organizations such as Peace Corps/Swaziland, Andersen Window, Northwest Airlines, and the Pentagon. With a wealth of published magazine articles under his belt, encompassing tool reviews and shop improvement projects, George's knowledge and skills continue to inspire woodworkers every day. To discover more about him and his school, visit georgevondriska.com.
Bonus materials available after purchase
How do I know what the Class covers?
Do I have to be a Member of Woodworkers Guild of America to purchase a Class?
How do I purchase a Class?
How do I access/view my Class?
Do I have to take the Class right away?
Is there a limit on the times I can view my Class?
Can I view a Class on my tablet device or mobile phone?
How do I get access to the Bonus Materials for the Class?
How does the Class Q&A Resource benefit work?
Can I print out Class details?
What are PDF downloads?
Are there any system requirements to view the Class video content?
Why do you need my email?
Can I get a refund if I don’t like the Class?
How do I contact WWGOA Academy?
Explore classes by George Vondriska
Sale
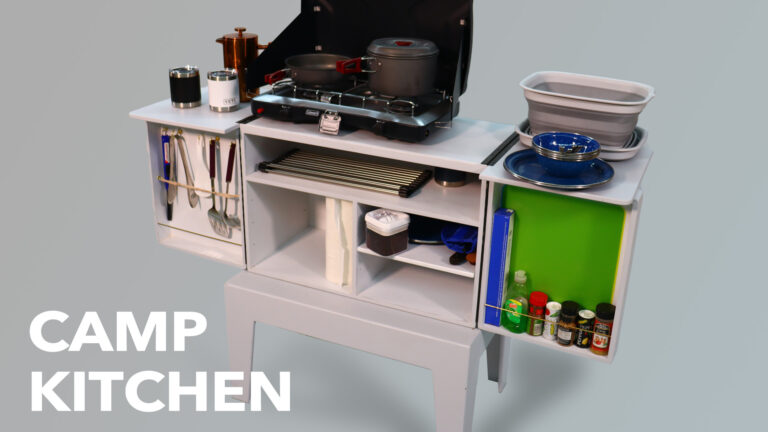
Camp Kitchen
Class
Sale
Build a Bench
Class
Sale
Kitchen Table
Class

Sale
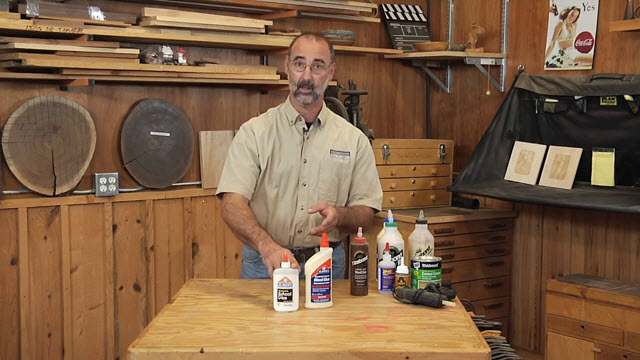
All About Glue
Class


Sale

All About Wood
Class
Sale
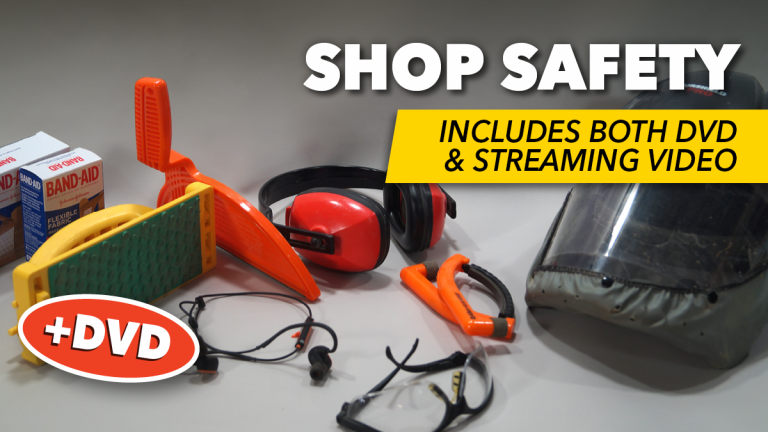
Shop Safety
Class
You may be interested in


Purchase Class
Purchase class and add to your personal library with on-demand video access.
- Enjoy on-demand video access to this content anytime, anywhere for the one-time cost below.
- You won’t lose access, with or without an active current Membership
8 Jigs for Hand-Held Routers
with George Vondriska