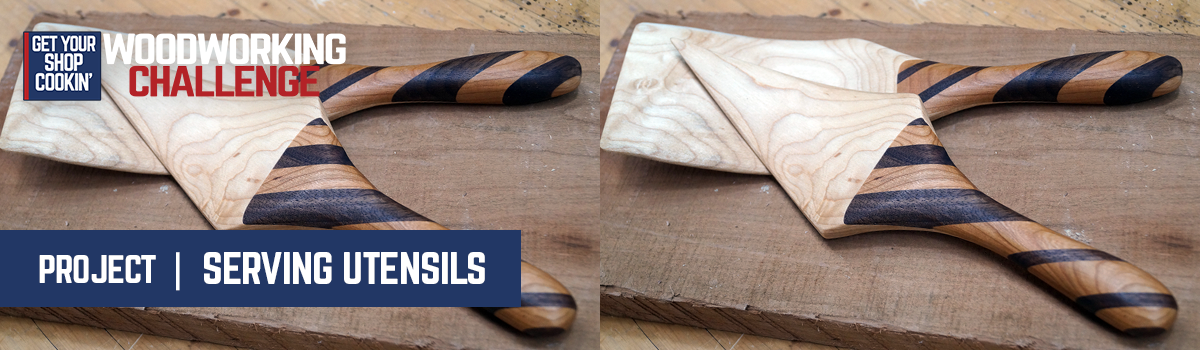
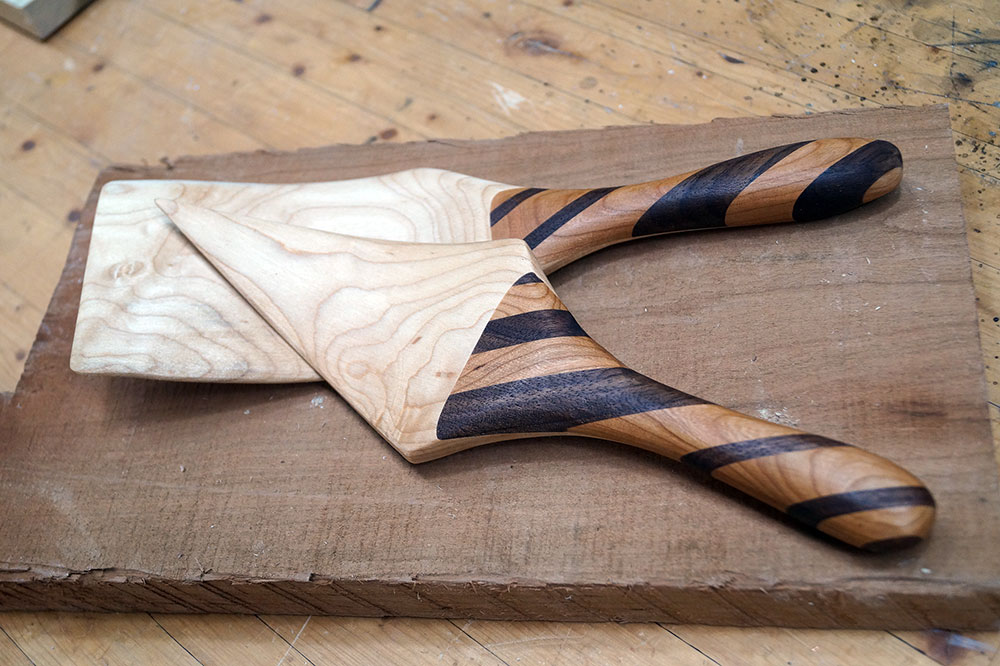
Moving right along in the WWGOA Woodworking Challenge, our week 3 project is one that only looks impressive – you’ll find that these artisan serving utensils are surprisingly easy to put together with just a few basic woodworking tools. Designed by Paul Mayer, the plan includes helpful templates and ideas for adding an attractive stripe design to the handles.
Check out the videos below for some additional tips on this week’s project from our Managing Editor George Vondriska (including a cool idea for creating the templates if you have the setup), and then click the button to go to the full tutorial. Once you’ve completed your project, make sure to share a photo with us in the Challenge Facebook Group!

Tips for Making Serving Utensils
Cheating (in a cool way) on the templates
Not everyone has CNC technology in their shop, but if you do George has a great way for you to kick out the templates for this project:
Adding diagonal stripes
Want to give your serving utensils a little different look? Put those stripes on the handle at an angle. Here’s how:
Tips for compound cutting
If you need a little help with the bandsaw cuts on the utensils, George has you covered with this video:
If you haven’t yet already, make sure to officially join the challenge so you can get each week’s project delivered right to you inbox.
Ready for the next project? Here’s what’s coming up next:
Kitchen Tongs
Wine Bottle Holder
Serving Utensils
Knife Block
Butter Board Set
Coffee Scoop

I will sometimes make a turning block for rolling pins the same way George cut the diagonals in this video. Another thing you can do with the triangular cut-offs -- what I usually do -- is glue them back to back (long edge to long edge) to make another diagonal block. Sure cuts down on the waste!