Money-Saving DIY Festool Domino Tenons

Photos by author

homemade domino tenon

I have to admit that as a hobbyist woodworker of modest means, my Domino purchase was a bit of a budget breaker. I decided that I would reduce the total cost of ownership of this tool by making my own tenons using scrap wood. Penny wise and pound foolish you say? I think not. When I mentioned this strategy to a couple members of the WWGOA editorial team, it led to some lively debate as to whether this could really deliver actual savings when the “dollars to hassle ratio” was taken into account. Ultimately, I believe it will be up to each individual to decide this, but I have found it extremely quick and simple to convert scrap material into perfectly sized floating tenons.

In a simple timed test using wood that had been relegated to my kindling pile, I was able to make 100 tenons (6mm x 40mm) in about 15 minutes. That’s about $10 worth of tenons, making my pay-off roughly $40/hour. OK, I’ll never get rich with this program, but these savings will add up over the years and I will also never have to put a project on hold because I ran out of tenons.

making floating tenons
To make the tenons, plane stock to ¾” thickness, then rip strips to the desired thickness of the tenon. Set the table saw fence using a factory-made Domino tenon and then test the fit in a mortise cut by the Domino itself to ensure a perfect fit. Cut them to length on the bandsaw, or leave them long and cut them at the time of my project to ensure the proper length. I don’t bother rounding over the corners as they do not enhance strength, and at ¾” the cheek is a bit wider than on the factory-made ones, providing roughly 20% more gluing surface.

DIY Domino Benefits

  • • More gluing surface
  • • Never run out
  • • Free tenons
  • • Feel better my expensive Domino purchase (priceless)

As an alternative, if your planer or surface sander handles thin material well, you could plane the stock to the desired tenon thickness, measuring with a precise caliper, then rip to width on a table saw.

Whatever your approach, if you are a penny-pinching Domino owner like me, then some homemade Dominos might just be in your future!

Comments
  • (will not be published)

17 Responses to “Money-Saving DIY Festool Domino Tenons”

  1. JEAN PHILIPPE FANFAN

    dominos jointer is too expensive is for the reason i want you to help me

    Reply
  2. Ian Chadwick

    Hi.
    You could improve your shop made dominoes by first run the stock through a round over router bit before you cut them down to size, I know it’s a little more work but the fit I find is much better.
    Enjoy
    Ian M Chadwick

    Reply
  3. Terence

    Gentlemen!

    Thank you for this discussion. As much as I did not care for “dad”, this conversation brought me to his workshop. My dad used to take me to the junk yard. They call them hoarders now. HeHe. He made EVERYTHING he needed, including his tools.

    I am teaching myself my father’s love for wood- I guess he wasn’t so bad after all. Lol. Thank you again – parephasing my dad, passed in 1979 @ 60 – he life lesson was use what the good lord gives you. Good gives me some fancy ones in the inventory case I don’t want bother. Lucky me.

    Reply
  4. Phil Kethel

    I live in Australia I got my domino machine when it first came out and I haven’t looked back. But after about 12 months I thought what could I do with all my off cut strips so I started making my own tenons out of all kinds of different timber and probably have between 15 and 20,000 8 x 50 and would like to sell some

    Reply
  5. Dennis Wiederhold

    i own the big Domino . Its become indispensable in my shop for furniture making ..i thought about making my own tenons on my William Hussy molder ..of course you got to have 4 separate cutters made . next time i am talking to my tooling guy i will ask him if he can reproduce the glue ridges …you must have these glue ridges on this kind of joining method ..when i make traditional mortise and tenon i factor in ‘reservoir’ at bottom for glue to go ..other wise unless your joint is sloppy your gong have problems ..
    .. i just bought the beech 750 mm box (18x)of 14 mil tenons for around 90 bucks …that works out to about .17 per inch .lets say i use 12 inches .12 x.17 = 2.04 and so on . for typical job ….2 bucks on average per thousand dollar of any job ..i can afford festool product .

    Reply
    • Mikey

      Paul, I think the idea of making your own is good but for the time invested. You mentioned making 100 pieces in 15 minutes ? I’d like to watch you do that in that short of time. You are saying you can sort through you cut offs, run them through a thickness plainer, straight line rip them to correct width, set up your band saw fence and cut 100 pieces and finally touch up each on a sander to clean up the ends. Some things are worth the effort and may save a little money in the process but if you time is worth anything at all I doubt there is much saving. If the end product is worth the effort it sounds like you have benefited fro it.

      Reply
  6. Dave Smith

    I’ve done this a few times when I ran out of dominos. Thing is, I’ve always rounded over the edges … silly me. The point of the domino is primarily alignment in the one direction – and I often make the mating hole larger anyway to allow for me to align in the other direction as necessary. ALSO, I really like that I can make wider dominos for greater strength. Thank you.

    Reply
  7. Ken

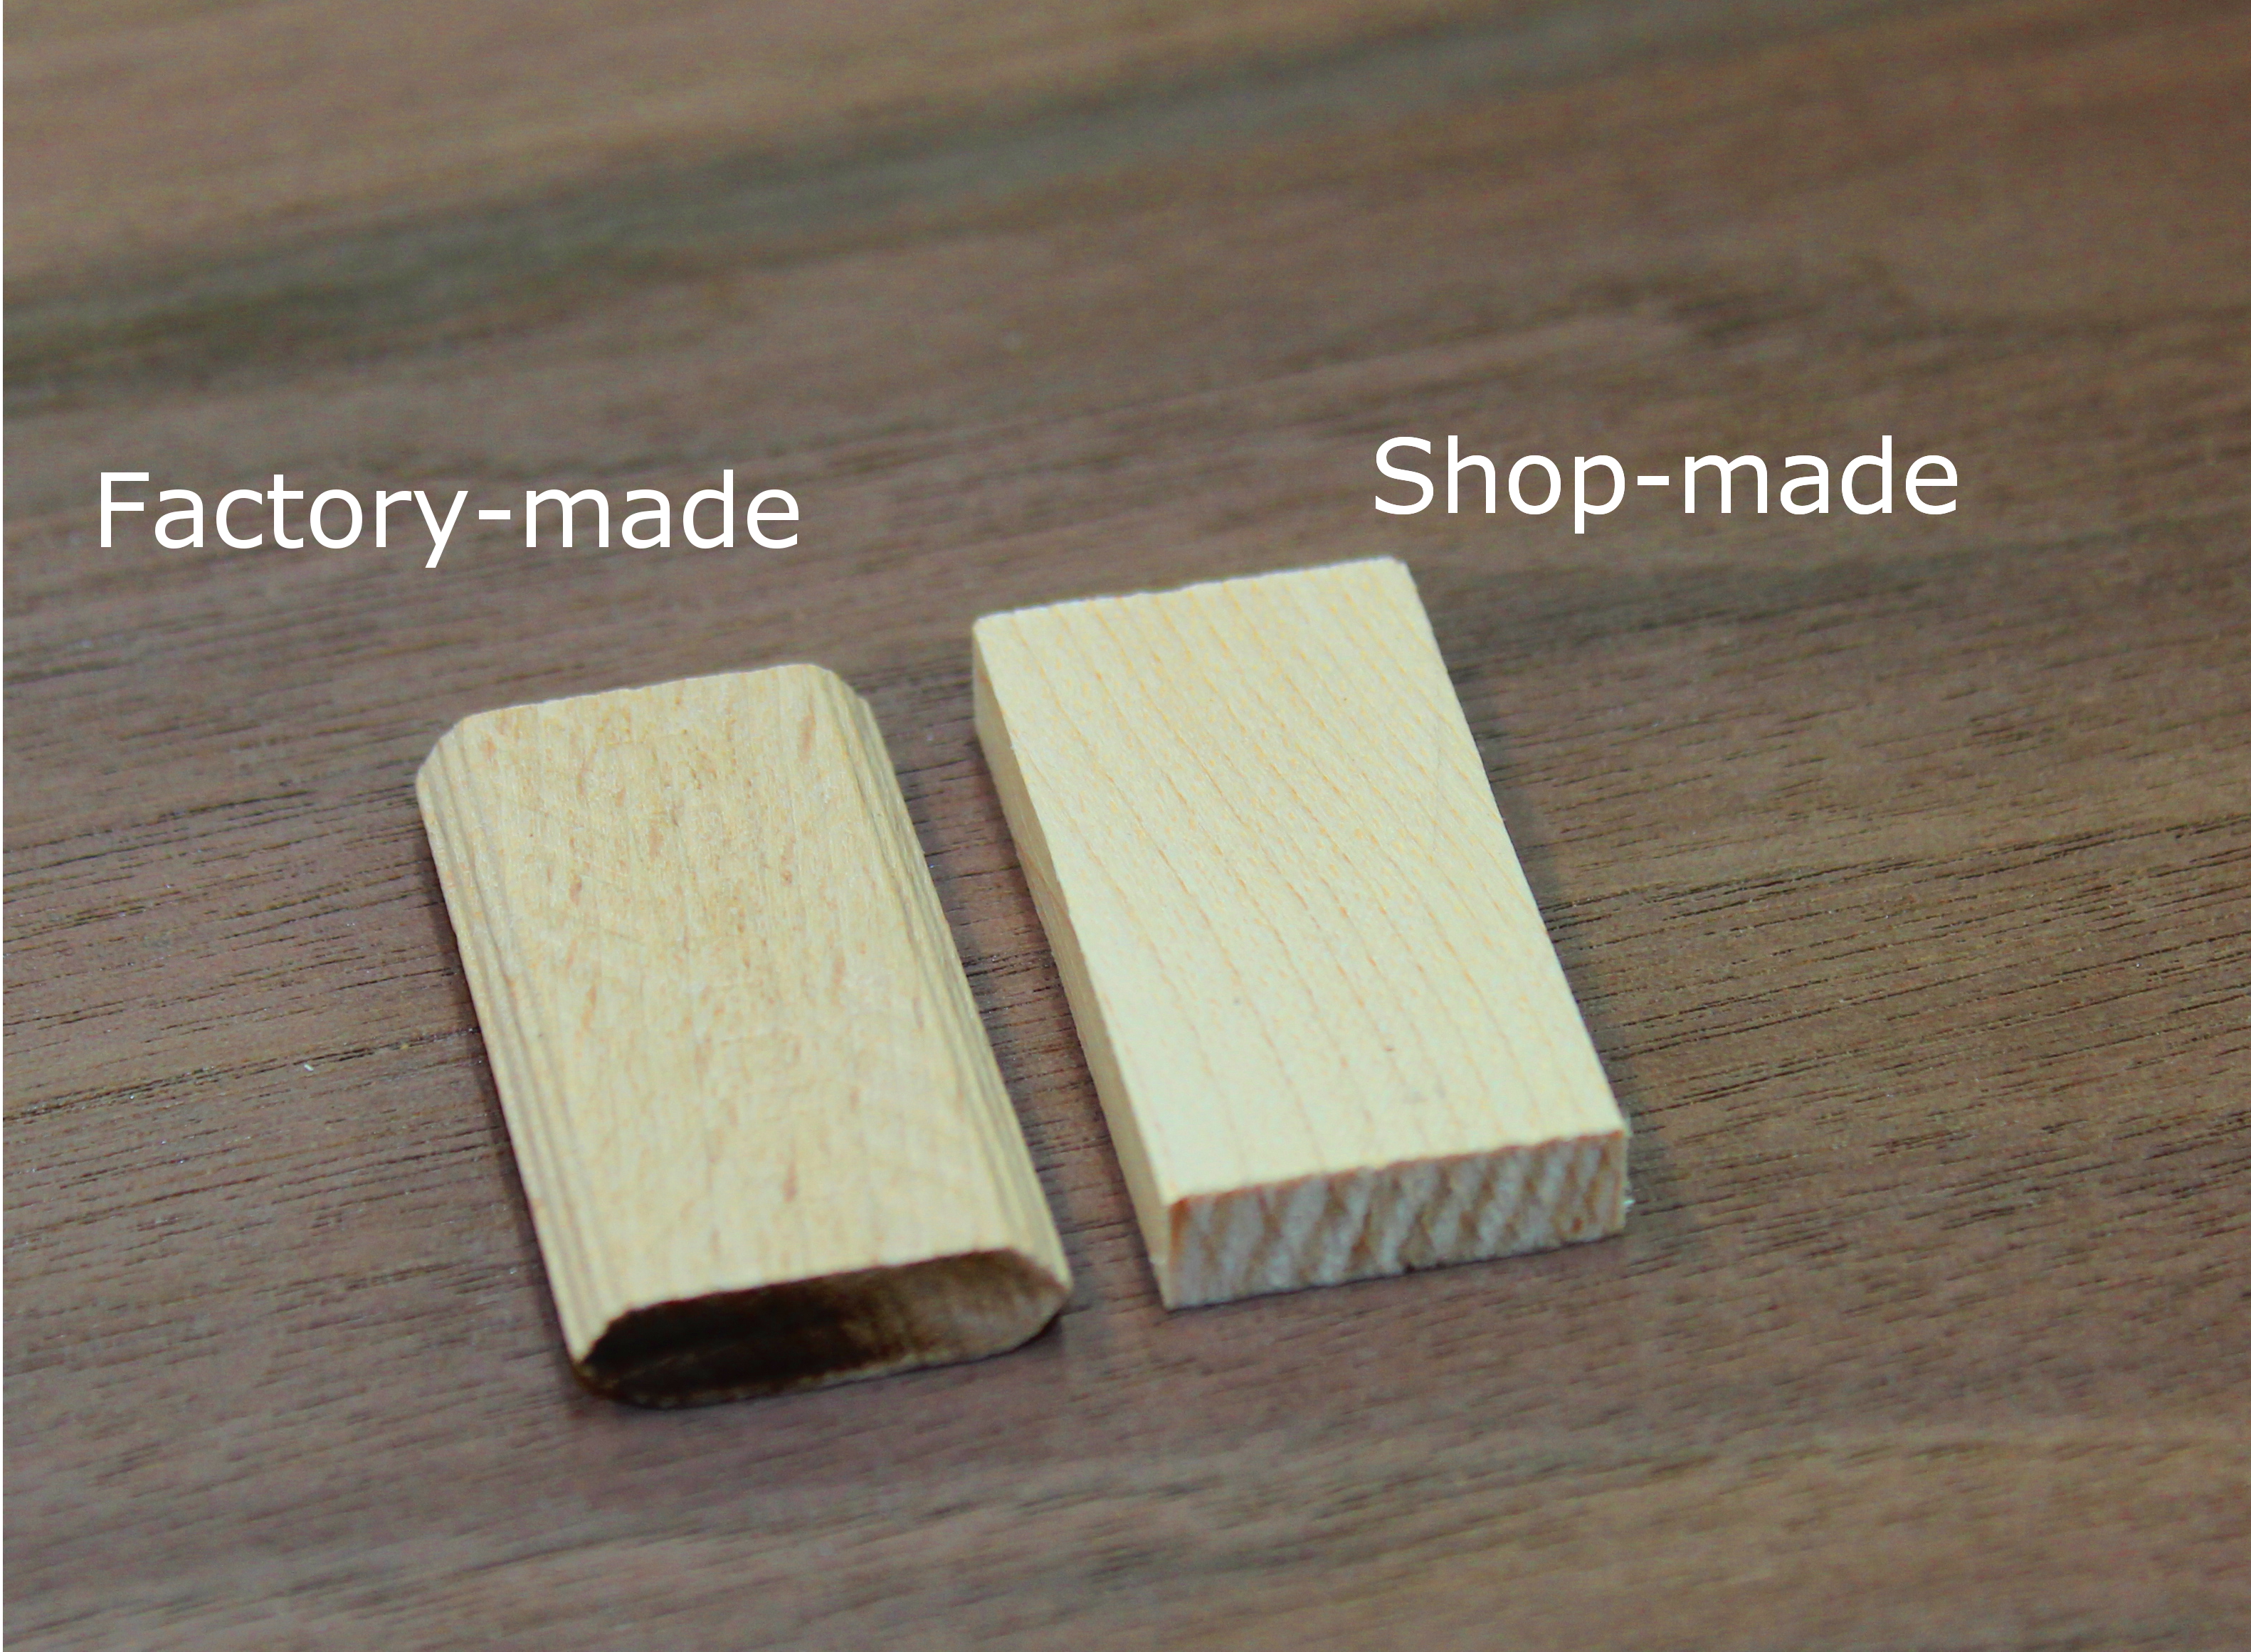
    Paul, I noticed on the factory made item the glue ridges, same as on some dowel pins I use. I have made or used regular wood dowels and had the glue actually squeeze through the wood and I have had the side walls crack.

    I could see this happening with the straight walled shop made version dominoes.

    Whats the teams take on this.

    Ken

    Reply
    • Paul Mayer

      Great question. Yes, the grooves allow glue to escape and enable the joint to close fully. This is important when using the commercially made tenons and the Domino at its tightest setting, with no wiggle room. Same thing with dowels. Without some mechanism to allow excess glue to escape, the tenon or dowel might not bottom out properly, leaving a gap in your joint. With the homemade tenons described here, there is plenty of room for glue to escape because you leave the corners square and the tenon does not span into the rounded area. That allows glue to escape up the rounded sides. As long as you get the tenons cut to fit properly on the sidewalls, with a nice friction fit, you will get great glue adhesion and a solid joint. Essentially what you are doing with this homemade tenon approach is replicating the glue surface model of a more traditional mortise and tenon joint, rather than the approach that uses factory made grooves for the glue escape route.

      Reply
      • jwoodworke@aol.com

        Hi Paul, think I finally get it! (I left the question yesterday about not rounding/bullnosing the shop made dominos causing an ill-fitting joint). If I read you right, you’re saying to rip the shop made domino to the factory width (say 22 mm), LESS the radius ends, (say -8mm, if it was an 8 mm domino). Do I have that right?

        Reply
        • WWGOA Team

          Yes, you will have to rip the tenon to a width that will fit on the mortise. The allowable width will be determined by the setting used on your Domino. There are three different width settings, which is typically used to determine how much wiggle room you will have when using the factory made tenons. Since you are making the tenons yourself in this case, you can choose to make all of your tenons to fit the smallest size tenon that the Domino will create, or you can opt to take advantage of the larger mortise to introduce more strength by using a wider tenon. With this approach you have full flexibility to optimize the tenon size for your application.

          Reply
          • john grubbs

            Thanks, Paul. Great idea. Lots of flexibility here, especially with the wider setting that is available on the XL700. BTW, I recently made six drawers using my domino jointer in lieu of dovetails or a locking joint. To jig it up, I used my PC dovetail jig, without the comb, to hold both parts @ 90 degrees, and then cut thru mortices through both parts. Turned out sweet! There’s some contrast between the beech Festool dominos and the Baltic birch sides. Next time, might use your idea with a darker wood. Thanks, again! (Let me know if you’d like to see some pix.)

            Reply
    • Ian Chadwick

      Hi.
      You could improve your shop made dominoes by first run the stock through a round over router bit before you cut them down to size, I know it’s a little more work but the fit I find is much better.
      As for glue squeeze out if you make a shallow cerf cut on both side of your stock before you cut up the separate dominoes you’ll have resolved this problem as well.
      Last point make a good few dominoes at each milling.
      However if your useing a particular hard wood project it helps if the dominoes are made of the same species as your project.
      That way they react in the same way as your project. Something to take note of.
      Enjoy.

      Ian M Chadwick

      Reply
  8. John

    Paul, I like your homemade dominio solution, with one caveat: Not rounding / bullnosing the corners may work for softwood tenons, but I can’t see your method working with hardwood ones. Agree?

    Reply
    • WWGOA Team

      Hi, John!

      I don’t see a downside for using hardwood. Keep in mind that this is simply a mortise and tenon joint, which has been a go-to joint in woodworking for centuries. The ones shown in the article are maple. Before getting a Domino, I was making mortises with a router, and creating floating tenons in the same way that I describe in this article. It is a proven method that works well on hardwood and softwood species alike.

      Reply