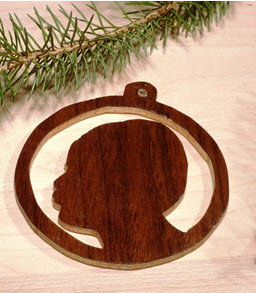
 Homemade Christmas ornaments are special, especially those that contain the images of family members.
I was amazed and inspired by the work of silhouette artist Clay Rice. Rice cuts interpretive silhouettes from paper freehand while looking at the subject. This form of art is far beyond my reach but, using a digital camera, computer, and scroll saw, I was able to come up with something that was well within my artistic grasp, and easy to produce.

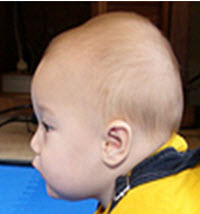 Pick a photo. To begin, take a bunch of profile pictures of your subject. It is important to get a good, clean profile shot, so take a bunch of shots so that you have one that captures the details you want for the silhouette.
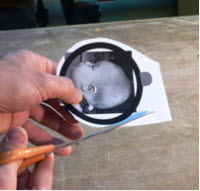
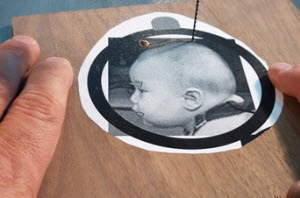
 Circle it and touch it up. Then, pick one that you like, and position it within a circle that will be used to shape the ornament, as well as a bubble to hold an ornament hook. Touch up the image with any lines that make the silhouette more credible. Clay Rice likes to add an exaggerated eyelash to the profile, and therefore, so do I. In this baby photo, I made adjustments to the lower lip and neck line because the slight angle that the photo was taken from caused an unrealistic two dimensional silhouette (this looks silly until you cut it out on a single colored piece of wood) Experiment until you get it just how you want it. You can do all of these modifications on your computer if you are so inclined, or it would work just as well with a pen and a razor blade.
 Cut it out. Print and cut, leaving a generous border (1/8″ or so) around the outside cut line.
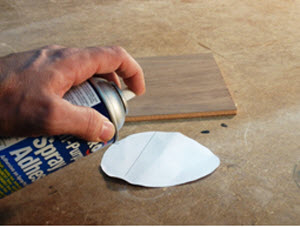 Coat template with spray adhesive. Using spray adhesive, stick the image onto your material. I like to use 1/4″ plywood with good quality veneer, but solid wood would be fine here as well. Let the glue dry for a minute or so before pressing the paper onto the wood blank, or you will have a hard time getting the template removed from the project at the end.
 Attach the template. Press template firmly in place, being sure that all surfaces are solidly mating so that the template does not lift during the sawing operation.
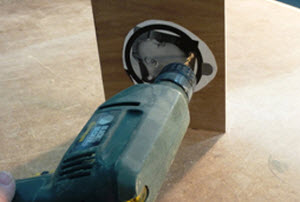 Create an entrance for the scroll saw blade. Drill a hole into the center area to allow the scroll saw blade to thread through.
 Cut it out on your scroll saw. It is easiest to cut the inside area first so that you can handle the project better during the inside cutting operation. Take your time when cutting the facial features, because these are the details that really make the project.
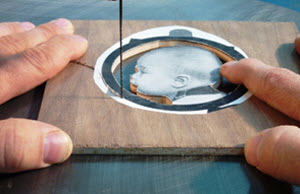 Then cut to the outside of the circle. Take your time, and hold to the line as much as possible.
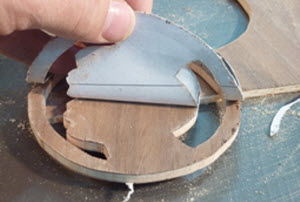 Carefully remove your template. Also, sand any rough edges carefully.
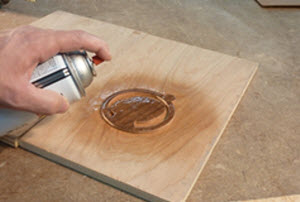 Finish using your favorite approach. I like to spray lacquer on these because it is quick and durable enough for this project. But when the time constraints are really tight, I have also finished a couple of these using mineral oil, mainly to pop the grain. Mineral oil provides no protection whatsoever, so don’t use it unless you are a terrible procrastinator, like me, and you don’t want your half-cured finish to stick to the gift wrap, or the aroma to give away your poor planning.
Photos By Author


Thank you so much.
Very good idea, Thanks and Merry Christmas