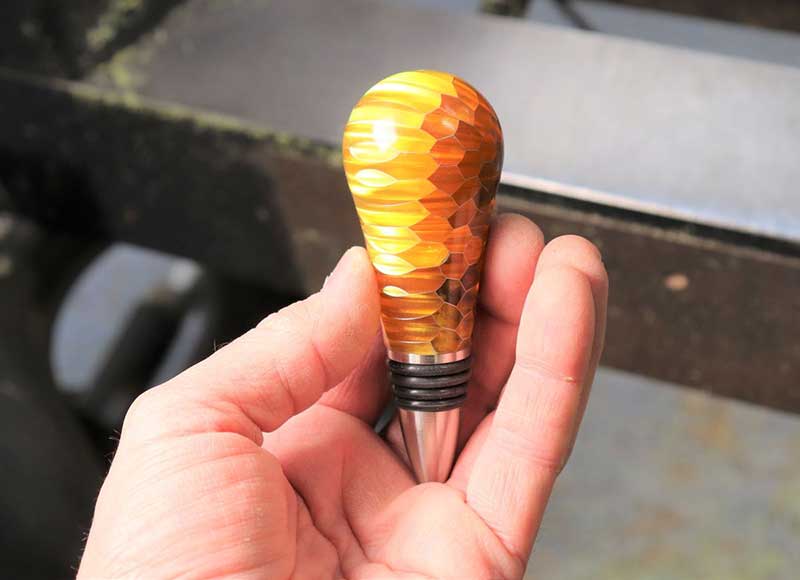
Turning bottle stoppers is one of my favorite lathe projects because the process is quick and simple, and people love to receive them as gifts. Also, if you are looking for a way to make money with your turning, bottle stoppers are a great seller at craft shows.
I’ve improved my bottle stopper game through some research and experimentation, so I’ll share five game-changing tips that have helped me the most.
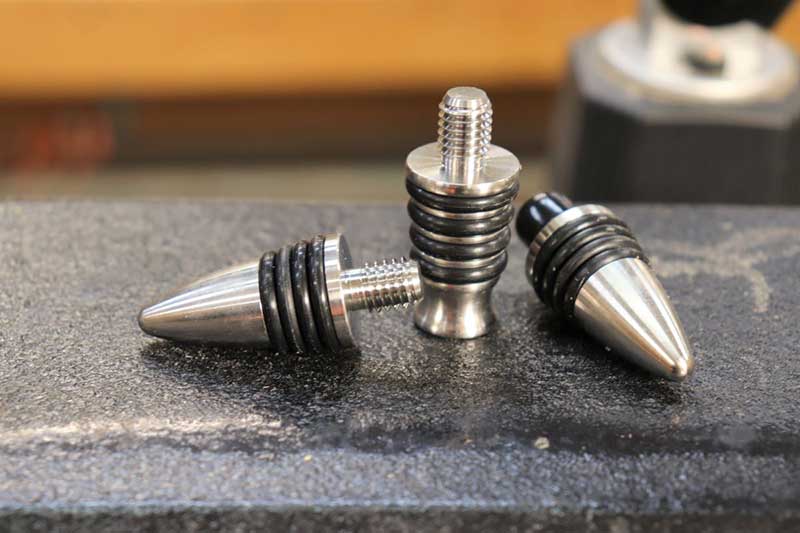
1. Use the “good stuff” hardware. Small projects like bottle stoppers require particular attention to detail. With endless options available for stopper hardware, do some research to ensure that you are using kits made from solid stainless steel and food-safe gasket material. I have found the kits from Niles Bottle Stoppers to be high quality and durable, and they use FDA-compliant nitrile O-rings.
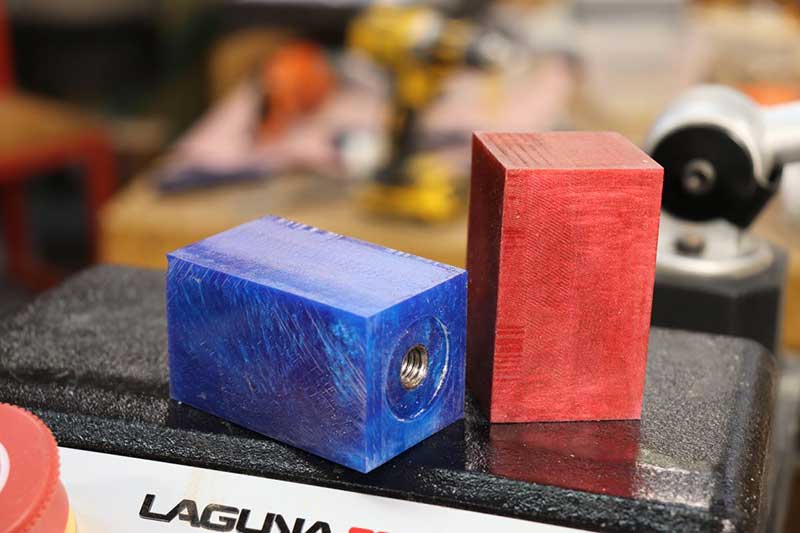
2. Experiment with resin. While turning stoppers is a great way to use up some of those special wood scraps you’ve been saving, it’s also a great opportunity to experiment with turning resin. You can find inexpensive pre-made blanks, or try your hand at making some resin blanks yourself. For best results in turning resin, I have found that the negative rake cutter from Easy Wood Tools works well, producing a near-flawless surface that is ready for wet sanding.
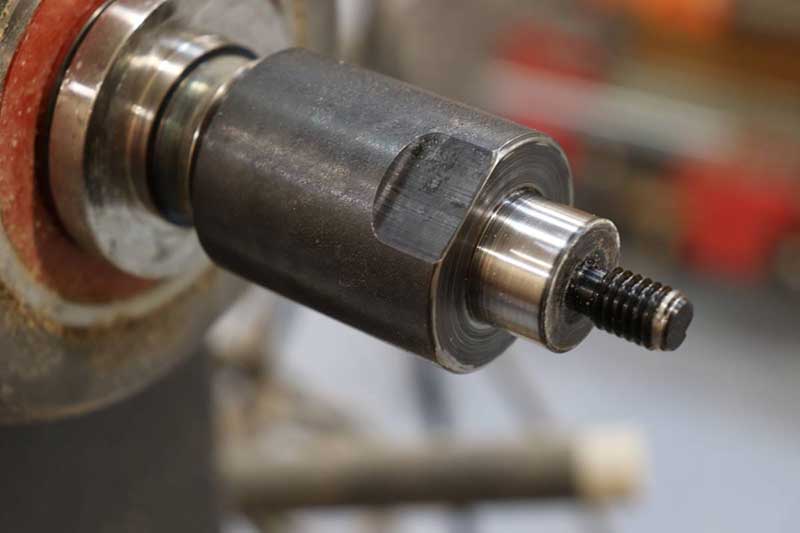
3. Get a good mandrel. A mandrel threads onto the lathe spindle and holds the bottle stopper on the lathe so that the entire stopper is accessible during the turning process. No more having to cut off the end to manually sand and finish the remaining portion, which can create a noticeable difference in the surface. While it’s possible to turn bottle stoppers without a mandrel, adding one to your arsenal will improve the quality of your product as well as your efficiency in producing them.
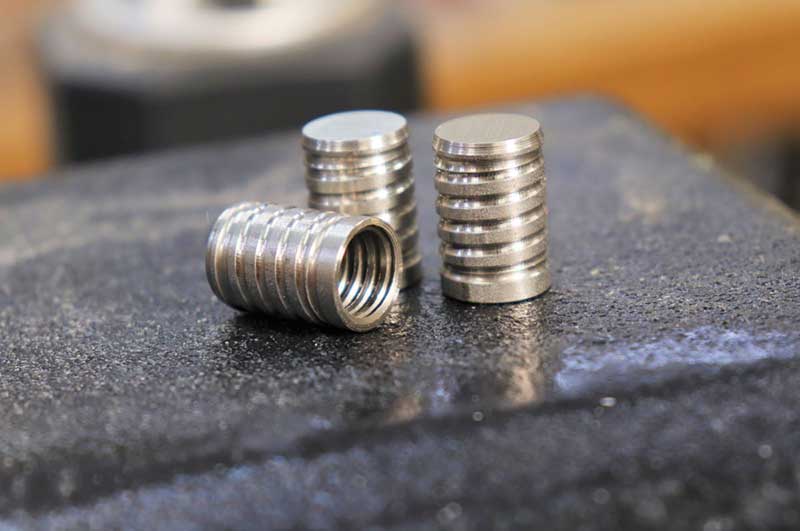
4. Use threaded inserts. Bottle stoppers can be attached to the turned handle by threading the hardware directly into the blank. However, it can be a slow process to get this done properly, and the threads can be fragile and prone to wear. Threaded inserts can be used instead, which speed up the turning process and provide solid, lasting threads for mounting the bottle stopper hardware.
To use a threaded insert, simply drill a hole into the blank and add the insert along with some polyurethane glue. After the glue cures, the insert is mounted onto the mandrel, and the turning can be completed and the hardware installed. If the gasket material ever breaks down, the stopper hardware can easily and securely be replaced without worrying about stripping threads.
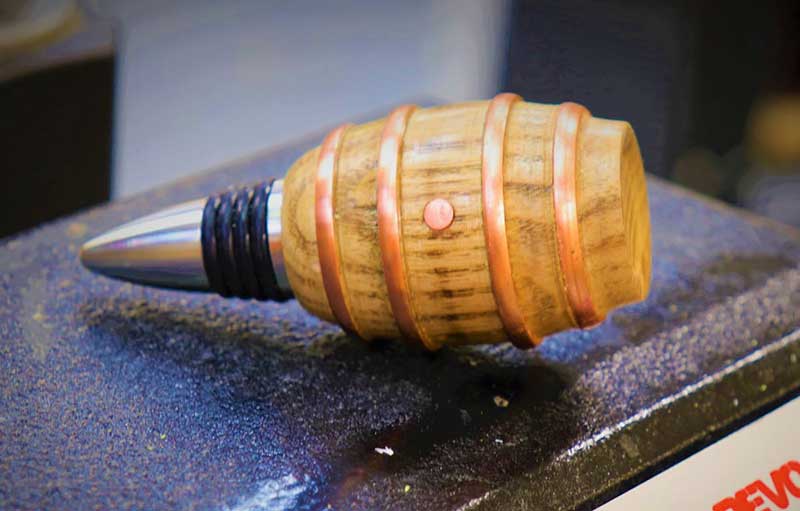
5. Experiment!
The small time-investment and cost of a bottle stopper allows you the freedom to experiment with different designs and combinations of materials. Copper, aluminum, antler, Corian, and Plexiglass all provide great potential to produce an eye-catching, unique bottle stopper.
For mandrels, bottle stopper hardware, and resin blanks, visit nilesbottlestoppers.com.

Paul, I know this is not related to Bottle Stoppers but I wanted to let you know that I found/read your “Working Time for Wood Glue”. I’m always amazed at the effort that Geeks (and that is said with admiration and not an ounce of disrespect)will go through to understand things. I did appreciate it very much and plan on adjusting my glue ups. I’m old school because I’m old 🤔 and really have not taken advantage of the internet like I probably should have. Thank you again for your diligence and tenacity…I’ll now add you blog you my reading list. Geek On!
Good