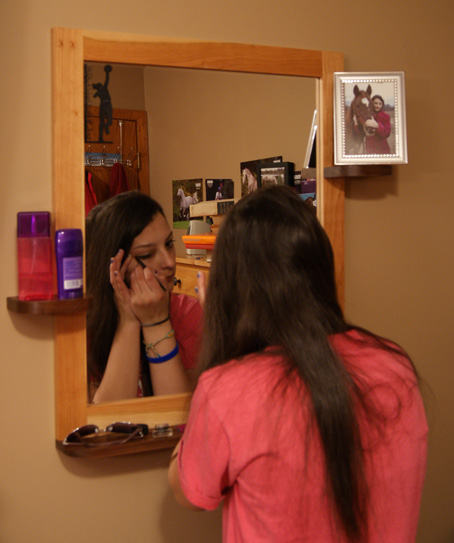
 In my house there’s a significant morning bottle neck at the bathroom door. Too many people, not enough bathrooms. But a big part of the hold up was hair brushing and make up, tasks that only require mirror access. After reflecting on the issue I decided to take some pressure off the bathroom by making shelved mirrors that can hang in the kids’ bedrooms.
Framing a mirror isn’t rocket science, but I wanted to do more than make a simple frame. I wanted a chalk-board-like ledge on the bottom, along with small shelves on each side. That makes the mirror self-contained and able to hold brushes, combs, hair gel, make up, and so on.
In order to make sure the frame was plenty strong I built it more like a face frame than a picture frame, and used loose tenon joinery to reinforce the corners. A unique approach for rabbetting meant I didn’t have to go back and square the inside corners (to receive the mirror) later. You can use dimensions from my cut list, or you can create on your own.
Getting Started
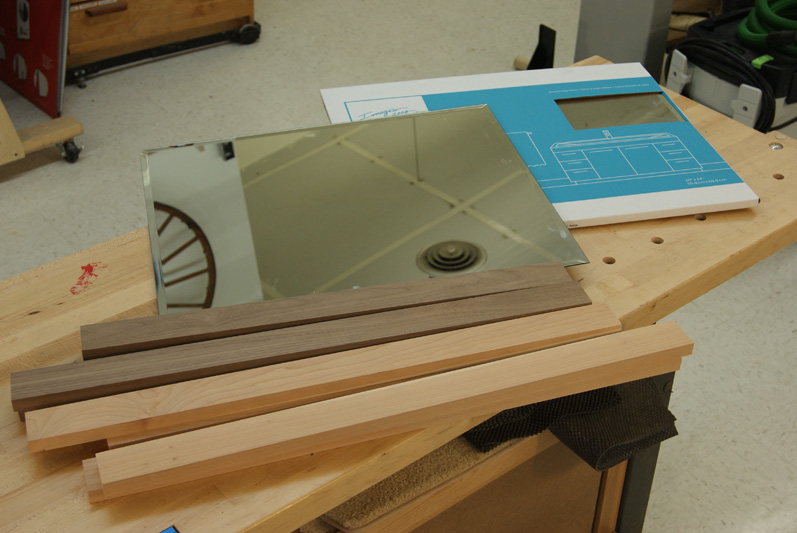
Get going by getting the stuff together. You want to have the mirror before you cut the first stick of wood to make sure you’re producing the correct size parts. I made two frames, one in cherry and one in walnut. Rip the rails and stiles to width.
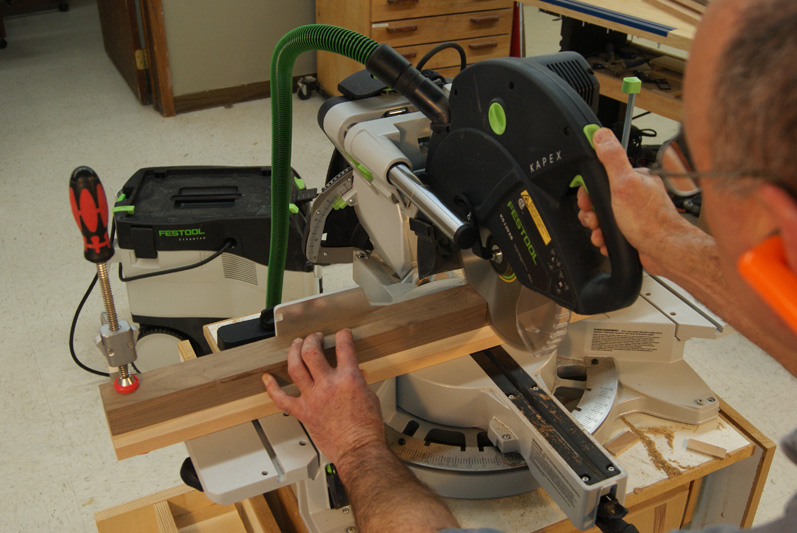
Cut parts to length. The easiest way to make certain parts are the same length is to cut them in a stack. I’ve got all four rails clamped together, left ends flush. I did the same for the stiles. It’s critical that your length cuts are correct in order for the frame to come out square.
Rabbet Hunting
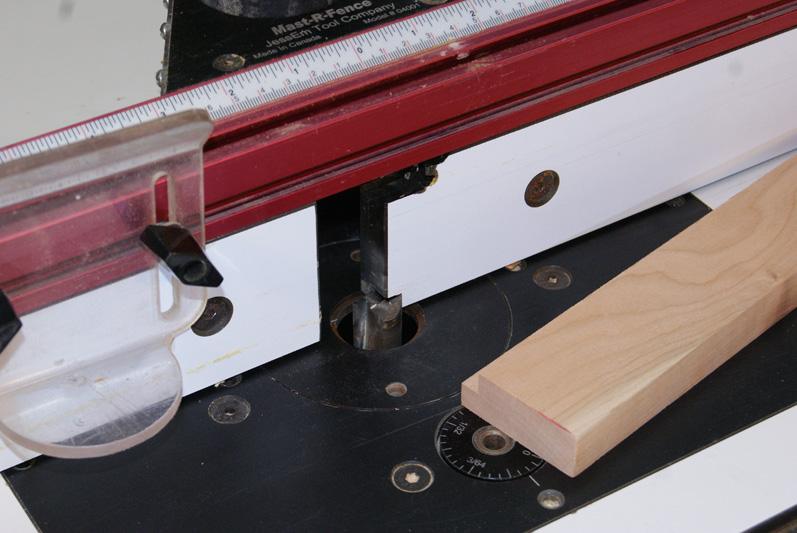
Set up the router table. Set a straight bit to cut a 1/4” wide x 3/8” deep rabbet. On the rails you’ll cut the rabbet straight through from one end to the other.
Feather boards help, a lot. Be sure to use feather boards for hold down pressure and a push stick to keep your pinkies away from the cutter.
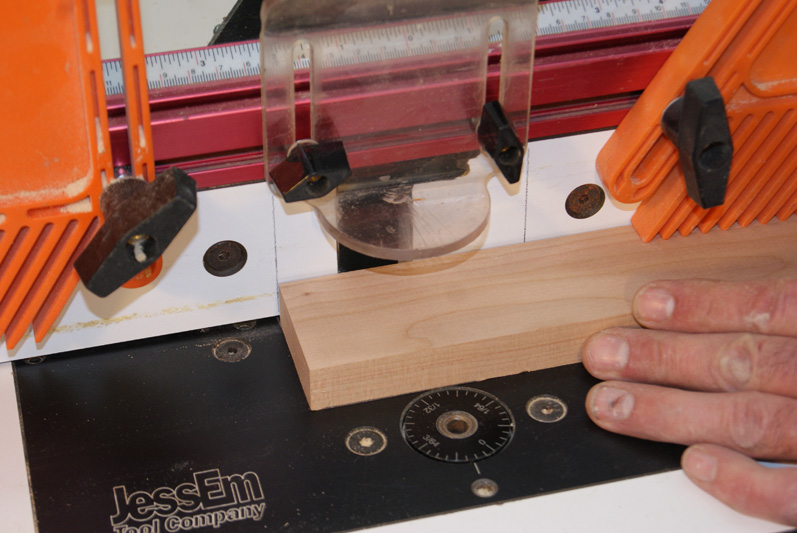
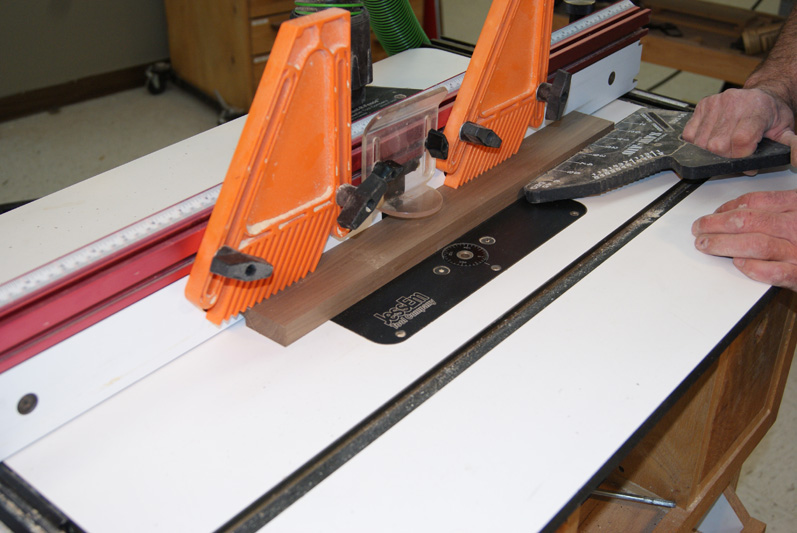
Stopped rabbets. The stiles require a different approach to prevent the rabbet from showing through the end of the board. Measure the distance from the edge of the rail to the edge of the rabbet and subtract 1/4”. Measuring to the left from the left edge of the bit, make a line on the fence at that point (1-1/2” if you’re using my cut list). Do the same to the right. Make the stopped cut by anchoring the trailing edge of the stile against the fence and pivoting the stile into the running bit, the end of the stile even with the left line. If you slightly overshoot the line, it’s not a big deal. If you under shoot do not back up to get to the line, as this is a climb cut. Simply repeat from the process from the beginning with better aim.

End the cut. Move forward with the cut until the trailing edge of the board is even with the lay out line on the right. At that point pull the board off the router bit.
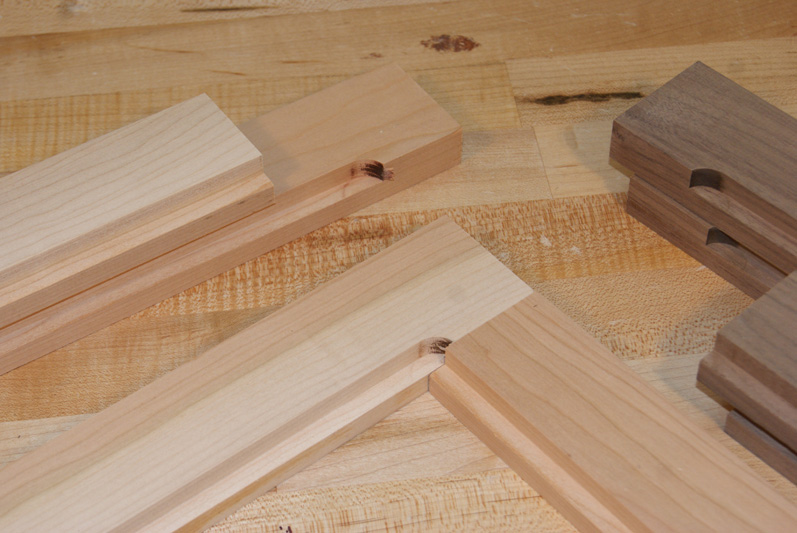
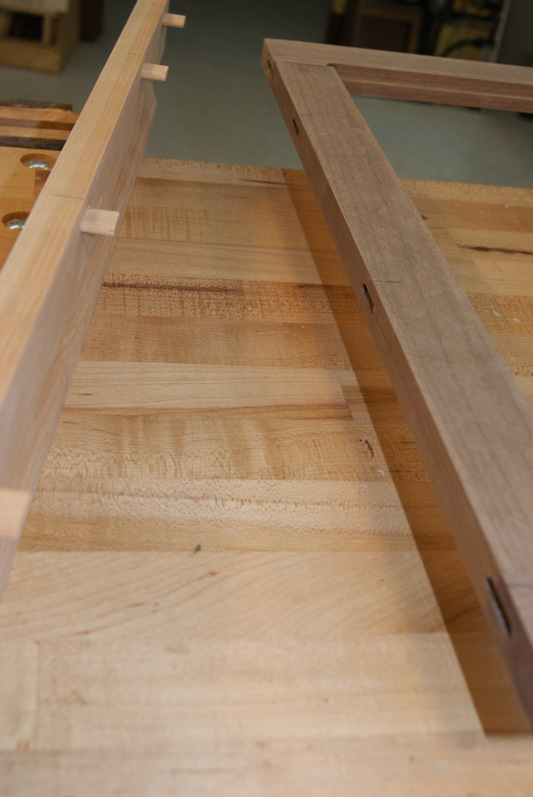
Resulting in… This is what the stopped rabbet looks like when you’re done. Because the rabbet in the stiles continues past the edge of the rabbet in the rails the mirror will drop right in, no need to use a hand chisel to square the corners.
Join and Assemble
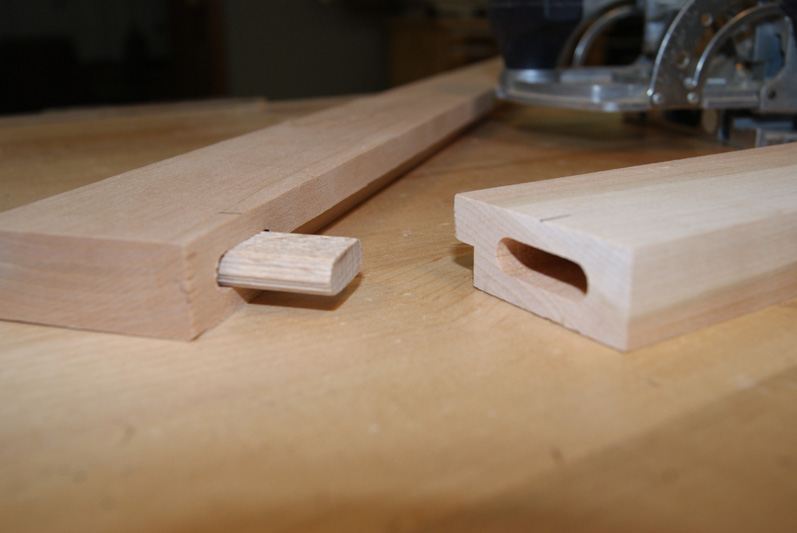
Strengthen the joints. I reinforced the joints with Dominoes. Dowels or face frame biscuits would also work.
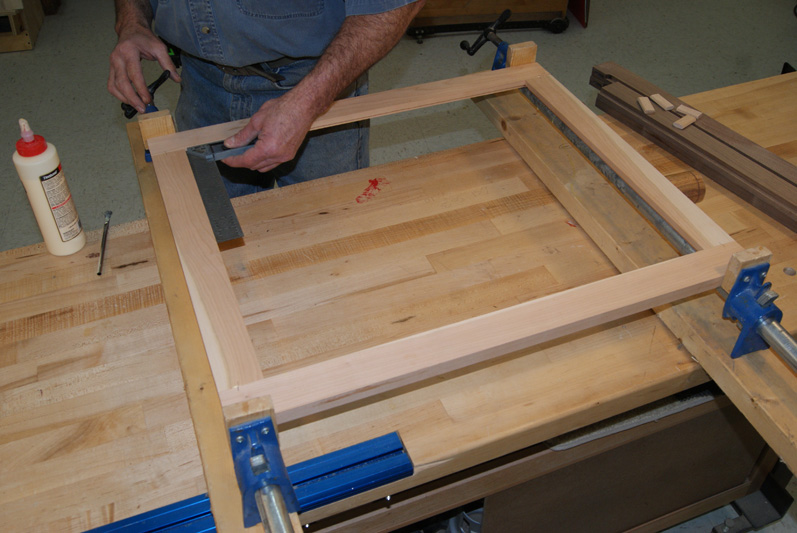
Assemble. Glue and assemble the frame. Check for square. If the frame is out of square you may not be able to get the mirror into the rabbets.
Make the Accessories
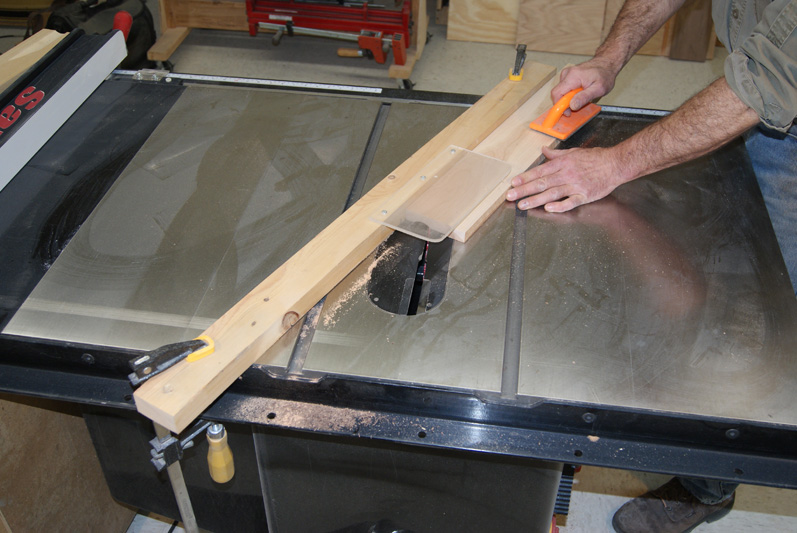
Cove the ledge. The chalk board ledge on the mirror really lends itself to a cove cut on the table saw.
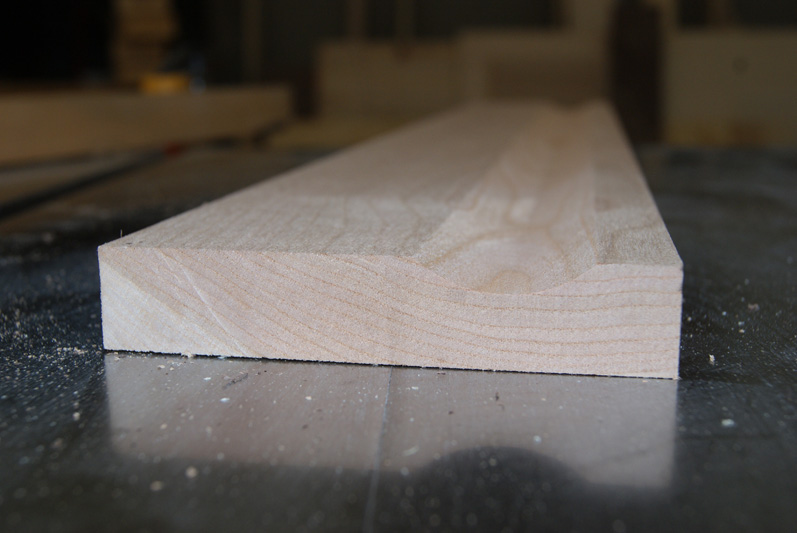
A cool cut. Here’s the type of cut you can produce with a cove cut on the table saw. Perfect for preventing hair brushes and lip stick from rolling off the ledge.
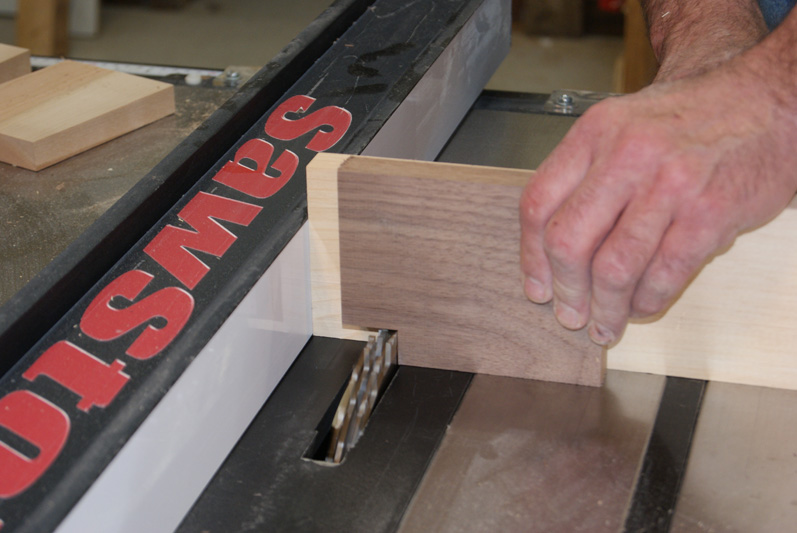
Make the shelves. The shelves require a rabbet that wraps around the frame. Set the height of the dado head to the thickness of the frame material. Set the distance from the fence to the left side of the dado to the width of the frame material. Rabbet the shelf, then round both outside corners with a 1-1/2” radius. Cut and sand the same radius on the outside corners of the ledge.
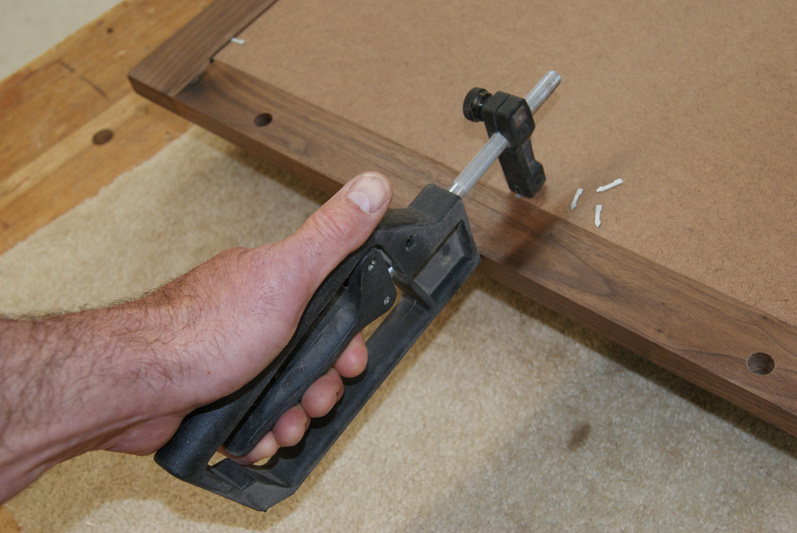
Reinforce the ledge joint. I used loose tenons to secure the ledge to the bottom of the frame.
Final Assembly
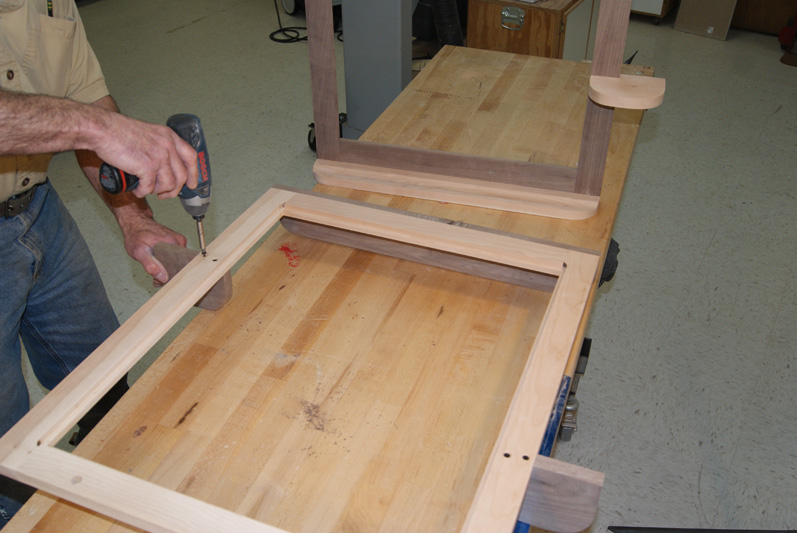
Bring it together. Glue the ledge to the bottom of the frame and fasten the shelves to the stiles. The shelves are located 1/3 of the way up from the bottom and down from the top, glued and screwed in place.
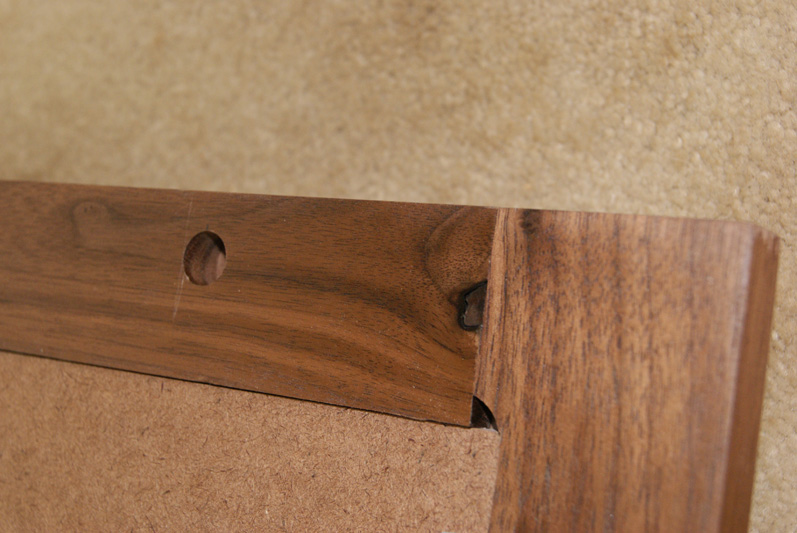
Holes for hanging. In order to hang the frame I drilled two 1/2” holes on the back side of the top rail, 3/8” deep. The holes are centered 3/4” from the top edge and 5” from the stile edge and will capture on screw heads projecting from the wall.
Secure the mirror. After you’ve applied a top coat insert the mirror and back and capture them in place. I used a framer’s point driving tool for this. You can find them here: https://www.dickblick.com/products/fletcher-framemate-framing-tool/ You’re ready to hang your shelved mirror on the wall and shorten that morning bathroom line.
Cut list
- Quant. Part Dimensions
- 2 Rails 3/4” x 2” x 19-5/8”
- 2 Stiles 3/4” x 2” x 27-5/8”
- 1 Ledge 3/4” x 3-1/2” x 32-5/8”
- 2 Shelves 3/4” x 4” x 5-1/2”
- 1 Back 1/4” x 20” x 24”
- 1 Mirror 20” x 24”


Share tips, start a discussion or ask one of our experts or other students a question.
Already a member? Sign in
No Responses to “Build a Shelved Mirror”