
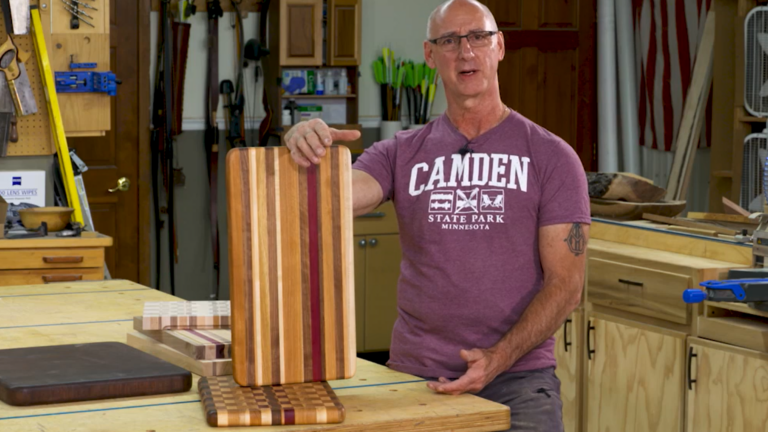
Q&A with George: Finish for Kitchen Tables & Precise Cutting
George VondriskaAl stopped in the shop recently and had a few questions for George. He was looking for help choosing the best finish for a kitchen table he’d recently completed; how to get more precise cuts; and how to best calculate angles. George provided answers for Al that might help in your shop, as well.
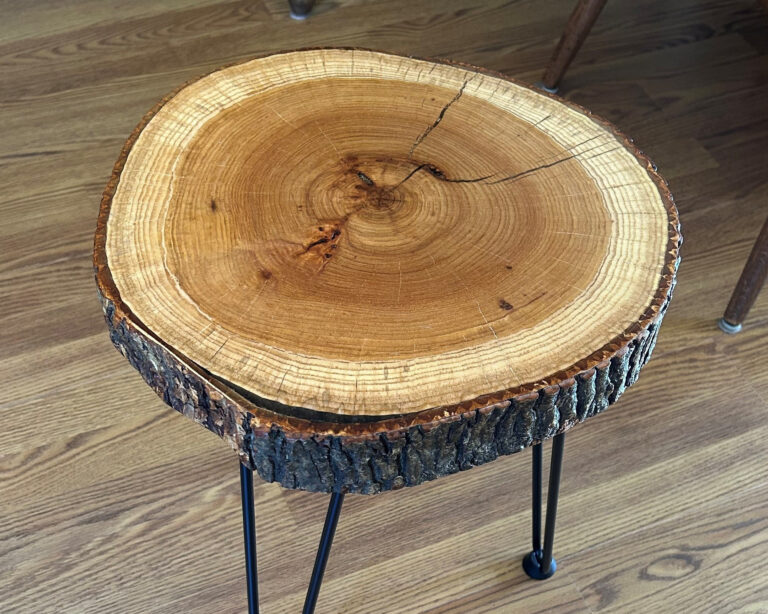
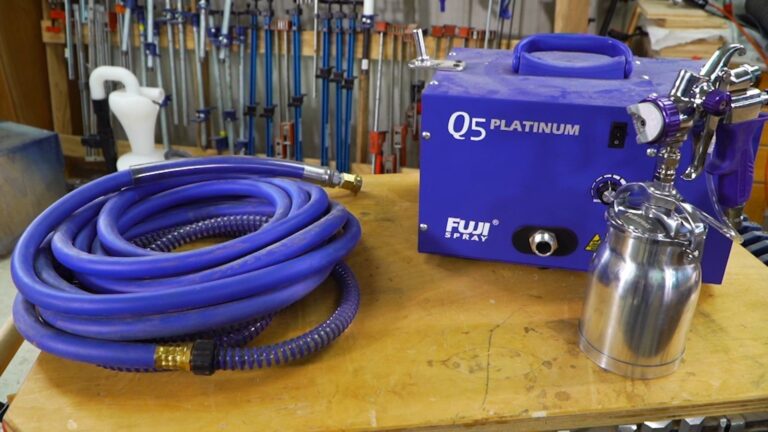
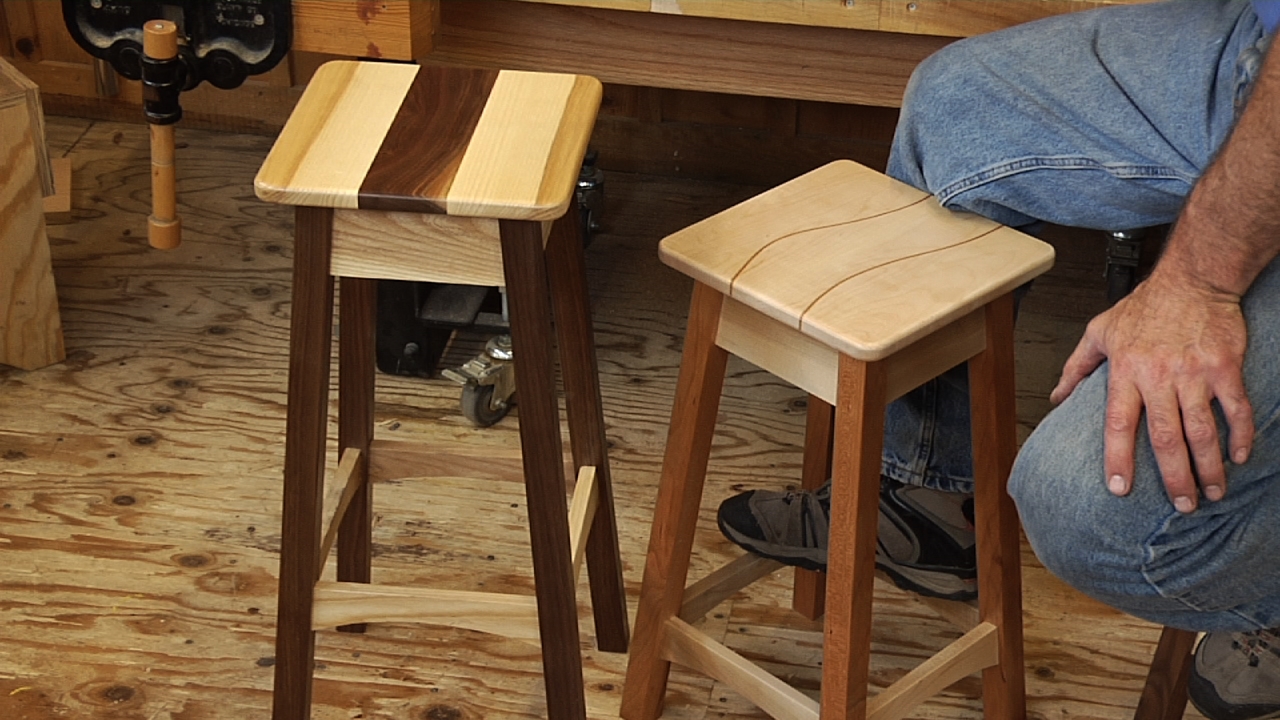
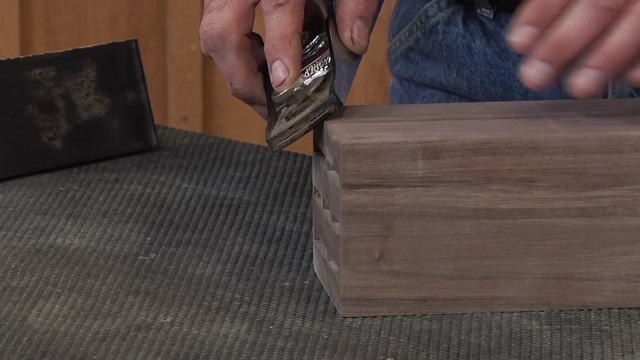
Finishing
Knowing how to finish wood is, possibly, more important than knowing how to make the project. No one wants to lose the countless hours that have gone into making a woodworking project by choosing the wrong finish, or not applying the finish correctly. In addition to helping Al decide on the best finish for a kitchen table, George provides application tips, too.
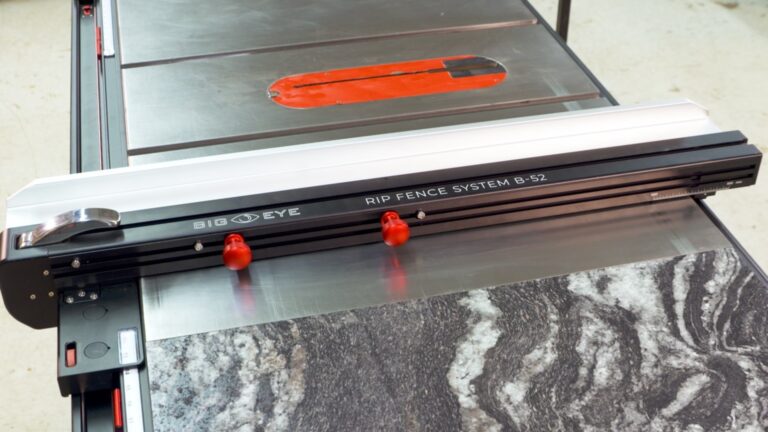
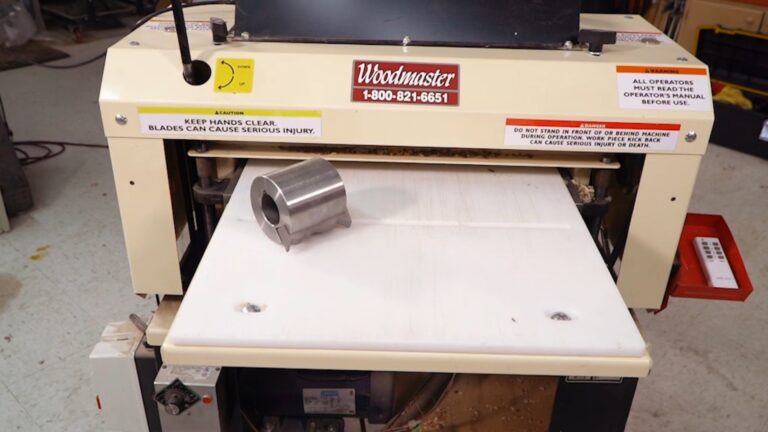
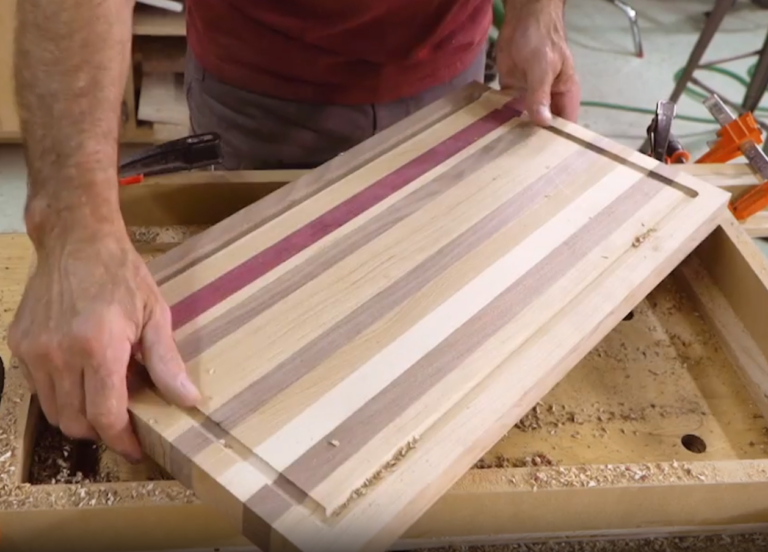
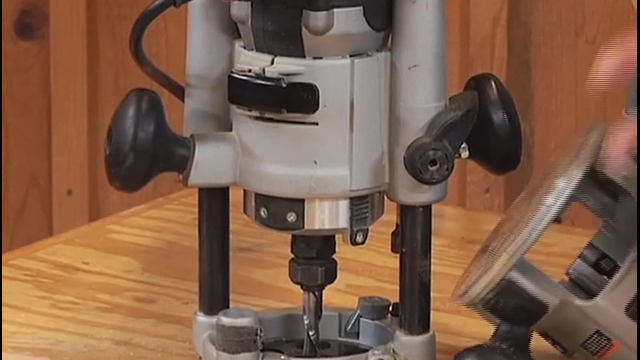
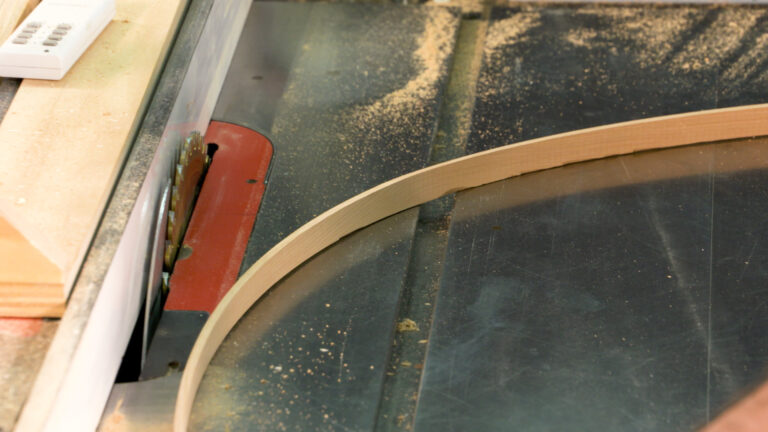
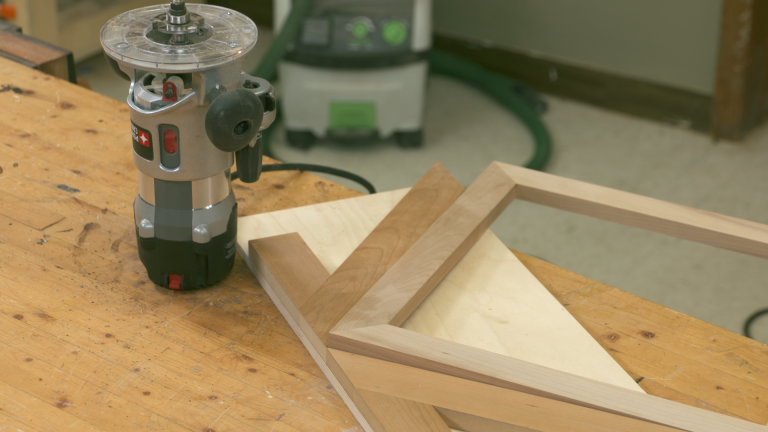
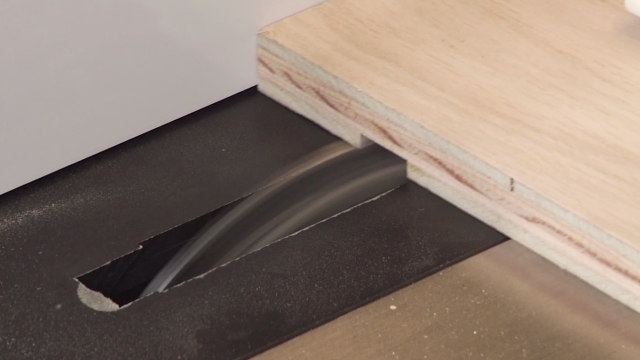
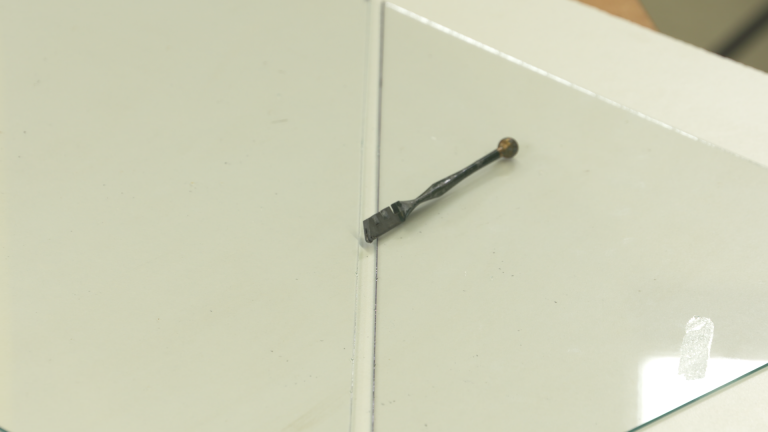
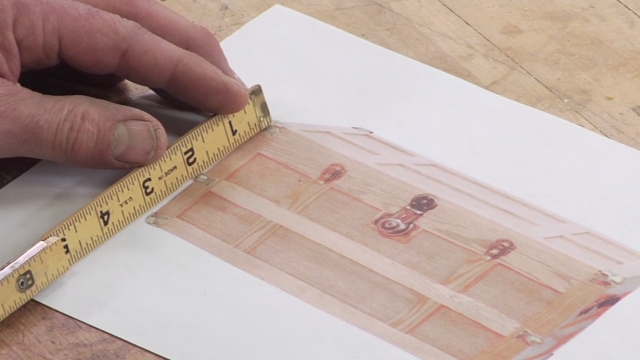
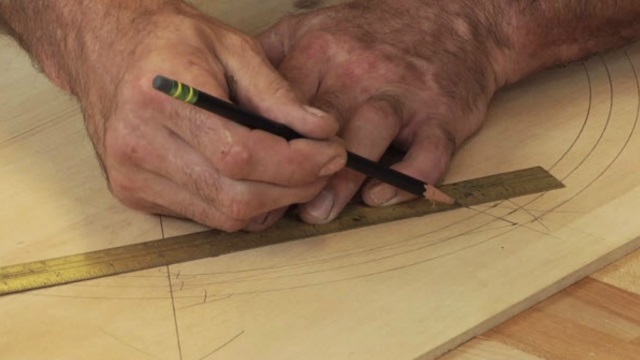
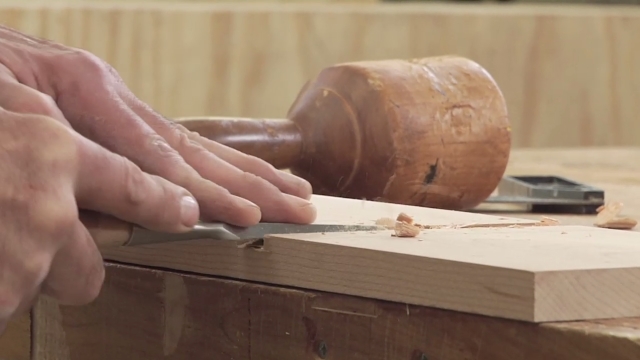
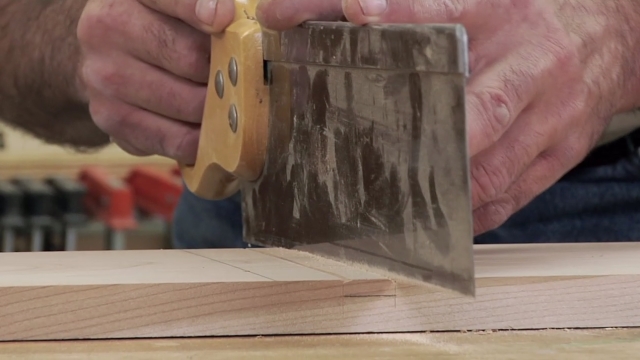
Precision wood cutting
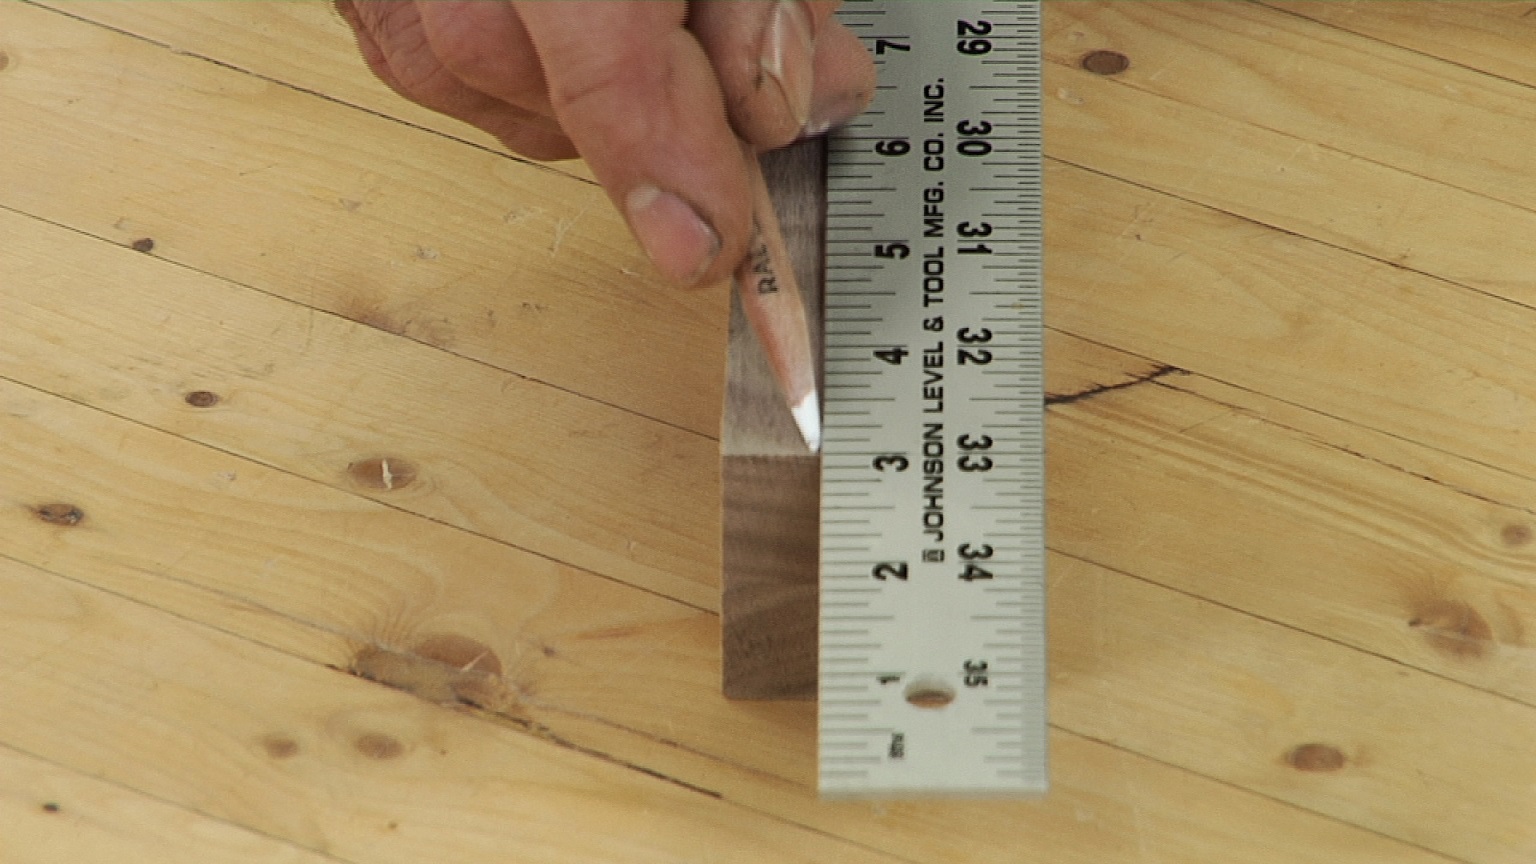
Woodworkers sometimes struggle with accuracy. There are a handful of things that can be done to help with this. From pencil selection to pencil sharpening tricks to marking knives, George provides Al with some cool ideas that’ll help you do precision wood cutting in your shop, too.
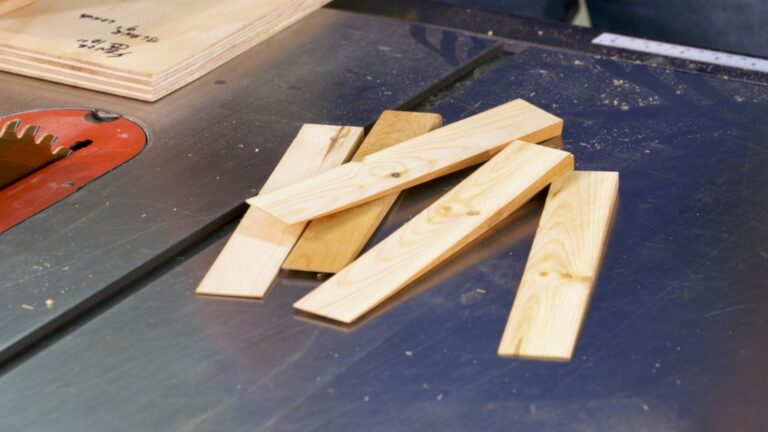
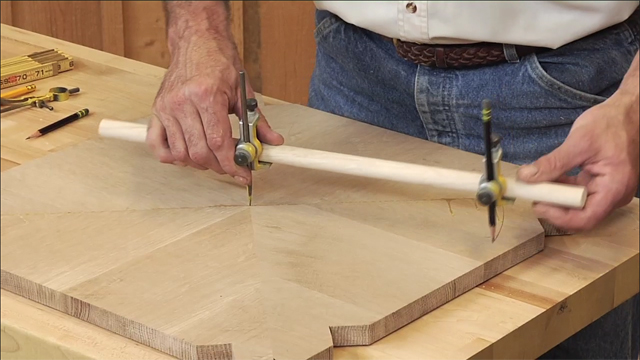
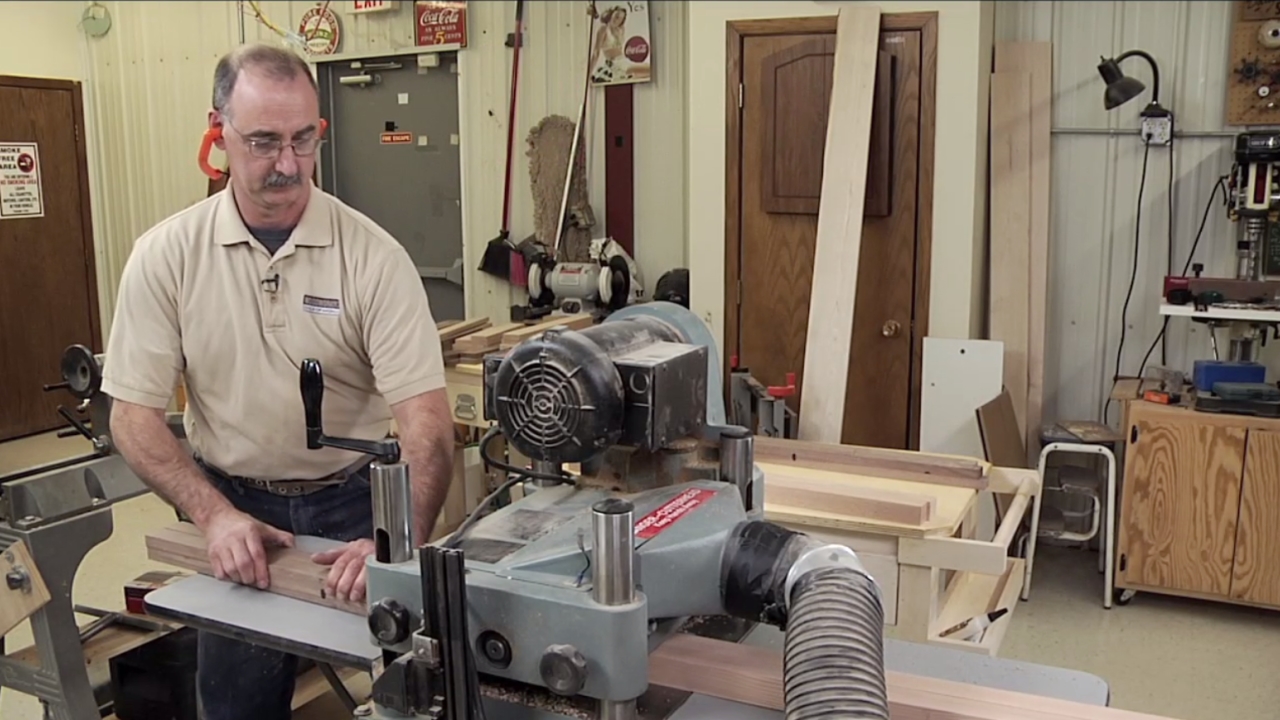
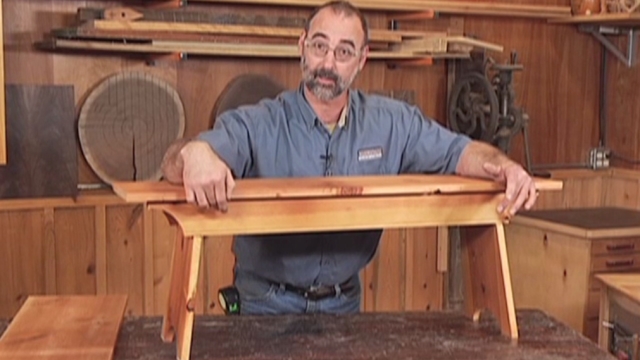
Knowing the angles
Laying out angles can be tricky, and confusing. George explains how to calculate angles, and goes on to show some great tools that can be used for laying out and measuring angles. You may not have known it, but even the miter gauge from your table saw can be a great lay out tool.
Unlock Your Woodworking Potential!
Sign up for our newsletter for endless woodworking inspiration! Become a member today and gain access to a world of craftsmanship.
Share tips, start a discussion or ask one of our experts or other students a question.
Already a member? Sign in
3 Responses to “Q&A with George: Finish for Kitchen Tables & Precise Cutting”
Explore videos by George Vondriska


You may be interested in


Premium Membership
Unlock exclusive member content from our industry experts.
- 24/7 Access to Premium Woodworking Videos, Projects, and Tips
- Step-by-Step Instructional Demos, Plans, and Tutorials
- 50% Off Video Downloads Purchased in the Woodworkers Guild of America Shop
- 2 Printable Woodworking Plans
Unlock exclusive member content from our industry experts.
- 24/7 Access to Premium Woodworking Videos, Projects, and Tips
- Step-by-Step Instructional Demos, Plans, and Tutorials
- 50% Off Video Downloads Purchased in the Woodworkers Guild of America Shop
- 2 Full-Length Video Downloads to Watch Offline
- 2 Printable Woodworking Plans
Gold Membership
$370 Value
Get everything included in Premium plus exclusive Gold Membership benefits.
- 24/7 Access to Premium Woodworking Videos, Projects, and Tips
- Step-by-Step Instructional Demos, Plans, and Tutorials
- 8 Full-Length Video Downloads to Watch Offline
- 3 Full-Length Woodworking Classes to Keep for Life
- 7 Printable Woodworking Plans
- Discounts on Purchase-to-Own Content in the Woodworkers Guild of America Shop
- Access to Ask the Expert Program
- Exclusive GOLD LIVE Streaming Events
I forgot to ask: What happened to your left pinky finger?
That was a great video! I have not found a way to cut accurate enough angles and that means using a miter saw, table saw or even a router with pattern bit. For example, I cut 15 degree angles for a 12 "identical" trapezoids to form into a "wheel." When forming them all around on the work bench, the 12th piece is always too small to fit properly. Then, when they are glued together, they tend to slide around on the glue, making that 12th piece always needing to be sized differently (every piece can't have the same amount of glue between it and the pieces next to it. Basically, there are 24 angles. If they're not exactly 15 degrees, if the lengths of their longest edges are not exactly the same, the error is then multiplied many times. The wheel is then cut round with a band saw, jig saw for the inside, using MDF templates with a router and pattern bit. The size differential in the 12th segment then isn't noticeable. Cutting just parallel on a table saw is easy unless the piece is long. I was cutting leaves for a formal dining room table. The table was 40" wide, the leaves were something like 18" wide and 40" long. The leaves are supposed to be square! Do you have a 40" long T-square? Probably not, and what if the sides of the table are slightly curved? So, let's suppose a very small error, just 1/2 degree, on the cutting angle. Trig: The sine (or tangent - they're about the same at small degrees) of 0.5 degrees = .0087. Multiply that times the 40" and that's you horizontal error, 0.35", which is almost 3/8". You can draw the lines, make sure everything "measures" parallel, but the best you can do is cutting a parallelogram. It will not be perfect, track saw or not, with the equipment you have. Finishes: Building the work piece is often the easy part. Finishing can be difficult. I put shellac on nearly everything after staining. It can be sprayed but it tends to dry on the sprayer tip, which is very annoying, and that gets worse with increased temperature because it's an alcohol-based product. It is fully dry in a few hours. It tends to dry rough and I recommend smoothing it with 4-0 steel wool. Beware of water-based polyurethane. It goes on very nicely, dries quickly and drips are easy to manage. But it's acrylic and won't tolerate any kind of alcohol (the shellac needs to be really dry). A bowl of cooked string beans will sink into it. Cold glasses will leave water marks. It is easy to spray if diluted with distilled water. It adheres well to dried and smooth shellac. It's surface tension helps it fill in gaps. I used to use lacquer a lot, but it's a terrible finish unless you're working in a factory where time is money. It needs to be sprayed no warmer than 75 degrees temperature, the colder the better. It boils at 90 degrees! It will start drying coming right out of the spray gun and many substances cause it to fish-eye and other unsatisfactory appearances. It dries extremely fast, but it's also extremely toxic. You need to use a good respirator, then then vacate the area afterward and wash your clothes separately. The problem is that lacquer is very brittle and it will craze due to changes in temperature and humidity. The crazing will look like broken glass. If used for large items like a table, expect the item to out-gas for a long time after it has "dried" and some will object to the smell. So-called dried lacquer can still stick to Styrofoam, so be careful how you transport it. Deft is a type of lacquer that never seems to dry. It is painted on. Perhaps it's good for making guitars and chess pieces, but not for tables because it is not hard enough. Real, oil-based polyurethane can be sprayed if you thin it with real mineral spirits 50:50. It adheres well to shellac and water-based polyurethanes (acrylic). If you respray at 24 hours, it doesn't need to be roughed up. If you need to fix the surface, you need to wait 48 hours until it will be hard enough to handle smoothing. Drips are hard to manage. Coating all size sides of a rectangular work piece can be a real challenge. Painters pyramids DO leave marks. In my experience, 1 of out of every 10 pieces will give you a problem no matter what. If it looks great, you were lucky. Sometimes, you have to just start over, sanding it down, re-staining it, re-sealing it with shellac, etc., and it still doesn't look exactly like the others. Polyurethane cures and doesn't dry. It gets harder with time, all the way out to infinity. It cross-links with oxygen, which means that it will gel in the can. You can delay that by washing out the room air oxygen in the can with something besides oxygen. I use nitrogen. Those little spray cans of Argon don't hold enough gas unless the can is pretty nearly full. The displacement of the oxygen is purely by flow and volume, not the weight of the gasses. A nitrogen set-up is not cheap (cylinder, regulator and any hose that'll fit on it) and aren't worth it unless you do a lot of polyurethaning. You need a dedicated spraying space, a virtual clean room, to spray these in and don't forget that you need to be able to breathe in there as well! I spray all pigmented paints outside, not in the spraying room, which requires reasonable weather and no vehicles down-wind.
When I took Mechanical Drawing in high school, it was important to always have a sharp point. We were taught to twirl the pencil in our fingers as we drew a line. This help to keep the point sharpened much longer. This is especially useful on long lines. Now, I use a .5 mil mechanical pencil. :-)