
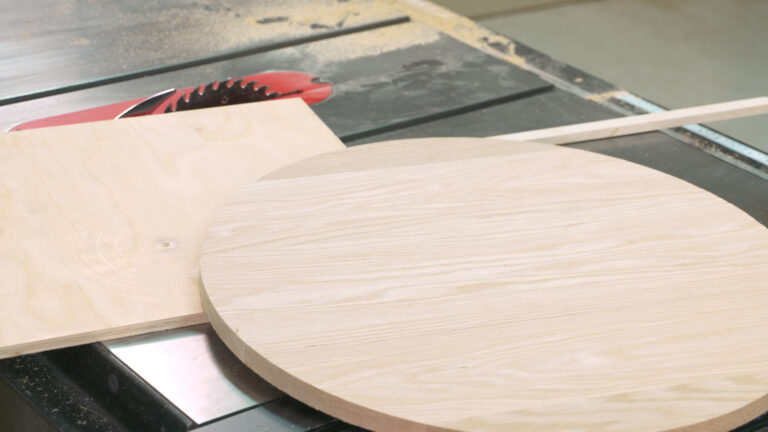
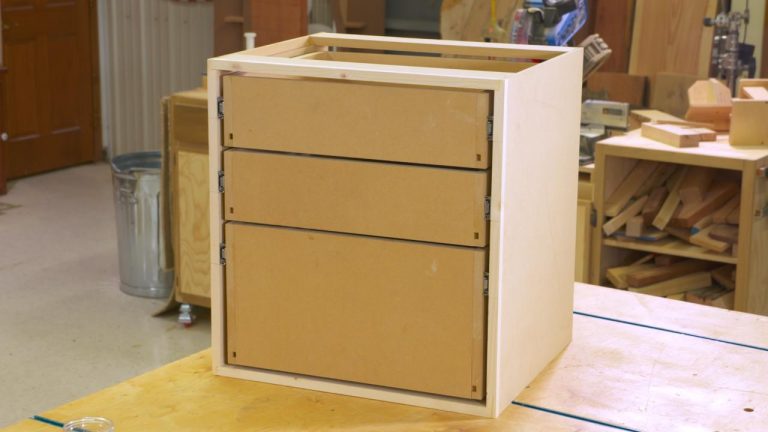
DIY Drawers: Lock-Joint
George VondriskaIn this DIY drawers video, get an introduction to lock-joints. Drawers take a lot of abuse. If you want to provide quality work, it’s best to assemble drawer corners with a joint that can stand up over time. Drawer lock joints provide a mechanical grab, almost a tongue and groove, between the drawer side and front, and they also increase the glue surface area, making for a very strong joint. With a little practice, you can overcome the fussy setup the bit requires.
When you’re getting ready to work with a drawer lock bit, remember that it’s going to take a few test cuts to ensure that your setup is just right. The setup will slightly change as the thickness of your material changes. It’s very important that as you prep your project pieces, you also prep test-cut pieces. The test-cut and project pieces must be exactly the same thickness. Four test pieces should be plenty to get you properly set up.
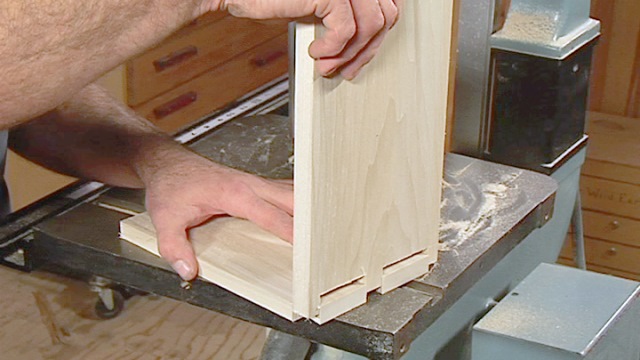
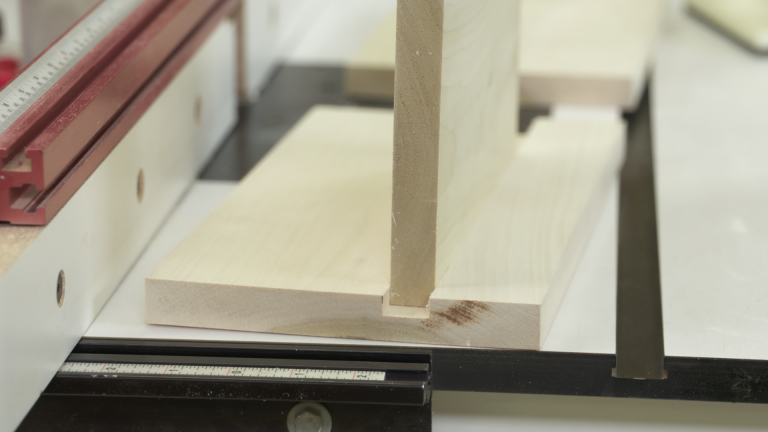
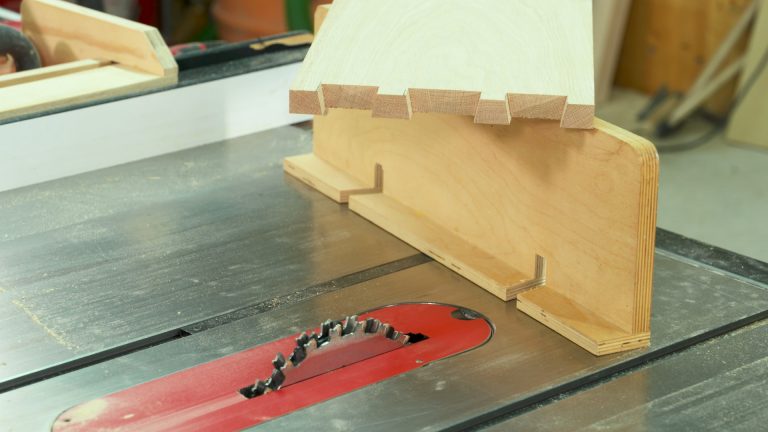
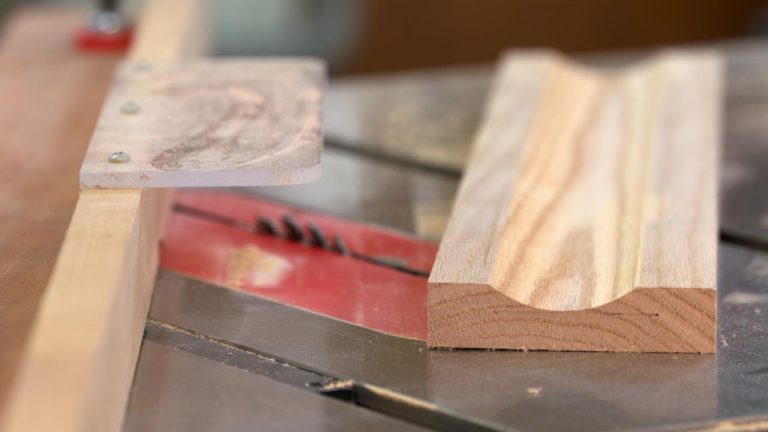
Your goal with the drawer lock bit is to get the location of both the bit height and router table fence set correctly. When both setups are correct, the drawer sides will be fed vertically past the bit with their inside faces against the fence. The front and back will be machined horizontally, with their inside faces down on the router table.
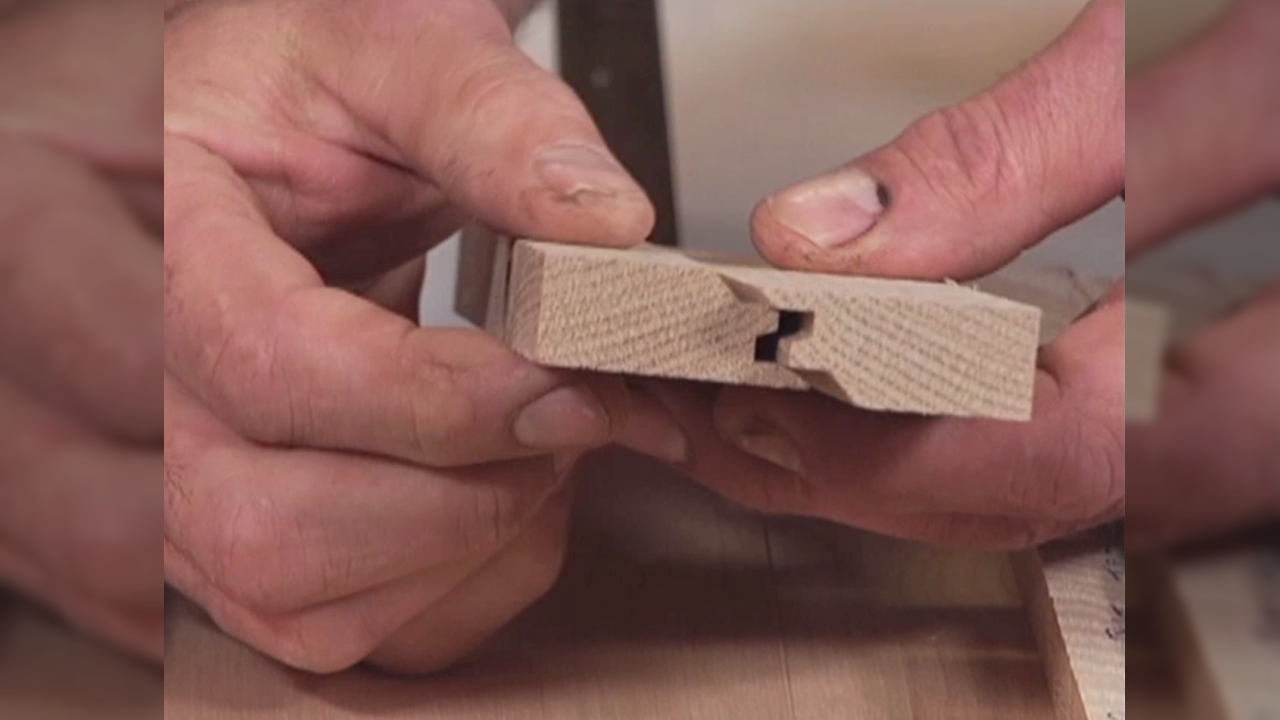
Think of the drawer lock joint as a tongue and groove. The groove is cut in the drawer front and back and machined horizontally. The tongue is cut in the drawer sides and machined vertically. The groove is a fixed size, determined by the groove cutter that projects off the router bit. You can control the size of the tongue in the drawer sides by raising and lowering the router bit. As a preliminary setting, set the height of the bit so that the distance between the bottom of the groove cutter and the table is equal to the width of the groove cutter at its narrow point. Don’t sweat the setup too much. Try to get close; the test cuts will tell you what adjustments you need to make.
Set the fence so that the distance from the face of the fence to the tip of the bit is equal to half the thickness of the material you’re working with. As with the bit height, you don’t have to be too fussy. A test cut will tell you right away what adjustments need to be made.
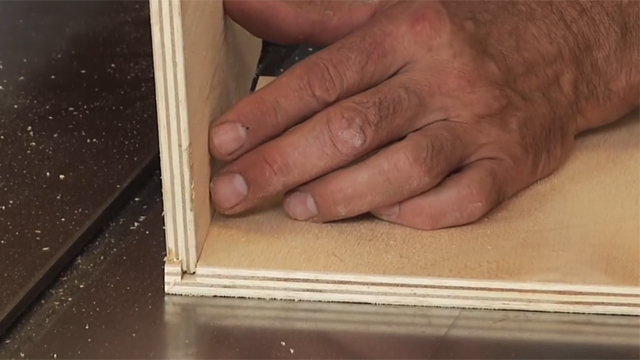
Using a push pad to control the pieces, make test cuts by feeding one test piece horizontally and one piece vertically, past the bit. Check your work. If the fit between the pieces is too loose, the tongue you made on the vertical piece is too small. Raise the bit to make it bigger. If the fit is too tight, you need to lower the bit to make the resulting tongue smaller. The end grain of the front and back should project slightly past the face grain of the side. If it doesn’t, you need to move the fence away from you. If the end grain projects too far past the face grain of the mating piece, you need to bring the fence closer to you. Move the fence a distance equal to 1/2 the correction you’re trying to make.
After making changes to the bit height and fence location, make another test cut. Tweak your settings until the cut is perfect. You’ll reduce, if not eliminate, chipping on the drawer sides by making a zero clearance cut in your fence. An additional benefit of the zero-clearance cut in the fence is that it will act as a setup gauge the next time you use the bit. When using drawer lock bits, the height of the bit is always the same regardless of material thickness. Only the fence location changes.
Explore videos by George Vondriska


You may be interested in


Premium Membership
Unlock exclusive member content from our industry experts.
- 24/7 Access to Premium Woodworking Videos, Projects, and Tips
- Step-by-Step Instructional Demos, Plans, and Tutorials
- 50% Off Video Downloads Purchased in the Woodworkers Guild of America Shop
- 2 Printable Woodworking Plans
Unlock exclusive member content from our industry experts.
- 24/7 Access to Premium Woodworking Videos, Projects, and Tips
- Step-by-Step Instructional Demos, Plans, and Tutorials
- 50% Off Video Downloads Purchased in the Woodworkers Guild of America Shop
- 2 Full-Length Video Downloads to Watch Offline
- 2 Printable Woodworking Plans
Gold Membership
$370 Value
Get everything included in Premium plus exclusive Gold Membership benefits.
- 24/7 Access to Premium Woodworking Videos, Projects, and Tips
- Step-by-Step Instructional Demos, Plans, and Tutorials
- 8 Full-Length Video Downloads to Watch Offline
- 3 Full-Length Woodworking Classes to Keep for Life
- 7 Printable Woodworking Plans
- Discounts on Purchase-to-Own Content in the Woodworkers Guild of America Shop
- Access to Ask the Expert Program
- Exclusive GOLD LIVE Streaming Events