
How to Make Pegboard Shelves
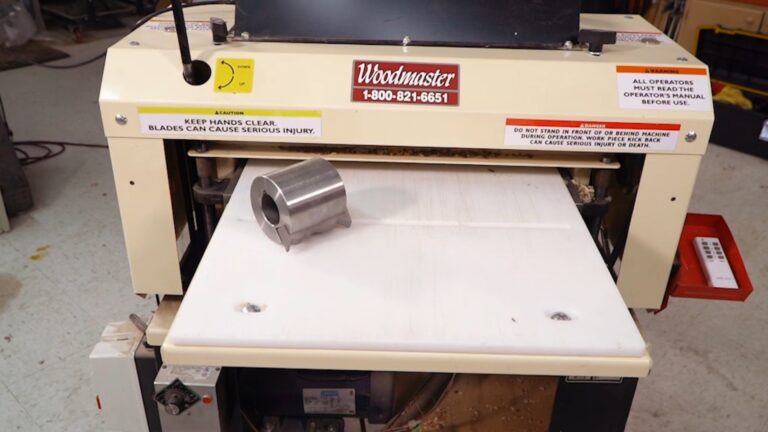
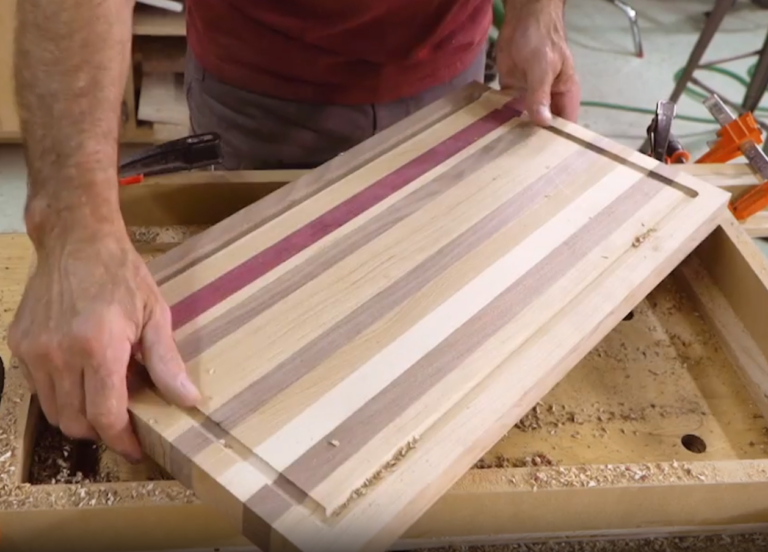
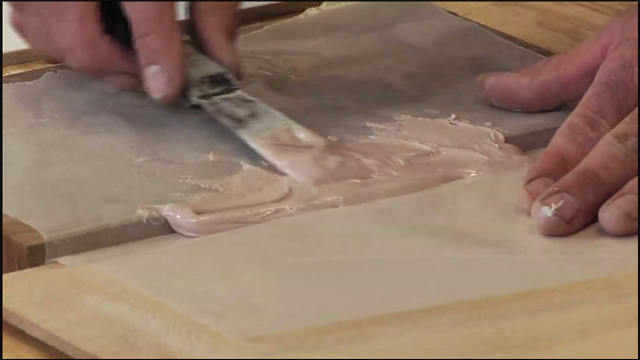
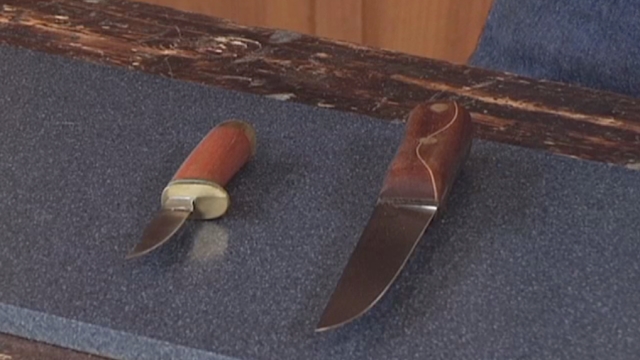
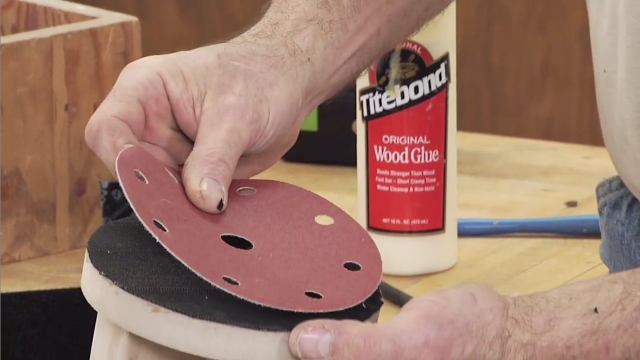
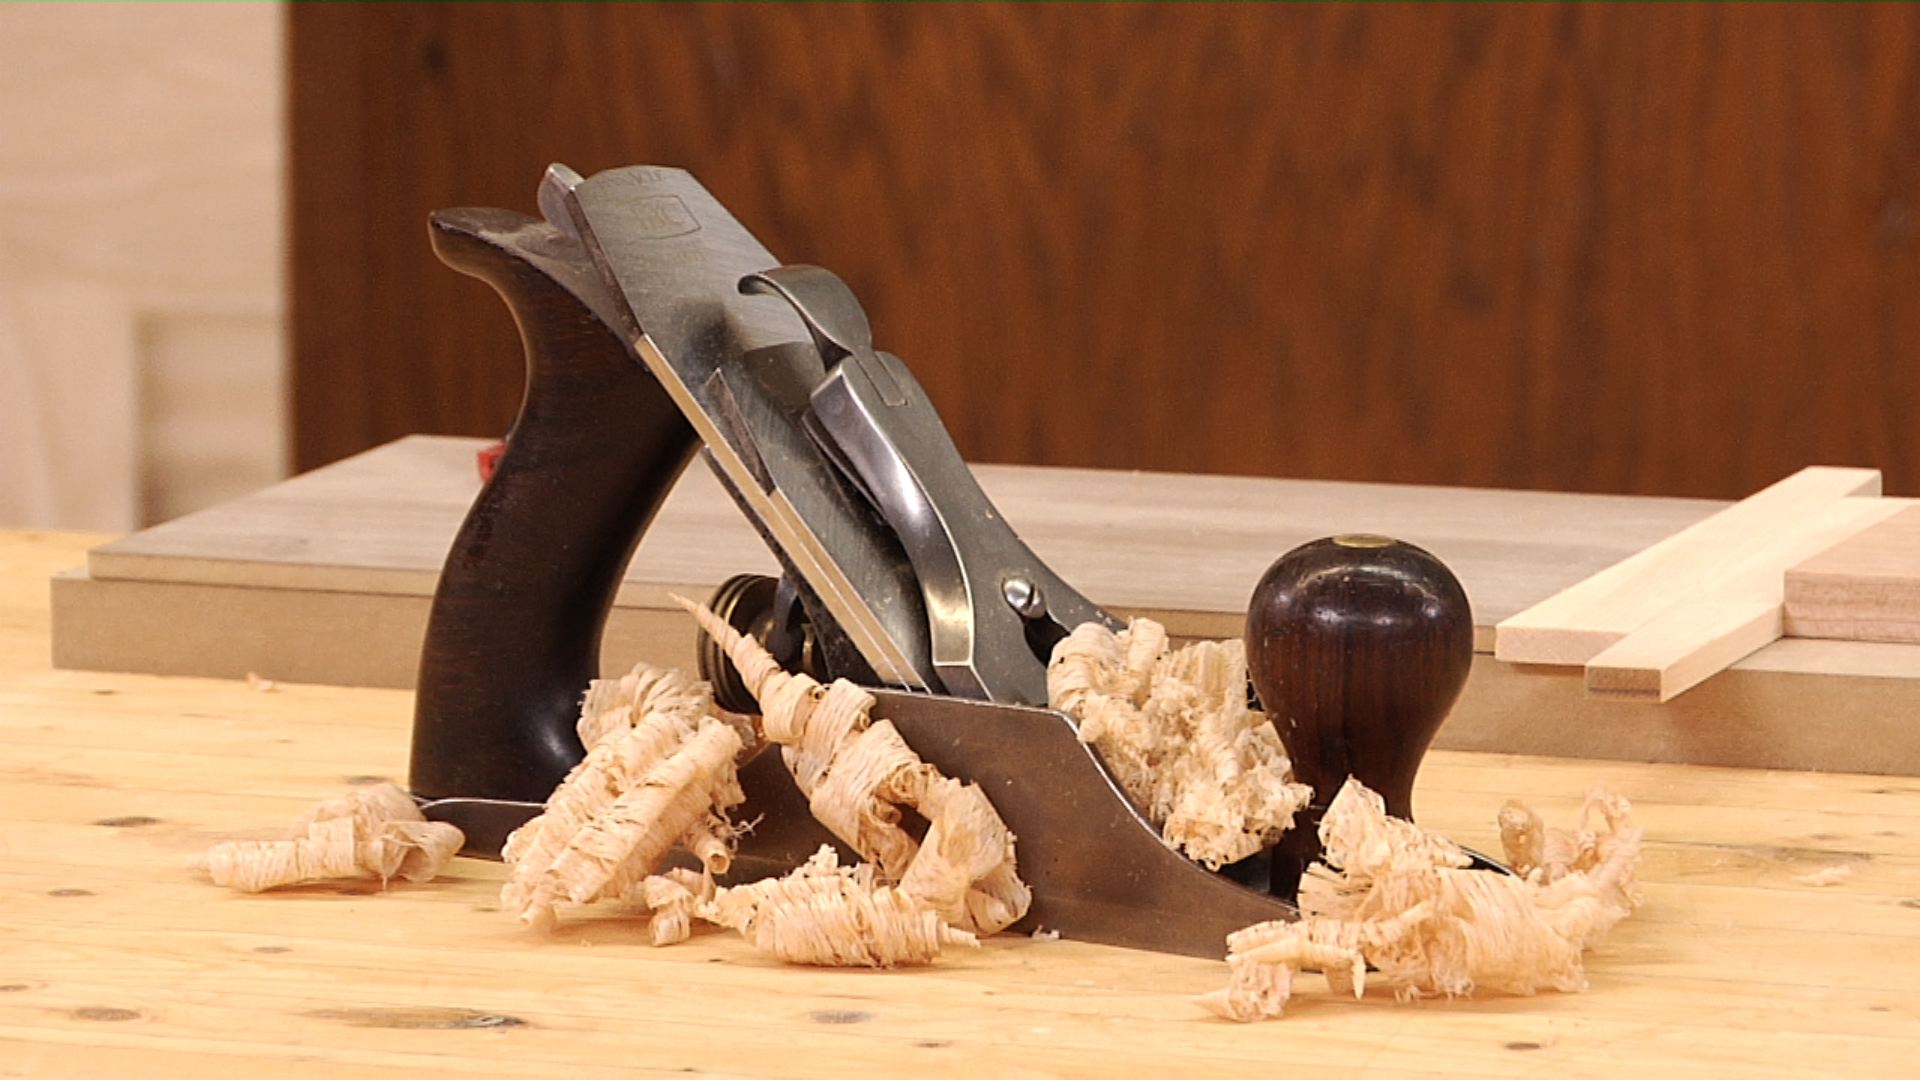
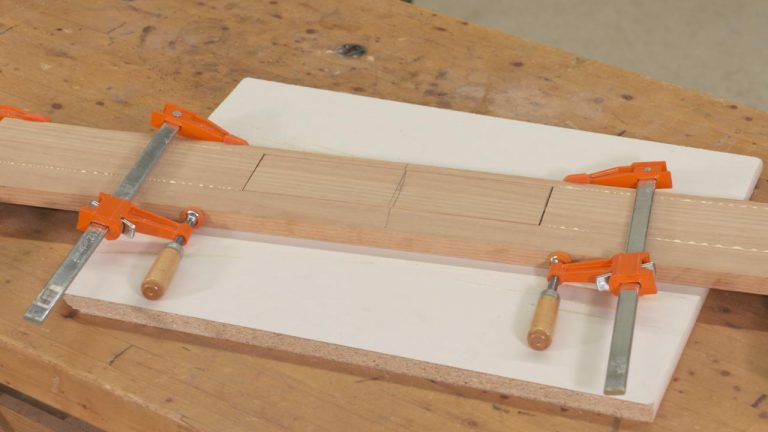
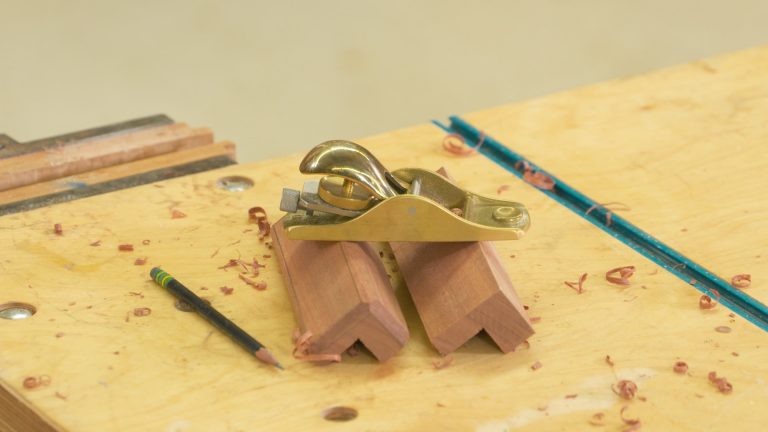
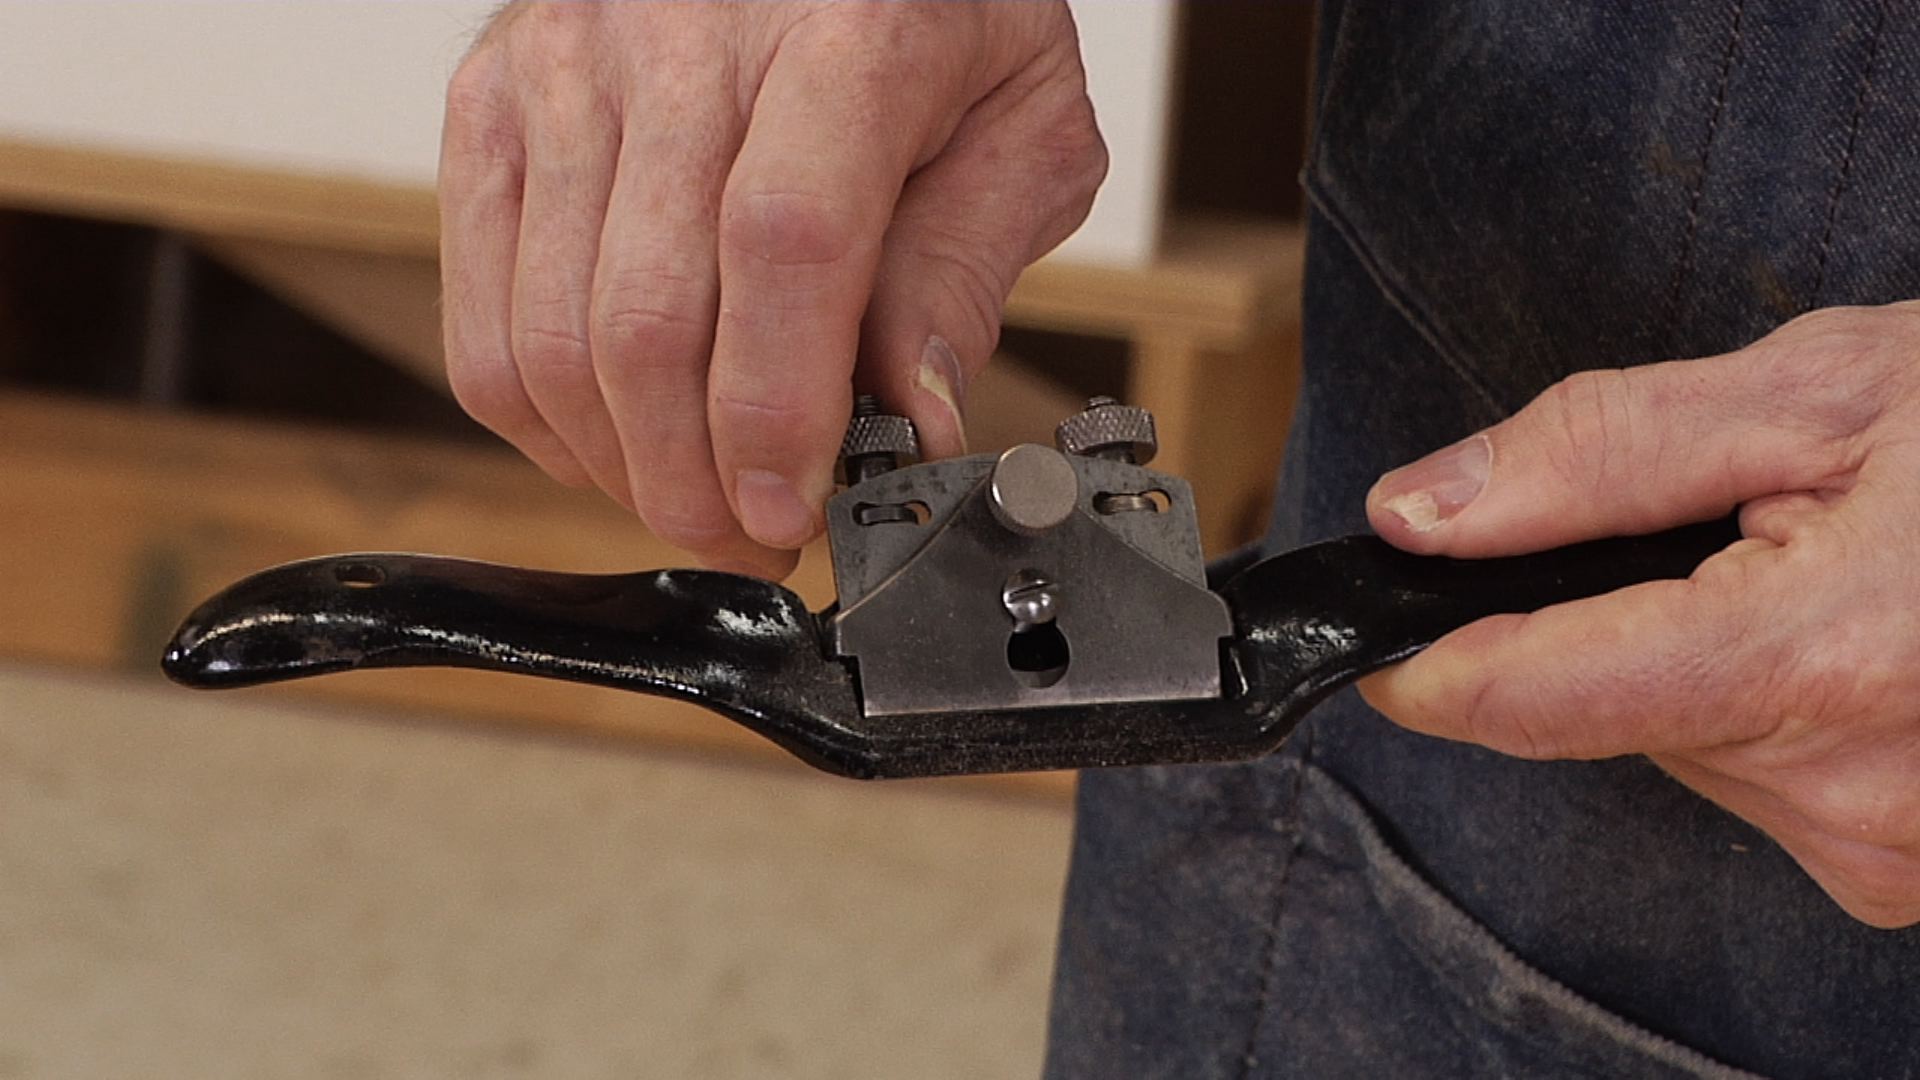
George VondriskaLearn a few tricks to easily make pegboard shelves — these shelves will make other woodworking projects easier by having tools at your beck and call instead of in a toolbox where you’ll have to take extra steps to reach them. These small shelves provide a great home for sanders, hand planes and other tools that aren’t easy to hang on pegboard hooks. You’ll need two pieces of scrap wood, glue and some hardware to make these shelves.
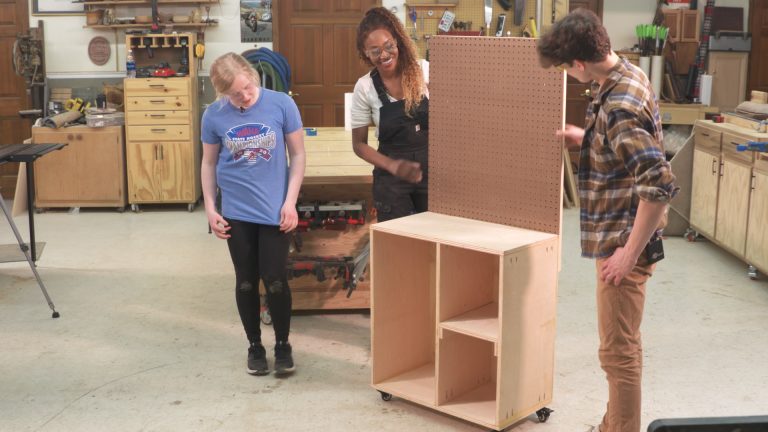
You’ll learn how to create them quickly without even using a ruler to measure for the hardware. Make more than one shelf for a larger area of pegboard or make one for each smaller area of pegboard. No matter what you want to keep within easy reach, you’ll have it since you can locate the pegboard shelves wherever it is convenient for you.
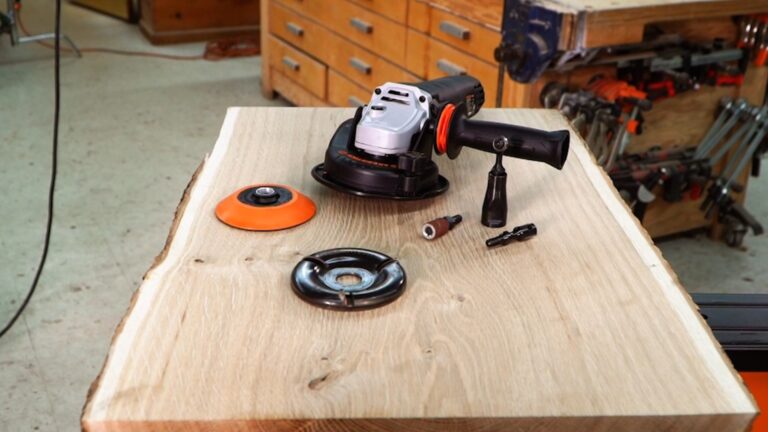
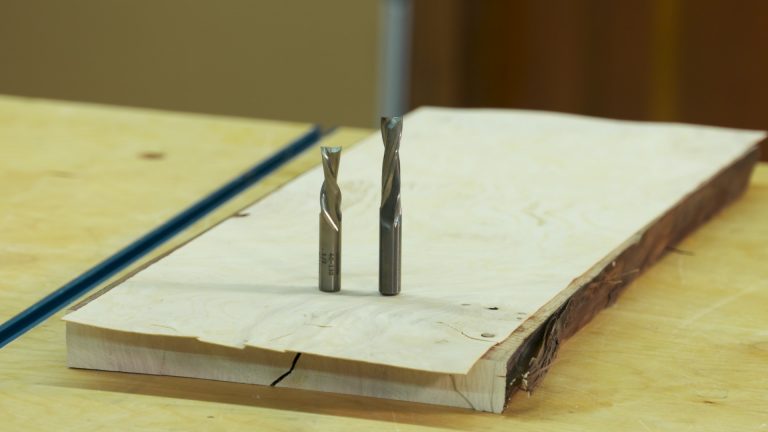
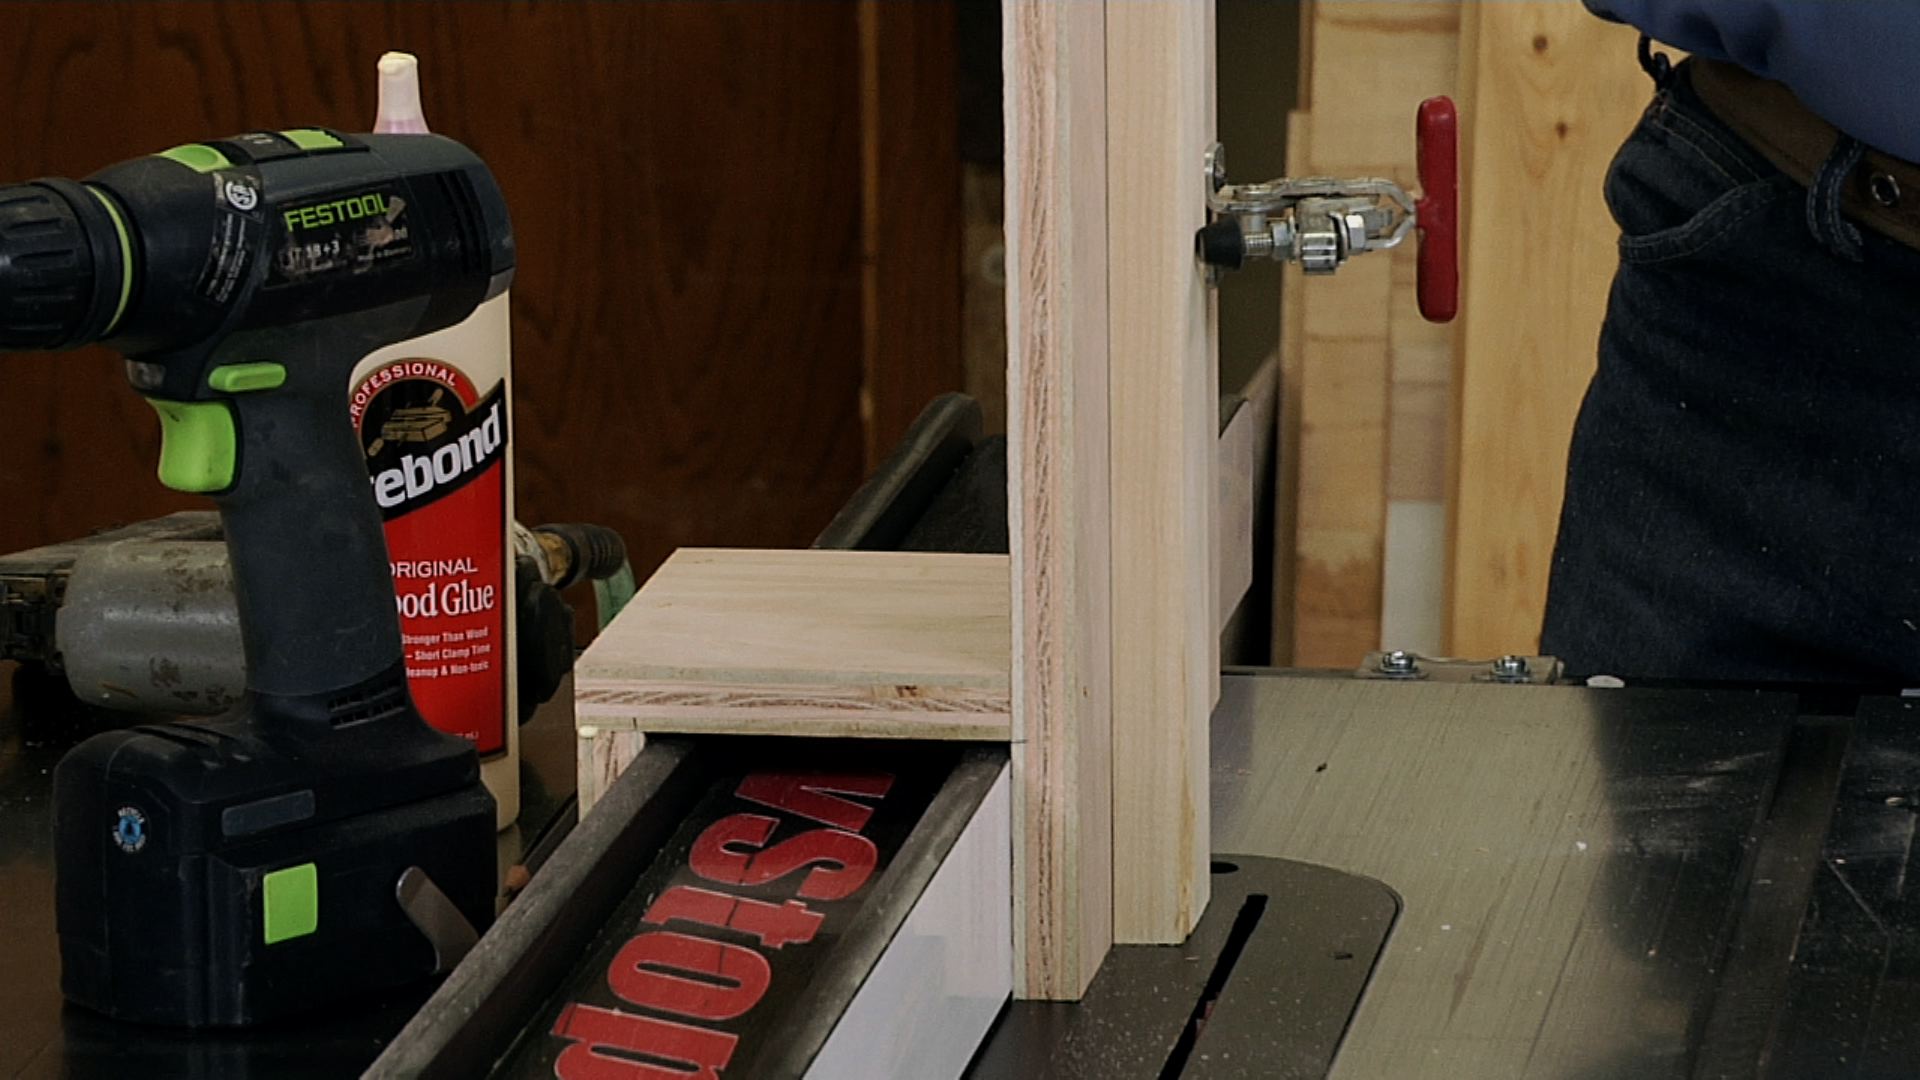
Get your tools ready. You’ll need a brad gun or hammer, saw, sander, p0liers, an awl, and glue. Add some paint or stain and the hardware to create pegs on the lower part of the shelf and the hooks to hang the shelf within easy reach on your pegboard backdrop.
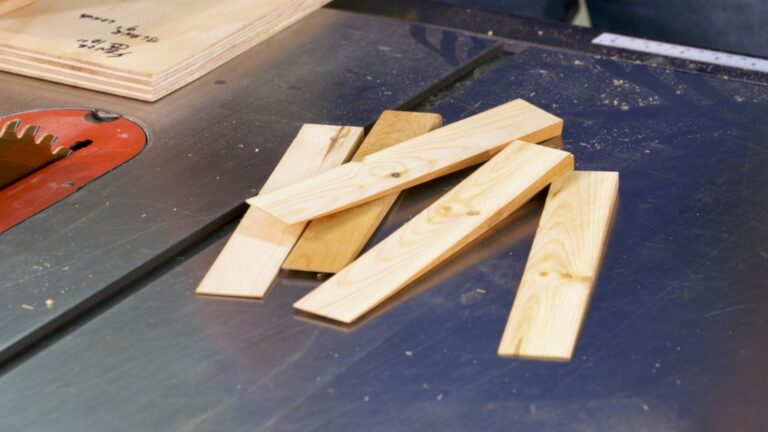
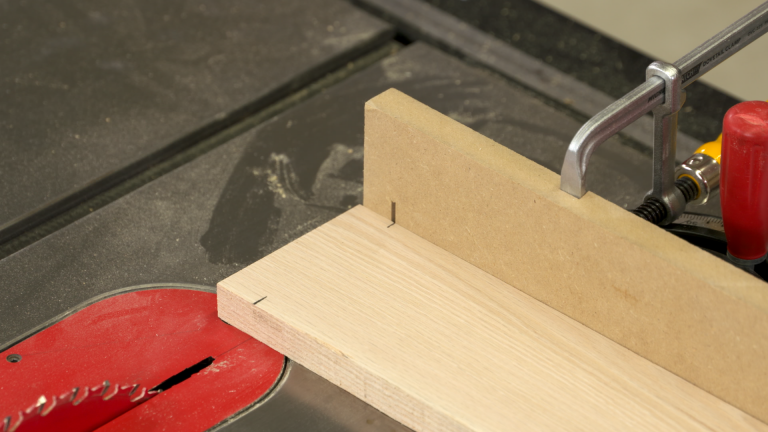
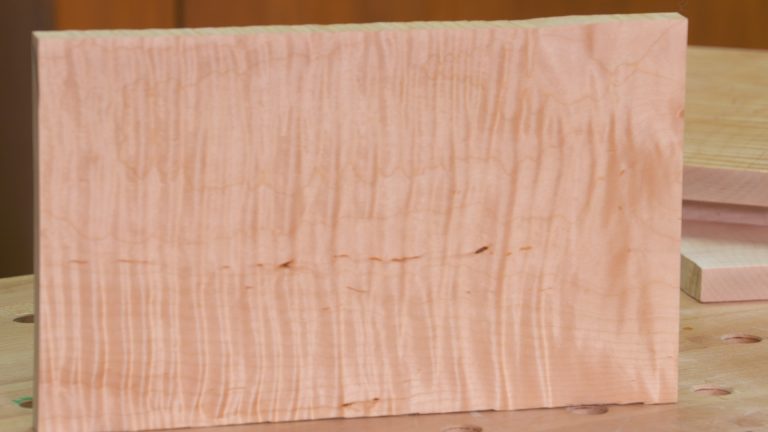
Make the shelves in any length or shape, especially if you use a light wood such as pine. Make the pegboard shelves as narrow or as wide as you need for specific tools. With these instructions, you can make something that fits your needs, as the pattern is easily adjustable – and the tips and tricks for installing the hardware works on any size shelf.
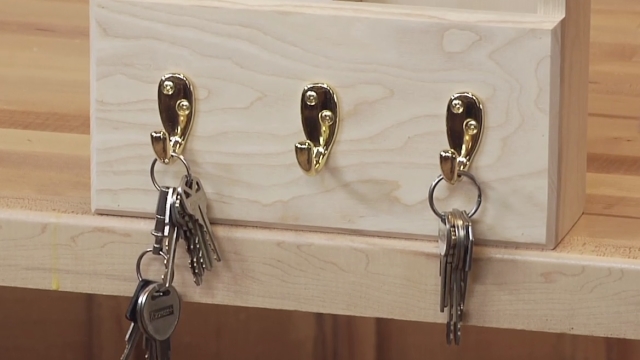
When you watch this video, you’ll learn shortcuts to getting the hardware installed in the right place the first time, and you’ll learn how to quickly install the hardware – you won’t even have to break out the drill. These shelves are simple to build, and generally can be made in less than a half hour, depending on the design and size of the shelf.
Explore videos by George Vondriska


You may be interested in

Premium Membership
Unlock exclusive member content from our industry experts.
- 24/7 Access to Premium Woodworking Videos, Projects, and Tips
- Step-by-Step Instructional Demos, Plans, and Tutorials
- 50% Off Video Downloads Purchased in the Woodworkers Guild of America Shop
- 2 Printable Woodworking Plans
Unlock exclusive member content from our industry experts.
- 24/7 Access to Premium Woodworking Videos, Projects, and Tips
- Step-by-Step Instructional Demos, Plans, and Tutorials
- 50% Off Video Downloads Purchased in the Woodworkers Guild of America Shop
- 2 Full-Length Video Downloads to Watch Offline
- 2 Printable Woodworking Plans
Gold Membership
$370 Value
Get everything included in Premium plus exclusive Gold Membership benefits.
- 24/7 Access to Premium Woodworking Videos, Projects, and Tips
- Step-by-Step Instructional Demos, Plans, and Tutorials
- 8 Full-Length Video Downloads to Watch Offline
- 3 Full-Length Woodworking Classes to Keep for Life
- 7 Printable Woodworking Plans
- Discounts on Purchase-to-Own Content in the Woodworkers Guild of America Shop
- Access to Ask the Expert Program
- Exclusive GOLD LIVE Streaming Events
Purchase Video
Purchase video and add to your personal library with on-demand video access.
- Enjoy on-demand video access to this content anytime, anywhere for the one-time cost below.
- You won’t lose access, with or without an active current Membership

How to Make Pegboard Shelves
with George Vondriska