 Wood Staining Techniques: How to turn that chunky old stain into a finish you can use. A client of mine dropped a large suitcase down her stairs and snapped a spindle on the railing. I was confident the spindle was a stock item at a home store, but I needed to match the stain and sheen perfectly or the new spindle would stick out like a sore thumb. When I picked up the broken spindle, I asked her if the previous owners had left any stain when they moved out. ‘You’re in luck,’ she said as she emerged from the basement handing me the stain. This job would be a breeze! or so I thought.
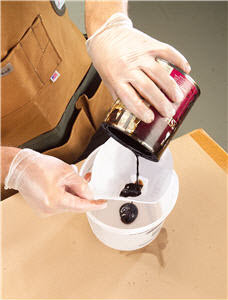
  I picked up a spindle at the home store on my way back to my shop, but was disappointed to find a firm crust on top of the stain when I opened the can. I paid a visit to the local hardware store that carried the finish, but they had discontinued their stain line! What was I going to do? I punctured the crust inside the can of stain and found a goopy mess. But using the exact pigment, even with the chunky stain, would be easier than trying to match the stain from scratch.
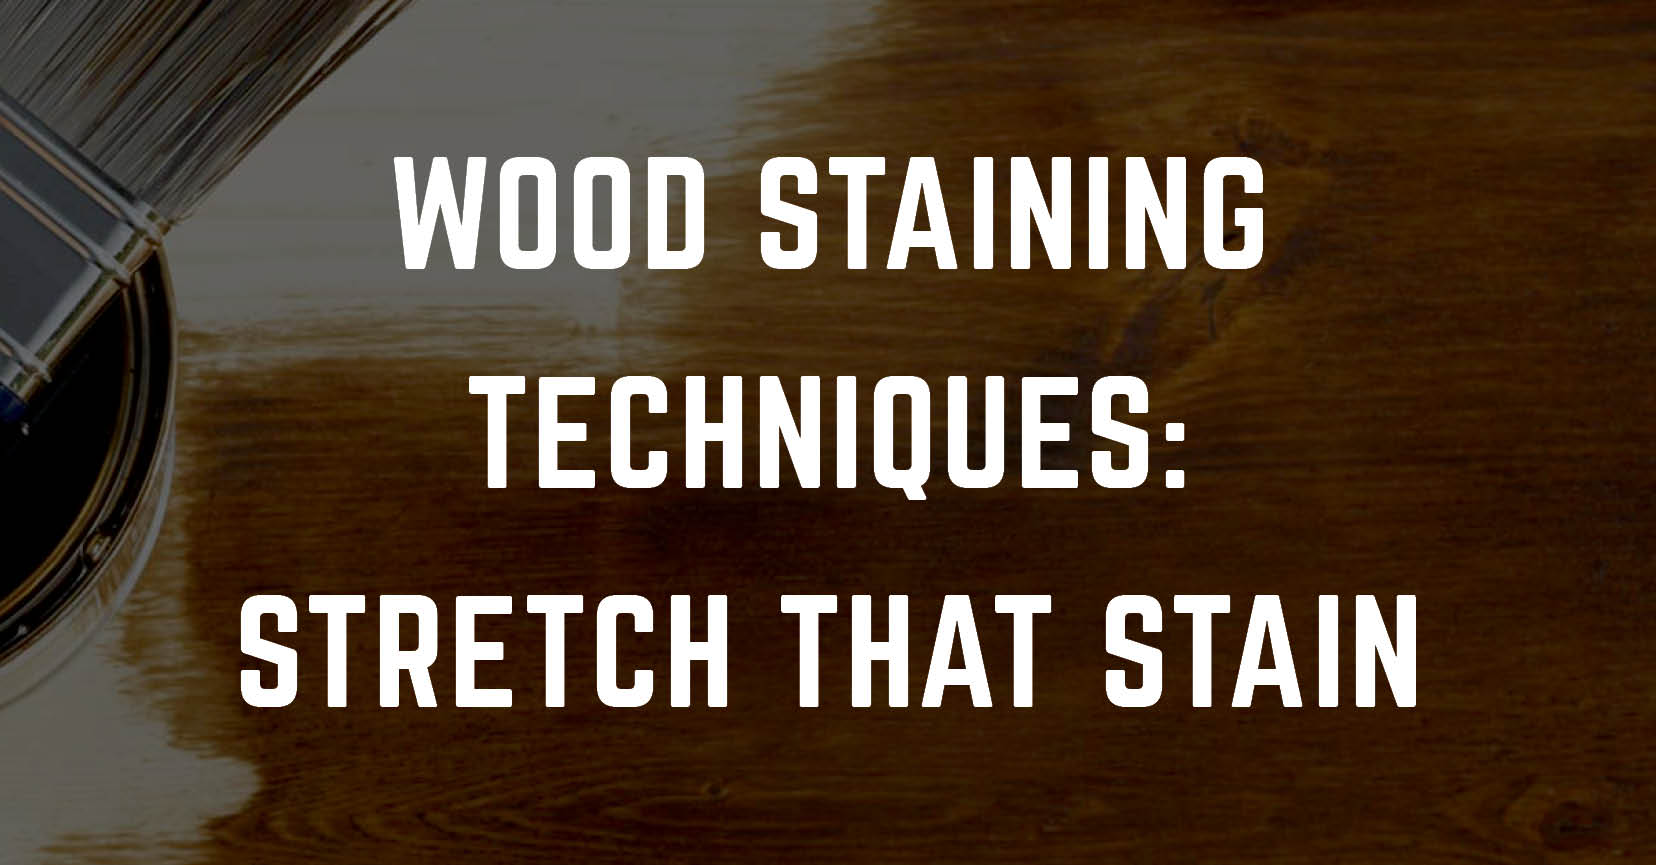
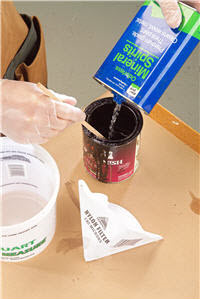
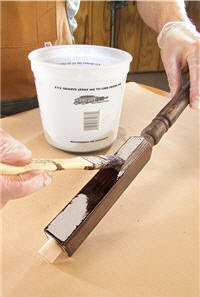
www.wwgoa.com
www.wwgoa.com
www.wwgoa.com
www.wwgoa.com
www.wwgoa.com
Photos By Mike Krivit

That is a really good tip particularly tto those fresh to the blogosphere. Brief but very precise information… Thanks for sharing this one. A must read article!
Thanks. I'm a novice always looking for helpful advice. Keep it coming.
I was able to do this with the original stain was chunks so I applied like a chalk sticks and proceed as you demonstrated so well. Thanks
Sorry. With all respect, I dont buy it. You Never stain a solo item, away from the job...especially using old, reconstituted stain, And not knowing the technique used by the original craftsman. You talk about deepening the color...if you have nothing to compare with, how do you know when to stop? Yes, sometimes you can reconstituted, but there are more things to consider...
Is there a difference from using a rag to stain your wood vs. a brush? I used a rag to apply to my bookcase. After about 24 to 48 after staining, I applied finish coat with a foam brush to minimize bubbles, what surprise me as I was brushing the finish, the stain was lifting. Not sure what happen
I brought a can of stain and it had a dent in it! I can't get the lumps out of it were they cause from the dent?
I have some old dark walnut stain and mixed/shook really well but the "darkest" part of stain is remaining at the bottom of can. So if I use, it looks like an oak stain as the dark chunky wont break down to even mix it in. Any suggestions... anything around the house I can use? THANK YOU
My daughter bought Cabot Australian deck stain but it may have frozen over the winter. It looks all cakie like rice pudding. She has stirred and stirred. Anything she can do to fix this?
I have walnut vaneer on some old speakers one is pretty bad how hard wood it be to restore them
Too bad that stain was not stored properly with Bloxygen. The heavy inert gas would have protected the leftover finish and this job would have been much easier.